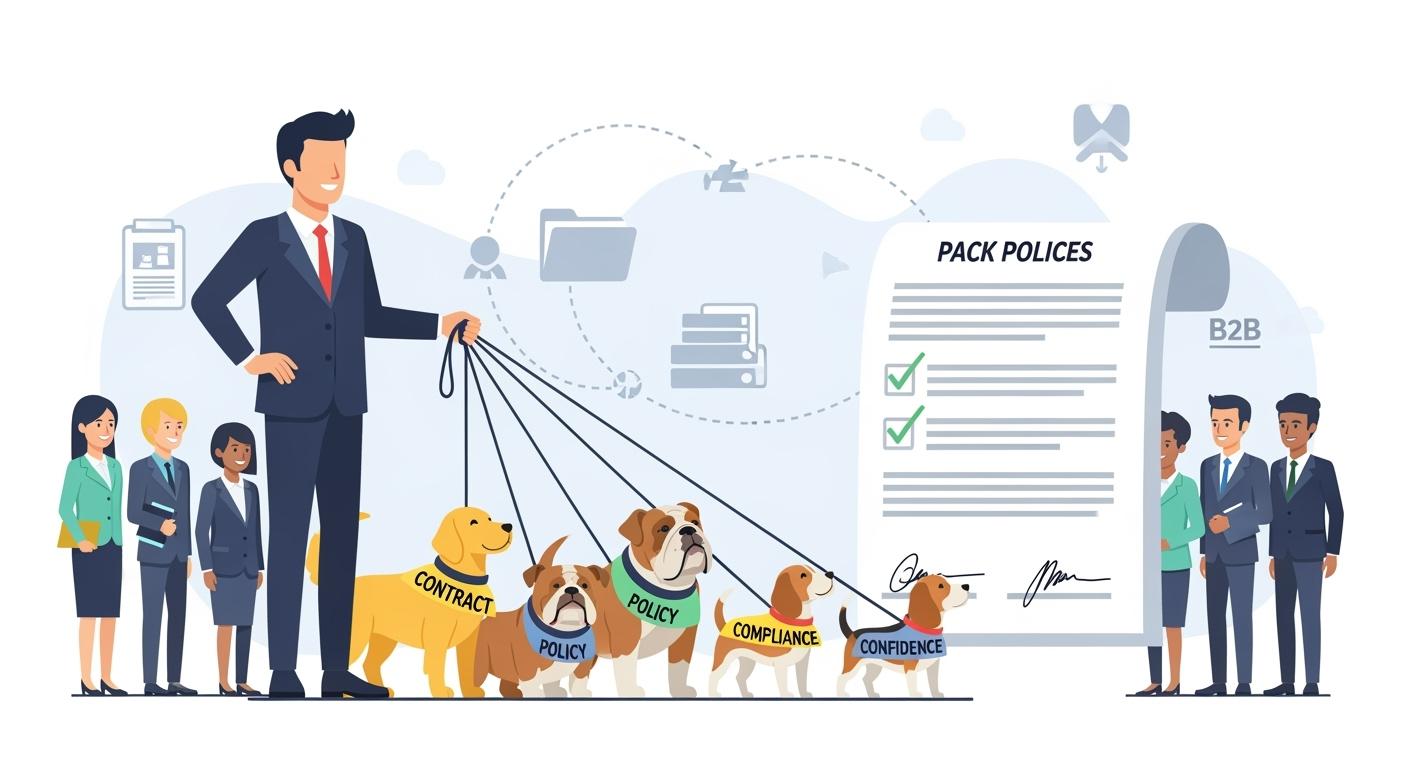
You handle risk and follow rules when you buy a runners leash for dog kit. Standard replacement terms, wear-item rules, and safety warnings help you stop arguments and act fast if something goes wrong. Clear paperwork keeps your team ready for checks and helps you follow the EU General Product Safety Regulation and US 24-hour reporting rules. More than half of B2B buyers like digital, no-salesperson steps, so you need easy-to-understand info. Stridepaw gives you templates and help so you can follow rules and feel sure.
Key Takeaways
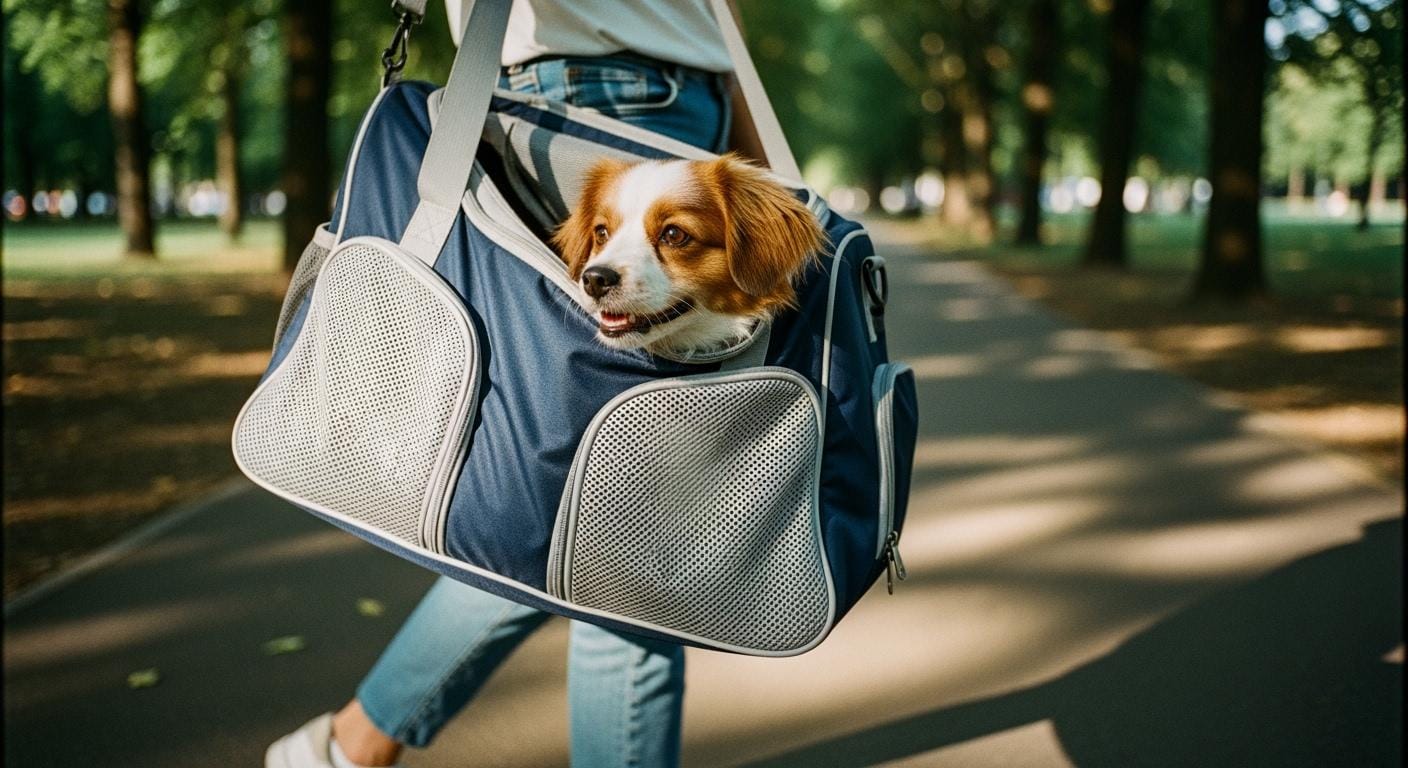
Know what is in a runners leash for dog kit. Make sure every pack has all the parts so nothing is missing.
Use a simple checklist to follow the rules. Stridepaw’s templates help your team follow US and EU laws.
Write down details for every shipment to stop arguments. Take pictures of lot codes and packaging to help with claims.
Tell the difference between defects and normal use. This makes it easier to handle claims and keep good records.
Make a plan to replace worn-out items. Check and change things like webbing and buckles often to keep everyone safe.
Keep track of lot codes to know where products go. Use special numbers to follow products and handle recalls well.
Gather the right proof for warranty claims. Make sure you have all the papers you need for your requests.
Be careful with safety warnings. Look at labels and manuals often to remind users about possible dangers.
What’s in a runners leash for dog contracting pack
Buyer deliverables list
You need a clear list of what comes in every runners leash for dog contracting pack. This helps your team check every shipment and avoid missing items. Here is what you should expect in each pack:
Hands-free leash (main webbing)
Adjustable waist belt
Hardware (clips, buckles, D-rings)
Packaging (bag or box with label)
User manual and safety instructions
Product label with lot code
Claim evidence checklist (for returns or incidents)
Digital templates for RFQs and contracts
You can use this list to check deliveries and keep your records up to date. Stridepaw provides templates to help you track these items.
Scope: kits, parts, packaging
You must know the full scope of your order. This means you should check not only the main leash and belt, but also every part and the packaging. Each part must meet US and EU standards for 2025. Use the table below to help your team review the scope:
Component | Description | Standard Reference |
|---|---|---|
Leash webbing | Main strap, up to 90 mm wide | SI/US tensile method |
Waist belt | Adjustable, fits most users | User fit guidance |
Hardware | Clips, buckles, D-rings | Corrosion test method |
Packaging | Labeled bag or box | Label copy, lot code |
Manual | Safety and use instructions | Aligned with label |
You should confirm that each part matches the description and standard. This helps you stay compliant and ready for audits.
Reducing disputes and returns
You can lower disputes and returns by following a few simple steps. First, use the deliverables list to check every shipment. Next, keep photos of the lot code and packaging for your records. If you find a problem, use the claim evidence checklist to collect proof. This makes it easy to work with suppliers and speeds up the process.
Tip: Always store your claim evidence and delivery records in a searchable system. This helps you respond quickly if you need to report an incident or answer an audit.
Stridepaw supports you with ready-to-use templates and checklists. These tools help you keep your runners leash for dog program smooth and compliant.
Contracting pack checklist
You need a simple checklist to handle your runners leash for dog contracting pack. This checklist helps your buying, QA, and compliance teams do each step right. It also helps you meet US and EU rules for 2025. Use this guide to keep your work easy and ready for checks.
Step-by-Step Contracting Pack Workflow:
Confirm Product Scope
Check every shipment for the whole kit. Look for the leash, waist belt, hardware, packaging, manual, and label with lot code. Use the deliverables list to make sure nothing is missing.Tip: Take a picture of the lot code and packaging for your files.
Review Wear-Item Schedule
Find wear items like webbing, buckles, and clips. Track when to replace them by months or cycles. Use Stridepaw’s approved substitutes list to pick replacements.Wear Item
Refresh Interval
Approved Substitute
Webbing
I months
Yes
Buckles
I months
Yes
Clips
I months
Yes
Apply Replacement Terms
Check the warranty and replacement times. Look for D days for DOA and W months for workmanship. Use the checklist to collect proof for claims.Note: Always add a picture of the lot code in your claim.
Check Safety Disclaimers
Look at the label and manual for warnings. Make sure hazard names and words match. Check that safety instructions are clear and easy to follow.Safety Warning
Location
Choking hazard
Label, Manual
Trip risk
Label, Manual
Monitor Post-Market Signals
Write down complaints and problems in a searchable system. Follow US 24-hour reporting and EU 10-year record rules.Tip: Keep CAPA decisions with lot codes so you can find them fast.
Maintain Traceability Records
Save all labels and lot-code details. Keep records for 10 years for the EU. Use SI/US unit conversions in your files.Roll Out Supplier Program
Use Stridepaw’s templates for RFQs, contracts, and safety checklists. Train your team to follow each step and update records when needed.
You can print this checklist or save it on your computer. Stridepaw gives you ready-to-use templates and help for B2B buyers. This workflow helps you follow rules, lower disputes, and answer audits or problems fast.
Defect vs wear: replacement policy foundations
Defect taxonomy for leashes
You need to tell the difference between manufacturing defects and normal wear. This helps your team know if a claim is okay. It also keeps your records clear for audits. Manufacturing defects can be jammed retracting mechanisms. They can also be brake problems or strange sounds from inside damage. Normal wear means frayed or broken straps. It also means you see signs of use on the leash cord.
Here is a table to help you sort issues:
Issue Type | Description | SI/US Test Method Reference |
|---|---|---|
Manufacturing Defect | Jammed retracting mechanism, brake problems, unusual sounds due to internal damage | Webbing tensile, seam strength |
Normal Wear | Frayed or broken strap, damage from regular use, visible wear on leash cord | Visual inspection, cycle count |
Misuse | Burns, cuts from rapid retraction, sprains, fractures from sudden jerks, lacerations | User incident report, manual review |
You should use SI units first in your paperwork. Use US conversions if you need them.
Misuse and exclusions
You must know what misuse is and what does not count for replacement. Misuse means burns or cuts from fast retraction. It also means sprains or fractures from sudden jerks. Lacerations from poor handling are misuse too. If you see these, check the user manual and safety instructions. Claims for misuse do not get warranty replacement. Always look at the exclusions list before you handle a claim.
Tip: Keep a record of all exclusions. Link them to the lot code so you can find them easily.
Claim decision tree
You can use a simple decision tree to help your team with claims. This helps you act fast and follow US and EU rules.
Claim Decision Tree:
Identify the issue:
Is it a manufacturing defect, normal wear, or misuse?Check warranty window:
Is the claim within D days for DOA or W months for workmanship?Collect evidence:
Get photos, lot code, and incident details. Use the claim evidence checklist.Review exclusions:
Does the issue match any misuse or excluded conditions?Assess completeness:
Do you have E needed items out of T total for the evidence package?Decide on action:
If defect and evidence meet rules, approve replacement or credit.
If wear, suggest refresh or order a spare part.
If misuse, deny claim and give user guidance.Log and report:
Save the claim and decision in your searchable system. Follow US 24-hour reporting and EU 10-year retention rules.
Stridepaw gives you templates and checklists to help your team do each step. This workflow keeps your process clear and ready for audits.
Defect vs wear table
You need to sort issues with runners leash for dog kits into two main groups: defects and normal wear. This helps your team decide if a claim fits the replacement policy. Use the table below to guide your checks. Each row shows what to look for, how to test it, and which claims you should approve.
Category | Example Signs | Test Method Reference | SI/US Units | Claim Action |
|---|---|---|---|---|
Manufacturing Defect | Broken stitching, loose hardware, faulty assembly, webbing tears at seams | Seam strength test (perpendicular load), hardware inspection | N (Newton), mm (millimeter), lbf (pound-force), in (inch) | Approve if within warranty window |
Normal Wear | Frayed webbing, faded color, worn buckles, surface scratches | Visual inspection, cycle count, refresh interval check | I months, C cycles | Suggest refresh or spare part order |
Misuse/Exclusion | Cuts from sharp objects, burns, damage from improper use | User incident report, manual review | N/A | Deny claim, provide user guidance |
Tip: Always collect a photo of the lot code and the affected part. This makes your records clear and helps with audits.
How to use the table:
Check the issue:
Look at the leash, belt, and hardware. Find out if the problem matches a defect or normal wear.Test the part:
Use the right method. For stitching, use a seam strength test. For hardware, check for corrosion or loose parts. For wear, count cycles or months.Record the units:
Write down results in SI units first. Use US conversions if your team needs them.Example: 1 lbf = 4.45 N, 1 in = 25.4 mm
Decide on claim:
If you find a defect and the claim is within D days or W months, approve it. If you see normal wear, suggest a refresh. If you spot misuse, deny the claim.Log everything:
Save photos, test results, and decisions in your searchable system. Link each record to the lot code.
Stridepaw gives you templates for evidence checklists and claim forms. These tools help your team follow each step and keep your process audit-ready.
Note: Always follow the same steps for every claim. This keeps your records strong and helps you meet US and EU rules.
Wear-item policy for daily-use runners leash for dog kits
Wear items by component
You need to know which parts of your runners leash for dog kit wear out first. Each component faces different stress during daily use. You should focus on the main webbing, buckles, clips, and the waist belt. These parts move and stretch every time you use the kit. The table below helps you track which items need regular checks:
Component | Typical Wear Signs | Refresh Interval (I months/C cycles) |
|---|---|---|
Webbing | Fraying, fading, stiffness | I months or after C cycles |
Buckles | Cracks, loose fit | I months or after C cycles |
Clips | Bent shape, weak spring | I months or after C cycles |
Waist Belt | Loss of elasticity, tears | I months or after C cycles |
You should update your wear-item list as you see new signs of wear. Stridepaw provides approved substitutes for each part so you can keep your kit safe and ready.
Inspection and retirement guidance
You must inspect each wear item before every use. Look for frayed webbing, cracked buckles, and bent clips. If you see any damage, retire the part right away. Do not wait for a failure during use. Use a simple checklist to guide your inspection:
Check webbing for frays or stiffness.
Test buckles for cracks or loose fit.
Squeeze clips to check spring strength.
Stretch the waist belt to check elasticity.
Record the lot code and inspection date.
Tip: Always take a photo of any worn part and save it with the lot code. This helps you track patterns and prepare for audits.
You should follow the refresh interval set for your program. Replace items after I months or C cycles, even if they look fine. This keeps your runners leash for dog kit safe for daily use.
Spare parts strategy
You need a plan for spare parts to keep your kits in service. Order extra webbing, buckles, clips, and waist belts based on your refresh schedule. Track lead times for each part so you never run out. Stridepaw offers a list of approved substitutes and helps you manage change-control triggers.
Keep a controlled inventory of spare parts.
Use only approved substitutes from your supplier.
Update your wear-item list when you add new parts.
Train your team to follow the replacement protocol.
Note: Store all inspection records and replacement logs in a searchable system. Link each record to the lot code for easy traceability.
You can use Stridepaw’s templates to set up your spare parts program. This strategy helps you reduce downtime and stay compliant with US and EU rules.
Wear-item checklist
You need a clear checklist to manage wear items in your runners leash for dog kits. This guide helps you keep your products safe and compliant with US and EU rules. You can use this checklist every time you inspect, replace, or report on your kits. Stridepaw provides templates and support for each step.
Step-by-Step Wear-Item Workflow:
Confirm Product Scope
Check that your kit includes all main parts: leash webbing, waist belt, buckles, and clips. Look for the product label and lot code on each item.Review Wear-Item Schedule
Track when you last replaced each wear item. Use the refresh interval set for your program, such as every I months or after C cycles. Record the date and cycle count for each part.Inspect Each Component
Examine webbing for frays or stiffness. Check buckles for cracks or loose fit. Test clips for bent shape or weak spring. Stretch the waist belt to see if it has lost elasticity.Tip: Take a photo of any worn part and save it with the lot code for your records.
Apply Replacement Terms
If you find damage, retire the part right away. Use only approved substitutes listed by Stridepaw. Record the replacement date and the new lot code.Check Safety Disclaimers
Review the label and manual for safety warnings. Make sure hazard names and wording match. Confirm that instructions are easy to follow.Monitor Post-Market Signals
Log complaints and incidents in a searchable system. Follow the US 24-hour reporting rule and keep records for 10 years for the EU.Note: Link all complaint logs and corrective actions to the lot code for easy traceability.
Maintain Traceability Records
Save all inspection, replacement, and incident records. Use SI units first, with US conversions if needed. Keep these records organized and ready for audits.
Wear-Item Inspection Table
Component | Inspection Sign | Refresh Interval (I months/C cycles) | Approved Substitute | Lot Code Required |
|---|---|---|---|---|
Webbing | Fraying, stiffness | I months / C cycles | Yes | Yes |
Buckles | Cracks, loose fit | I months / C cycles | Yes | Yes |
Clips | Bent, weak spring | I months / C cycles | Yes | Yes |
Waist Belt | Loss of elasticity | I months / C cycles | Yes | Yes |
📝 Always use Stridepaw’s templates for your inspection and replacement logs. This helps you keep your process clear and compliant.
You can print this checklist or save it digitally. Train your team to follow each step. Update your records after every inspection or replacement. This workflow helps you lower risk, meet regulations, and keep your runners leash for dog kits safe for daily use.
Replacement terms for professional buyers
Warranty, replacement, credit triggers
You need simple rules for when you can ask for a replacement, repair, or credit for your runners leash for dog kits. These rules help your team work fast and follow US and EU standards.
Lifetime warranty covers manufacturing defects for as long as you use the product.
You must buy from authorized dealers to get warranty service.
Normal wear and tear does not count for free replacement. If you need a replacement because of damage, you might pay a small fee.
Some warranties cover damage caused by dogs, but you must mail the product in for review.
Many products are made so you can fix them. You can reuse clamps and hardware.
If the product is totally destroyed, you can get a replacement for life.
Note: Always check your contract for the exact warranty time. Use D days for DOA and W months for workmanship or material defects.
Claim evidence package
You must collect the right proof to support your claim. This keeps your process fair and ready for audits. Your claim evidence package should have:
Photo of the damaged part
Photo of the lot code and product label
Description of the problem (defect, wear, or misuse)
Proof you bought it from an authorized dealer
Filled-out claim form
Inspection or test results (if you have them)
User incident report (if needed)
Tip: Use Stridepaw’s claim evidence checklist to make sure you get all needed items. Always link your proof to the lot code for easy tracking.
RMA workflow and SLAs
You need a clear plan for returns, replacements, and credits. This helps your team act fast and meet rules. Follow these steps:
Find the problem
Check if it is a defect, normal wear, or misuse.Check warranty time
See if the claim is within D days (DOA) or W months (workmanship).Collect proof
Gather all items listed in the claim evidence package.Send claim
Give your claim and proof to the supplier using the right form.Supplier checks claim
The supplier looks at your claim and proof. They decide if you meet the E out of T evidence rule.Get decision
If approved, the supplier sends a replacement, repair, or credit. If denied, you get a reason and advice.Ship and close
The supplier ships the replacement in S business days. You update your records and close the claim.
🕒 Always track your claim with the agreed service level agreements (SLAs):
Claim response SLA: R business days
Replacement ship-out SLA: S business days
Replacement Terms Matrix
Scenario | Buyer Action | Supplier Action | SLA (placeholder) |
|---|---|---|---|
DOA within D days | Send claim + proof | Approve/deny, ship out | R days / S days |
Defect within W months | Send claim + proof | Approve/deny, ship out | R days / S days |
Normal wear (outside warranty) | Order spare part | Ship part | L days |
Misuse or excluded condition | Send claim (optional) | Deny, give advice | R days |
Complete destruction (lifetime) | Mail product + proof | Approve, replace | R days / S days |
Note: Always use Stridepaw’s templates for claims, proof, and tracking. This keeps your process easy and compliant.
You can use this plan and table to train your team and set clear rules with suppliers. This helps you lower disputes, handle problems faster, and keep your runners leash for dog program ready for audits.
Evidence and pass-fail table
You need a clear way to decide if a claim for a runners leash for dog kit meets your replacement policy. Your team must collect the right evidence and check if it meets the pass-fail rule. This helps you act quickly and stay ready for audits.
Stridepaw gives you a simple checklist for every claim. You must gather each item in the evidence package. Your supplier will use the pass-fail rule: if you provide at least E required items out of T total items, your claim moves forward.
Typical Evidence Package Items:
Photo of the damaged part
Photo of the product label and lot code
Description of the problem (defect, wear, or misuse)
Proof of purchase from an authorized dealer
Completed claim form
Inspection or test results
User incident report (if needed)
📝 Always link every photo and document to the lot code. This keeps your records organized and helps you answer questions during audits.
How to Use the Pass-Fail Rule:
Collect all items listed in the evidence package.
Count how many items you have.
Check if you meet the threshold: E required items out of T total items.
If you meet the rule, your claim passes and moves to review.
If you do not meet the rule, your claim fails. You must collect missing items before resubmitting.
Evidence Pass-Fail Table
Evidence Item | Required for Claim? | Example Format | Linked to Lot Code? |
|---|---|---|---|
Photo of damaged part | Yes | .jpg or .png | Yes |
Photo of product label and lot code | Yes | .jpg or .png | Yes |
Description of problem | Yes | Text | Yes |
Proof of purchase | Yes | PDF or receipt image | Yes |
Completed claim form | Yes | PDF or digital form | Yes |
Inspection/test results | Optional | PDF or image | Yes |
User incident report | Optional | PDF or text | Yes |
Example: Your supplier sets E = 5 and T = 7. If you provide five required items, your claim passes. If you only have four, you must collect more evidence.
Why This Matters for Your Team
You keep your process fair and clear. You lower disputes and handle claims faster. You stay ready for US 24-hour reporting and EU 10-year retention rules. You use Stridepaw’s templates to train your team and keep every claim audit-ready.
Quick Tips for Procurement Teams:
Always use the latest evidence checklist from Stridepaw.
Save every file in a searchable system.
Link every record to the lot code.
Review the pass-fail rule before you submit a claim.
You help your team follow the rules and keep your runners leash for dog program safe and compliant.
Safety disclaimers for hands-free use
Hazard map for running leashes
You need to know the main dangers when using hands-free runners leash for dog kits. These dangers can hurt both you and your dog. You should tell your team and buyers about these risks. The most common dangers are:
Loss of control: If your dog pulls fast, you might fall down.
Injury risk: Big or strong dogs can pull you over, especially in emergencies.
Physical capability: You must check if you can control your dog in different situations.
You should look for these dangers before you say yes to any product for your program. This helps you set clear rules and lower risk.
Label and manual warnings
You need to make sure every warning is the same on the product label, in the manual, and on the online spec sheet. This keeps your safety messages easy to understand and always the same. Use the table below to check that you have all the warnings you need.
Table C: Safety Disclaimer Blocks
Hazard | Required Warning Text | Where It Appears |
|---|---|---|
Loss of control | “Sudden pulls may cause loss of balance or falls. Always stay alert when running.” | Label, Manual, Online Spec Sheet |
Injury risk | “Strong dogs can pull users over. Use only if you can control your dog’s strength.” | Label, Manual, Online Spec Sheet |
Physical capability | “Assess your ability to control your dog before using hands-free leashes.” | Label, Manual, Online Spec Sheet |
Choking hazard | “Keep away from children. Small parts may present a choking hazard.” | Label, Manual |
Trip risk | “Leash may cause tripping. Watch your step at all times.” | Label, Manual |
Note: Always use the same words for each hazard in every document. This helps people know the risks and stay safe.
You should check your labels and manuals every year. Update them if you find new dangers or if rules change.
Fit-for-purpose and exclusions
You must tell users when the product is not right for some uses. For example, hands-free leashes may not work for dogs that pull hard or act fast. You need to put clear rules in your manual and contracts. This keeps your team and buyers safe.
Only use the leash with dogs you can control.
Do not use the leash for aggressive or untrained dogs.
Do not let children use the leash.
Always follow the inspection and wear-item schedule.
You must add a legal note in your documents. For example:"User assumes all responsibility for safe use. Stridepaw is not liable for injuries or misuse outside the stated guidelines."
Tip: Train your team to check that every product has the right warnings and legal notes before you ship it. Use Stridepaw’s templates to make your process easy and follow the rules.
You help your buyers stay safe and follow the rules when you do these steps. You also make audits and answering questions easier for your team.
Incident response and post-market monitoring

When you take care of runners leash for dog kits, you need a good plan for handling problems and watching product safety after people get them. This helps you follow US and EU rules. It also keeps users safe and your records ready for checks. Here is how you can make a strong incident response and post-market monitoring system.
Data sources for signals
You have to gather signals from different places to find problems early. These signals help you act fast and keep your products safe.
Customer complaints (emails, calls, online forms)
Product returns with defect reports
Incident reports from users or staff
Online reviews and social media posts
Internal inspection logs
Supplier feedback
Tip: Use a searchable system to save every complaint, return, and report. Always connect each entry to the product’s lot code.
Severity and escalation
You need to sort problems by how bad they are. This helps you know what to do next and how fast to act.
Severity Level | Example Incident | Action Needed | Reporting Time |
|---|---|---|---|
Minor | Faded webbing, loose buckle | Log and monitor | Within 5 days |
Moderate | Broken clip, user trip (no injury) | Investigate, consider recall | Within 48 hours |
Major | Injury, product failure, safety risk | Escalate, notify authorities | Within 24 hours (US baseline) |
If you find a major problem, you must report it in 24 hours in the US. In the EU, you have to keep all records for 10 years. Always follow your plan for big problems and tell your team about updates.
Corrective actions package
You need a clear plan to fix problems and stop them from happening again. This plan is called a Corrective and Preventive Action (CAPA) package.
CAPA Steps:
Find the problem and collect all data about it.
Figure out the main cause using inspection logs and user reports.
Pick what to do to fix it (repair, recall, update manual).
Give tasks to people and set deadlines for each action.
Watch progress and check if the fix works.
Write down every step in your system, linked to the lot code.
Review and change your process if needed.
Note: Stridepaw gives you templates for CAPA logs and tracking problems. Use these tools to keep your records clear and ready for checks.
You help your team follow rules and keep users safe when you do these steps. Always keep your logs neat and check them often. This way, your runners leash for dog program stays safer and more reliable.
Traceability and record retention for compliance
Labeling and lot-code logic
You need strong labeling and lot-code logic to track every runners leash for dog kit. Each product must have a unique lot code. This code helps you follow the product from the supplier to the end user. You can use lot codes to find out which batch a product came from. If you see a problem, you can trace it back to the source. Lot codes also help you meet FDA rules and EU standards.
Lot codes give each product a unique ID for tracking.
You can use lot codes to follow products through the supply chain.
Lot codes help you manage recalls by finding the right batch.
You link lot codes to Key Data Elements and Critical Tracking Events.
You must keep lot codes consistent and ready to share with authorities in 24 hours.
You should put the lot code on the product label, packaging, and in your digital records. Stridepaw provides templates to help you set up your labeling and lot-code system.
Retention windows
You must keep your records for the right amount of time. The EU General Product Safety Regulation says you need to keep technical documents and traceability information for 10 years. You also need to keep extended traceability records for 6 years. In the US, you must be ready to report safety issues within 24 hours.
Record Type | Retention Window | Region |
|---|---|---|
Technical documentation | 10 years | EU |
Traceability information | 10 years | EU |
Extended traceability records | 6 years | EU |
Safety incident reports | 24 hours (reporting) | US |
You should store all records in a searchable system. Always link each record to the lot code. Use SI units first, such as Newtons (N) and millimeters (mm). You can add US conversions, like pound-force (lbf) and inches (in), to help your team.
Tip: Save every label, inspection log, and incident report with the lot code. This makes audits easier and helps you answer questions fast.
Audit-ready traceability queries
You need to answer audit questions quickly. You can set up your system to run traceability queries at any time. Here is how you can prepare:
Find the lot code for the product in question.
Search your records for all documents linked to that lot code.
Check the SI/US units in your inspection and test logs.
Review the retention window for each record.
Make sure you have technical documentation, incident reports, and traceability logs.
Prepare to submit records to authorities within 24 hours if needed.
Use Stridepaw’s templates to organize your files and make queries easy.
Query Step | What to Check | Example Unit Conversion |
|---|---|---|
Lot code search | Product label, packaging | 1 lbf = 4.45 N |
Inspection logs | Wear-item, defect records | 1 in = 25.4 mm |
Incident reports | Complaint, CAPA logs | 1 kg = 2.205 lb |
📝 Always keep your traceability system up to date. Train your team to use SI units and add US conversions when needed. This helps you meet EU and US rules and keeps your runners leash for dog program audit-ready.
You can use these steps to build a strong traceability and record retention process. Stridepaw supports you with templates and digital tools for compliance.
Templates for RFQs and contracts
You need easy templates so your procurement, QA, and compliance teams can work faster. These templates help you set up contracts, handle claims, and check safety labels. Stridepaw gives you ready-to-use tools for every step.
Replacement and wear-item clause template
You can use these contract-ready clauses in your RFQs and supplier agreements. Just copy and paste them into your documents. This sets clear rules for replacements, wear items, and evidence.
**Definitions**
- "Kit": Complete runners leash for dog set (leash, waist belt, hardware, packaging).
- "Wear Item": Any part subject to regular replacement (webbing, buckles, clips, waist belt).
- "Defect": Manufacturing or material fault not caused by normal wear or misuse.

**Replacement Terms**
- Supplier will replace or credit any kit with a confirmed defect reported within D days (DOA) or W months (workmanship).
- Normal wear and tear does not qualify for free replacement.

**Wear-Item Exclusions**
- Wear items must be replaced after I months or C cycles, whichever comes first.
- Claims for wear items outside the refresh interval are excluded.

**Evidence Requirements**
- Buyer must submit E required items out of T total items (photo of damaged part, lot code, proof of purchase, completed claim form, etc.).

**Change-Control Clause**
- Supplier must notify buyer of any changes to materials, design, or approved substitutes before shipment.
Tip: Always check these clauses with your legal team before you finish contracts.
You can also use this table for important RFQ and contract clauses:
Essential Clause | Description |
|---|---|
Vendor Details | Company name and contact details |
RFQ Number | Unique identifier for the RFQ |
RFQ Sent Date | Date when the RFQ was sent |
Submission Response Deadline | Due date for vendor quotes |
Project Overview | Purpose, goals, and scope of work |
Specifications | Technical specs, quantities, pricing |
Delivery Requirements | Timeline, shipping, packaging |
Submission Instructions | How to submit quotes |
Evaluation Criteria | Vendor selection factors |
Terms and Conditions | Payment, shipping, warranties, legal clauses |
Vendor Qualifications | Experience and references |
Claim intake form template
You need a simple claim intake form to collect the right information every time. This helps your team act fast and keeps your records ready for audits. Train your staff to use the form and keep it easy to find, both online and on paper.
Claim Intake Form Fields:
Buyer name and contact
Product lot code
Date of purchase
Description of issue (defect, wear, misuse)
Photo of damaged part
Photo of product label and lot code
Proof of purchase
Completed claim form
Inspection or test results (if available)
User incident report (if needed)
Best practice: Use digital forms to cut down on paperwork and speed up the process. Only ask for what you need. Do not ask too many questions.
Safety and labeling checklist
You must check every kit for the right safety warnings and labels. Use this checklist to make sure you follow US and EU rules.
Product label has a unique lot code
Label and manual use the same hazard names and warning text
Warnings cover loss of control, injury risk, physical capability, choking hazard, and trip risk
Legal disclaimer is in both label and manual
All safety instructions are clear and easy to read
Labels and manuals are checked and updated every year
All records are linked to lot codes and kept for 10 years (EU)
📝 Print this checklist or save it on your computer. Train your team to use it before every shipment.
Stridepaw gives you templates and checklists for every step. You can use these tools to keep your runners leash for dog program safe, compliant, and ready for audits.
Easy-to-follow replacement, wear-item, and safety rules help you keep your runners leash for dog program ready for checks. These steps help you follow the rules and build trust with your team and suppliers:
Check what comes in each kit and when to replace parts
Use the right replacement rules and safety warnings
Watch for problems and save records for each kit
Use Stridepaw templates to help with every step
Be ready and stay ahead. Use these tips and change your process when you get feedback or see new problems. Stridepaw gives your team help and tools for B2B buyers.
FAQ
What comes in a runners leash for dog kit?
You get a hands-free leash, waist belt, hardware (clips, buckles), packaging, a user manual, a product label with lot code, and digital templates. Use Stridepaw’s checklist to confirm every item matches your order.
How often should you replace wear items?
You should replace webbing, buckles, clips, and the waist belt every I months or after C cycles. Always follow your program’s schedule. Use Stridepaw’s approved substitutes list for replacements.
What evidence do you need for a warranty claim?
You need a photo of the damaged part, the lot code, proof of purchase, a completed claim form, and a problem description. Stridepaw’s claim checklist helps you collect the right items.
How do you handle safety warnings?
You must check that labels and manuals use the same hazard names and warning text. Review these every year. Stridepaw provides templates to help you keep warnings clear and compliant.
What is the process for post-market monitoring?
You log complaints, returns, and incidents in a searchable system. Link each entry to the lot code. Act fast if you find a safety risk. Stridepaw’s CAPA templates help you track and fix problems.
How long should you keep records?
You keep technical documents and traceability records for 10 years in the EU. In the US, you must report safety issues within 24 hours. Always link records to lot codes for easy audits.
How do you roll out a supplier program?
You use Stridepaw’s templates for RFQs, contracts, and safety checklists. Train your team on each workflow step. Update records after every shipment and inspection.