Many shoppers search for a dog car seat with safety buckles because they want a setup that feels more controlled than a loose pet bed. The first trap is assuming the word “safety” means the seat itself has proven crash protection. In many everyday products, the buckles mainly describe how the seat and tether connect. What matters more is whether the base stays flat on the rear seat, the tether routes correctly to a chest-supported harness, and your dog can settle without climbing, crouching, or being held by the neck.
This page focuses on pass-fail setup signs rather than a generic buying script. You will see what the buckles should actually do, what warning signs mean the seat is wrong for your dog or your vehicle, and when a different restraint category makes more sense. If your dog shows repeated panting, drooling, whining, or lethargy during travel, pause the trip and speak with your veterinarian. This is not medical advice.
Key Takeaways
- Treat “safety buckles” as an attachment feature, not automatic proof of crash performance.
- A pass setup sits flat, keeps the tether short and untwisted, and lets your dog rest in a natural posture.
- A fail setup rocks, overhangs the seat, relies on collar attachment, or needs extra slack just to be usable.
What “safety buckles” actually do and what they do not
Positioning aid first, proven protection second
A dog car seat with buckles can help with containment, routine, and driver distraction control. It can keep a small dog from drifting between cushions, climbing into the front area, or pacing across the rear seat. That is useful. It is not the same as saying the seat has been independently proven to manage crash forces. The word “buckle” only tells you there is a connection method. It does not tell you how well the whole system performs when the dog’s weight shifts, when the car turns sharply, or when the seat is loaded by real use.
Important: A buckle-based seat can be practical for positioning and daily travel control, but the setup should never be judged by marketing words alone. Judge it by how it installs, how it restrains, and how it behaves once your dog is actually inside.
Harness routing should reduce neck risk, not create it
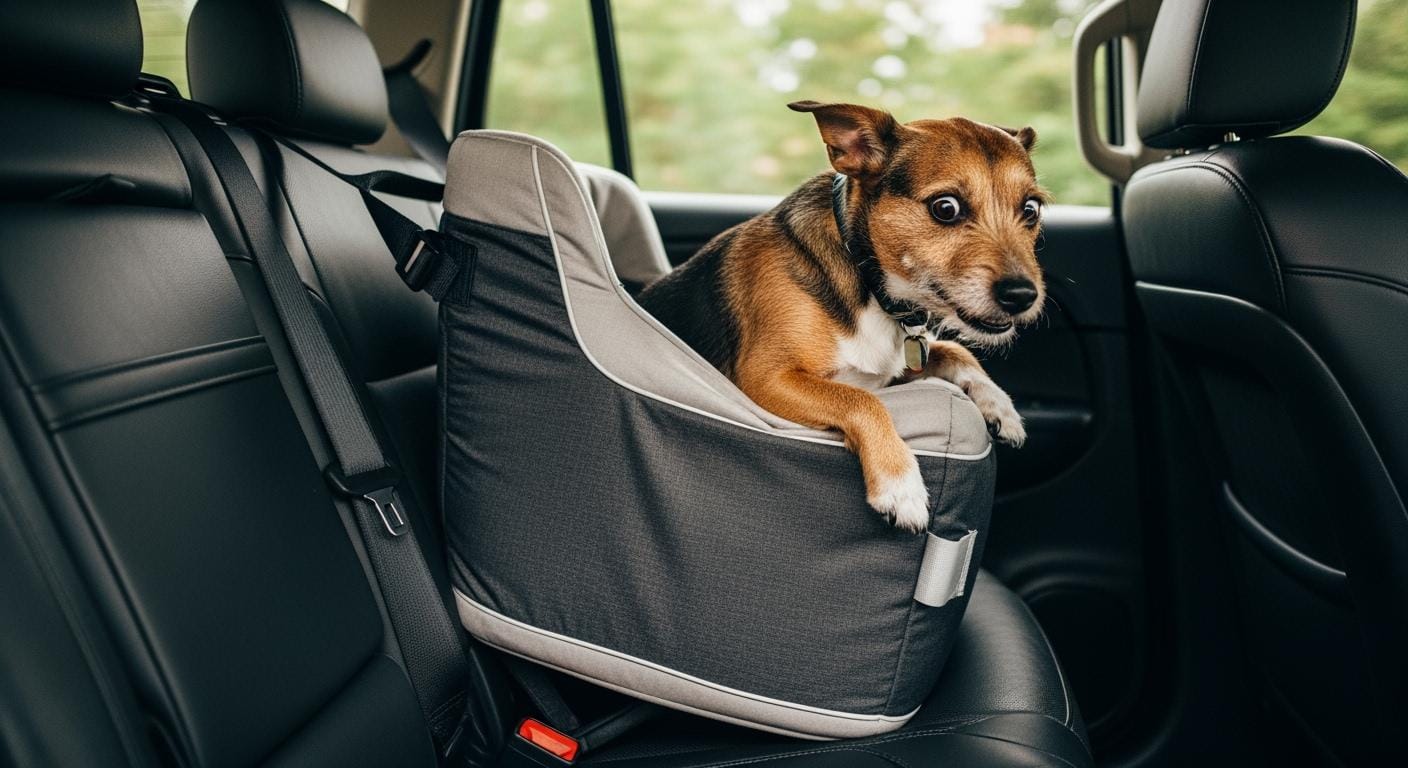
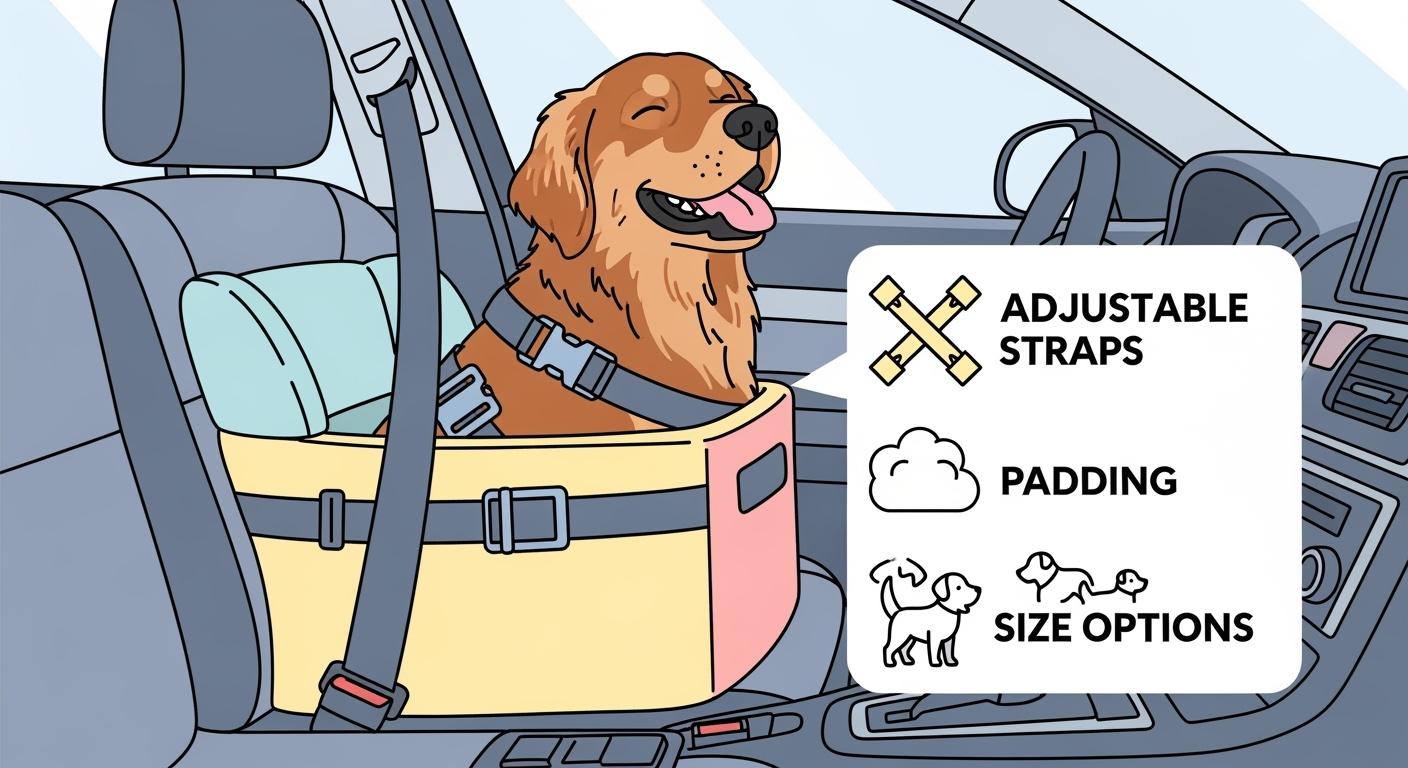
The seat tether should connect to a chest-supported harness, not to a collar. A good tether length helps prevent climb-out while still allowing your dog to sit, lie down, and turn once without tangling. The straps should run flat, the buckle should close fully, and the connection point should stay easy to inspect. If you need to leave excessive slack just to stop pulling on the dog’s neck, the problem is not the dog. The problem is usually seat size, tether routing, or the wrong restraint type for that travel pattern.
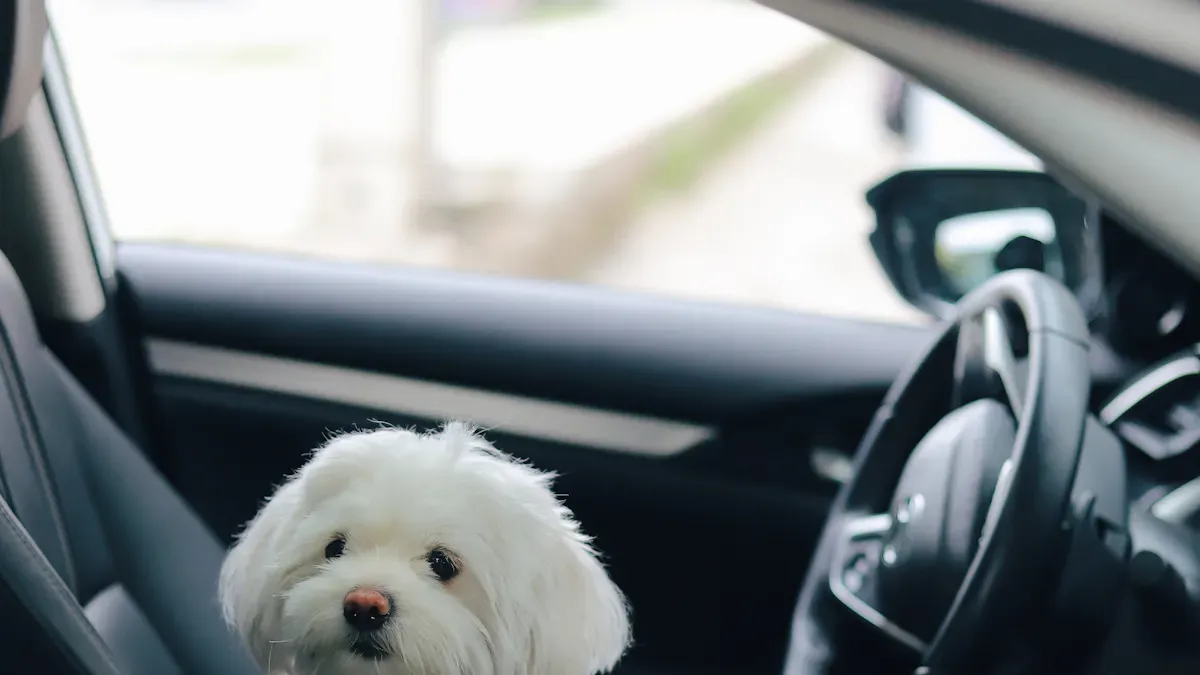
Rear-seat placement matters too. A dog should not ride in the front passenger seat in this kind of setup. The back seat gives you better separation from airbags and makes it easier to keep the restraint path controlled.
Pass-fail signs before the first ride
Base contact and belt path come first
Before your dog gets in, check the empty seat like a piece of installed gear. The base should rest flat on the rear seat instead of hanging over an edge or bridging across a dip. The restraint path should be easy to follow and easy to recheck. If the seat only feels stable when you push it down with one hand, or if the anchor path twists every time you reinstall it, the seat is already starting in fail mode.
Buckle retention and side-to-side movement should stay controlled
Once the seat is anchored, push it forward, back, and side to side. You are not looking for zero movement. You are looking for controlled movement without rocking, tipping, or walking across the cushion. Then snap and recheck every buckle. A buckle that feels vague, pops partly open, or shifts under light pull is not something to “monitor later.” It is a stop signal.
Your dog’s posture is part of the installation test
A setup is not truly installed until your dog is inside and resting. Watch what happens after the first minute, not only the first ten seconds. A pass signal looks like this: your dog steps in without scrambling, can settle with shoulders supported, and does not have to brace on the front wall to stay upright. A fail signal looks like this: the dog leans over the edge, keeps trying to climb out, slides into one corner on turns, or sits hunched because the inner bed is shorter than it looked when empty.
Pass/Fail Installation Checklist
| Check Item | Pass Signal | Fail Signal | Fix |
|---|---|---|---|
| Rear-seat footprint | Base sits flat with even contact | Overhang, gaps, or rocking | Use a different seat size or a different restraint type |
| Belt path | Strap or belt runs flat and stays easy to inspect | Twisting, rubbing, or hidden routing | Reinstall and simplify the path before use |
| Buckle retention | Clicks cleanly and stays fully closed | Loose feel, partial latch, or pop-open risk | Stop use and replace the damaged part or seat |
| Harness tether | Short, controlled slack to a chest-supported harness | Collar attachment or long wandering slack | Switch harness and reset tether length |
| Posture room | Dog can sit, lie down, and turn once naturally | Crouching, edge-perching, or constant bracing | Resize or move to another setup category |
| Side stability | Seat stays controlled during push test | Tipping or walking across the cushion | Change anchor position or stop using the seat |
| Cleaning access | Cover can be removed without disturbing critical anchors | Cleanup hides wear or changes the install path | Inspect structure after every reinstall |
Sizing mistakes that create false security
You want your dog to feel comfortable and secure during every car ride. That only happens when the dog and the vehicle are measured together, not guessed from a product label.
Measure your dog before you buy a car seat. Then compare those numbers to the seat’s true inner bed area, wall height, tether reach, and base footprint in your car.
Inner space matters more than outer shell size
A common buying mistake is trusting the outside dimensions or the words “small,” “medium,” or “booster.” What matters more is the usable space after padding, side walls, and tether position are taken into account. A high-walled seat can look secure but still be wrong if the dog has to perch on the front edge, lean against one side to balance, or curl tighter than its normal resting posture. Bigger walls do not automatically mean better control.
Vehicle mismatch is often the real problem
Some seats fail because the dog is the wrong size. Others fail because the rear seat shape is the wrong match. A narrow base on a rounded seat cushion can feel acceptable when empty and unstable once the dog climbs in. A tall entry wall can make a small dog scramble hard enough to shift the whole seat. A belt path that runs too close to the door or buckle stalk can also create constant friction and a messy install.
False-Security Mismatch Table
| Mismatch | What You Notice | Why It Matters | Better Correction |
|---|---|---|---|
| Seat looks large outside but feels tight inside | Dog perches or braces instead of settling | Usable bed area is too small | Judge inner dimensions, not shell size |
| Base is narrow for the rear-seat contour | Seat rocks more once the dog gets in | Load reveals weak contact points | Choose a flatter, broader base or another restraint type |
| Tether must be long to keep the dog comfortable | Dog reaches the edge or twists around | Seat size or tether geometry is wrong | Resize the seat or shorten the travel zone |
| Walls are high but entry is awkward | Dog paws, scrambles, or shifts the seat when entering | Hard entry can create instability before the ride starts | Choose easier entry or add step support outside the seat |
| Seat seems stable only when empty | Loaded seat tilts or slides on turns | Dog weight changes the center of force | Test with the dog inside before real travel |
Decision Table for Fit and Use
| Dog or Travel Situation | Use This Seat? | Why | Main Watchout |
|---|---|---|---|
| Small dog that settles quickly and stays low | Usually yes, if the base stays flat | The seat can help with positioning and routine | Do not confuse calm use with crash proofing |
| Dog near the seat’s practical size limit | Often no | Dog weight and body length expose base weakness fast | Loaded stability matters more than empty appearance |
| Dog that climbs, chews, or fights the tether | Usually no | The seat becomes harder to keep controlled | Repeated struggle creates wear and routing errors |
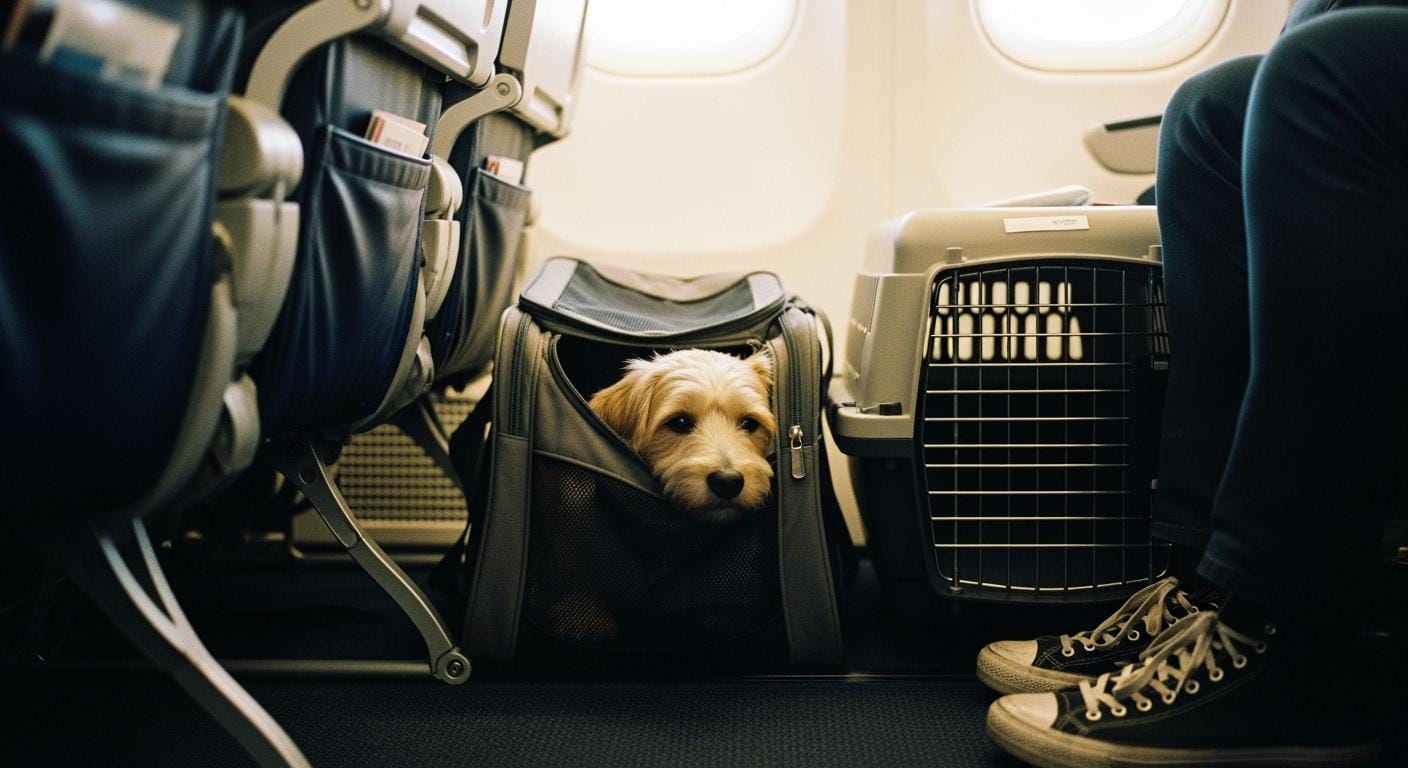
| Travel pattern needs full containment | Usually no | A buckle seat is not the same thing as a contained setup | Choose the restraint category first, then the product |
| Older or sore dog that needs easier entry | Maybe | Low entry and good support can help | Tall walls and awkward climbing can still make it a poor fit |
When to stop using this setup or switch to another restraint
Wear points can turn a pass into a fail
A seat that worked well on day one can become unreliable later. Check webbing, stitching, buckle housing, strap adjusters, tether clips, and the belt path area. If the base has started to sag, if the buckle casing is cracked, if the stitching is opening at stress points, or if the seat stays “stable” only when empty, the setup has already moved out of its safe-use zone. A removable cover is useful for cleanup, but a clean cover does not repair a worn structure.
Some dogs and trips need a different category from the start
If your dog is too large to stay inside the seat without leaning hard on the walls, if you need full containment, or if repeated travel requires more controlled restraint than a booster-style layout can give, it makes sense to move to another category instead of forcing this one to work. Depending on the dog and the trip, that may mean a secured carrier, a secured crate, or an independently crash-tested harness setup. The right call is the one that stays controlled without improvising around obvious mismatch signs.
Troubleshooting Table
| Symptom | Likely Cause | Fast Check | Fix |
|---|---|---|---|
| Seat shifts on turns | Weak base contact or loose anchor path | Push the loaded seat from both sides | Reinstall, reduce slack, or stop using that seat |
| Dog leans over the front edge | Inner bed too short or tether too long | Watch the first minute after settling | Resize the seat or shorten the usable travel zone |
| Dog keeps twisting around | Too much slack or poor restraint geometry | Check tether path and turning radius | Reset the tether or switch restraint type |
| Buckle feels weak or vague | Wear, damage, or incomplete engagement | Snap, pull, and inspect the housing | Stop use and replace the damaged part or seat |
| Seat smells fresh but still feels unstable | Structure issue hidden by cover cleanup | Inspect the base, belt path, and seam areas | Prioritize structural checks over cosmetic cleanup |
Alert: Do not treat repeated instability as something your dog will simply “get used to.” If the setup keeps failing the same check, the seat or the restraint category is wrong for that dog, that car, or that travel pattern.
Choosing this category well is less about the word “safety” and more about whether the seat stays flat, routes the tether correctly, and still passes a hands-on check after repeated use. If the setup cannot do that, the right move is not to keep adjusting forever. It is to switch to a restraint style that fits the dog and the vehicle more honestly.
FAQ
Does a dog car seat with safety buckles automatically count as crash protection?
No. Buckles tell you there is a connection method. They do not, by themselves, prove crash performance. You still need to judge base stability, harness routing, restraint category, and any clearly stated independent testing information.
How much slack should the tether have?
Leave only enough slack for your dog to sit, lie down, and turn once without tangling. If the dog can reach the seat edge easily, climb over the front wall, or spin repeatedly, the tether is usually too long or the seat is the wrong match.
Should a nervous dog always use a higher booster-style seat?
Not always. Some dogs settle better with a slightly raised view, while others become more active and keep trying to climb. The better test is whether the dog can relax in a natural posture without fighting the restraint.
When is cleaning not enough and replacement is the better choice?
Cleaning is not enough when you find cracked buckle housing, frayed webbing, opening seams, a deformed base, or a seat that only looks stable when empty. Those are structure problems, not hygiene problems.