A dog seat belt can make road travel feel much calmer, but only when the whole setup is working together. The belt itself is not enough. The harness fit, the tether length, the buckle security, and the dog’s comfort at every stop all matter. Most travel problems start with simple mistakes: too much slack, clipped to the wrong point, tangled routing, or a dog that looks quiet but is actually uncomfortable and building stress.
The better goal is not just restraint. It is a steadier, safer setup that limits unsafe movement without crowding the dog or turning every stop into a full reset. That is why it helps to think about the seat belt as one part of a wider pet car travel setup instead of a single item that solves everything on its own.
What a safer dog seat belt setup should actually do
A good dog seat belt setup should reduce roaming, lower driver distraction, and help keep the dog in a more controlled rear-seat position. It should also allow natural sitting or lying down without letting the dog climb into the front area or wrap into the tether. The aim is controlled movement, not zero movement.
What good restraint usually looks like
- Your dog stays in the rear seating area instead of crossing seats.
- The tether stays centered and clear of legs, seat gaps, and hardware.
- The dog can sit or lie down without awkward tension.
- The setup feels predictable during braking, turns, and routine stops.
What the seat belt should not be expected to do alone
- It should not replace a properly fitted harness.
- It should not be clipped to a collar.
- It should not solve panic, spinning, or chronic motion stress by itself.
- It should not allow enough slack for the dog to reach unsafe areas of the car.
Quick rule: if your dog can still climb forward, tangle easily, or brace uncomfortably against the line, the system is not set up correctly yet.
How to check tether length, buckle security, and harness fit before you drive
The safest time to catch a problem is before the wheels move. A quick parked-car check is usually enough to spot most issues with slack, hardware, and body position. That check matters even more on longer drives because small setup errors get repeated for hours.
Use this pre-drive safety check
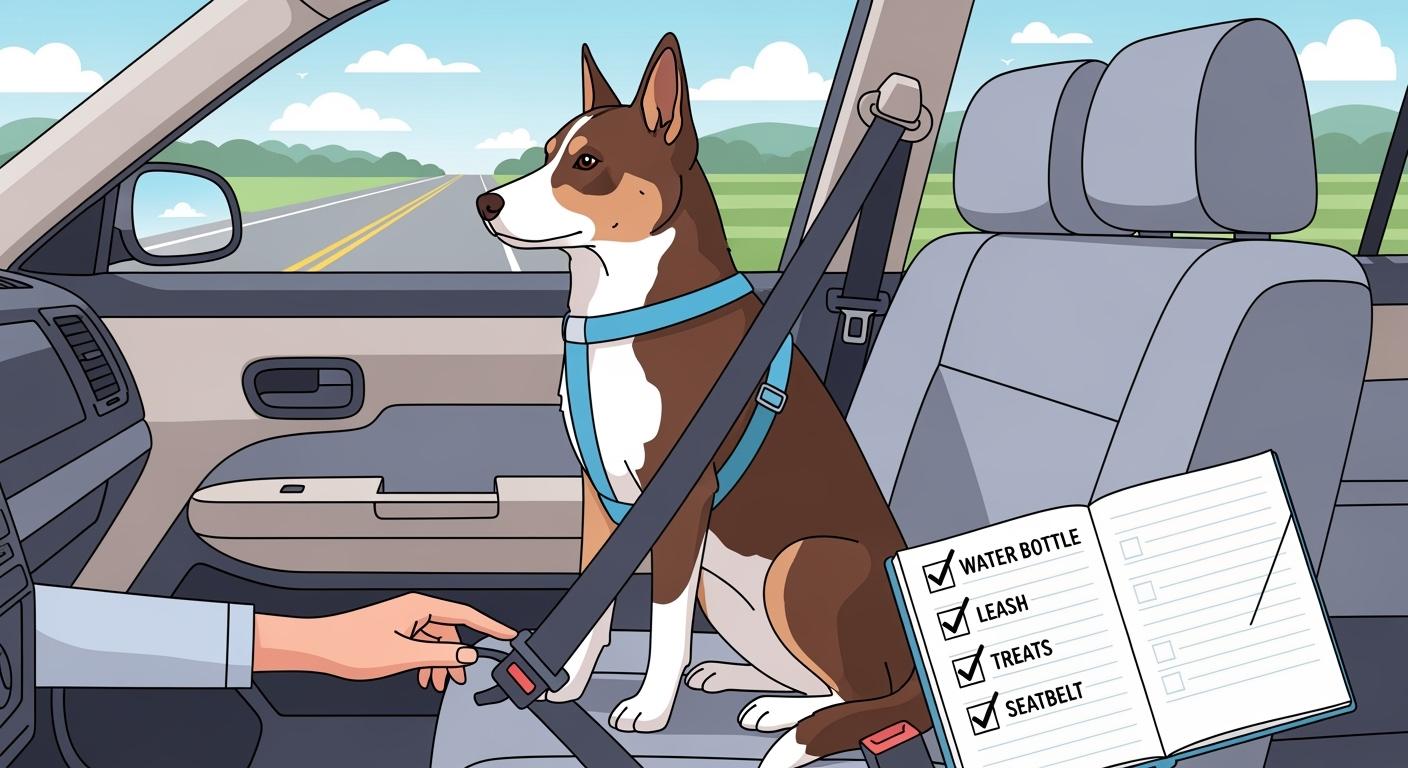
- Place your dog in the rear seat and attach the seat belt as designed.
- Clip the tether to a properly fitted harness, not to a collar.
- Check that the line is not twisted and does not route through a bad angle.
- Adjust the tether so your dog can sit or lie down, but cannot reach the front seat.
- Confirm all clips, buckles, and anchor points feel fully closed and stable.
- Watch your dog shift position once before you start driving.
| Check point | What good looks like | What needs fixing |
|---|---|---|
| Tether length | Enough room for sitting or lying down naturally | Too long for seat-crossing or too short for comfort |
| Routing | Centered, straight, and clear of tangles | Twisted line or awkward angle across the body |
| Harness connection | Clipped to a stable harness point | Clipped to a collar or weak connection area |
| Buckle security | Hardware closes cleanly and stays locked | Loose feel, uncertain click, or drifting position |
If the weak point is the body fit rather than the tether itself, it helps to review harness sizing and use cases before assuming the seat belt is the only issue.
What often goes wrong on longer drives
- The tether starts centered but twists after a few turns or stops.
- The harness shifts and creates rubbing under one strap line.
- The dog slides into a cramped position and stays there too long.
- The owner keeps giving more slack because the dog looks restless, which creates a different safety problem.
What to check at every break so the next stretch stays safe
Rest stops are not only for water and bathroom breaks. They are the easiest time to catch fit drift, pressure points, and early stress signals before the next drive segment starts. A short stop-time routine usually prevents more trouble than trying to fix everything once the dog is already uncomfortable.
Use this quick stop routine
- Check the harness position and make sure it is still centered.
- Look for twisting, tangles, or a tether that now sits at a bad angle.
- Run your fingers under the main harness contact points for heat, grit, or rubbing.
- Offer water and let your dog reset calmly before re-entering the car.
- Re-seat the dog and restore the same stable setup before driving again.
Stress and comfort signs worth catching early
- Heavy panting that does not settle after the stop.
- Whining, pacing, or repeated attempts to climb out of the setup.
- Redness, hair flattening, or damp pressure spots under the harness.
- Restlessness that gets worse each time the car starts again.
This works best when the stop routine is part of a repeatable travel routine instead of something different on every trip.
When the setup should be paused and reassessed
Stop and reset the system if the tether keeps tangling, the harness keeps shifting, or your dog cannot settle after a break. A seat belt that is technically attached but repeatedly creating discomfort is not really working well enough for a long drive.
FAQ
Should a dog seat belt attach to a collar?
No. It should attach to a properly fitted harness so sudden force is not concentrated on the neck.
How long should the tether be?
It should be long enough for your dog to sit or lie down comfortably, but short enough to prevent climbing across seats or reaching the front area.
Why do I need to check the setup at every rest stop?
Because long drives can shift harness fit, change tether routing, and create rubbing or stress that was not obvious at the start of the trip.
What is the most common mistake with dog seat belts?
One of the most common mistakes is using too much slack, which allows tangling, forward reach, and less controlled restraint.
When should I stop using the current seat belt setup?
Reassess if the tether keeps tangling, the harness shifts repeatedly, your dog shows ongoing discomfort, or the setup still allows unsafe movement after careful adjustment.