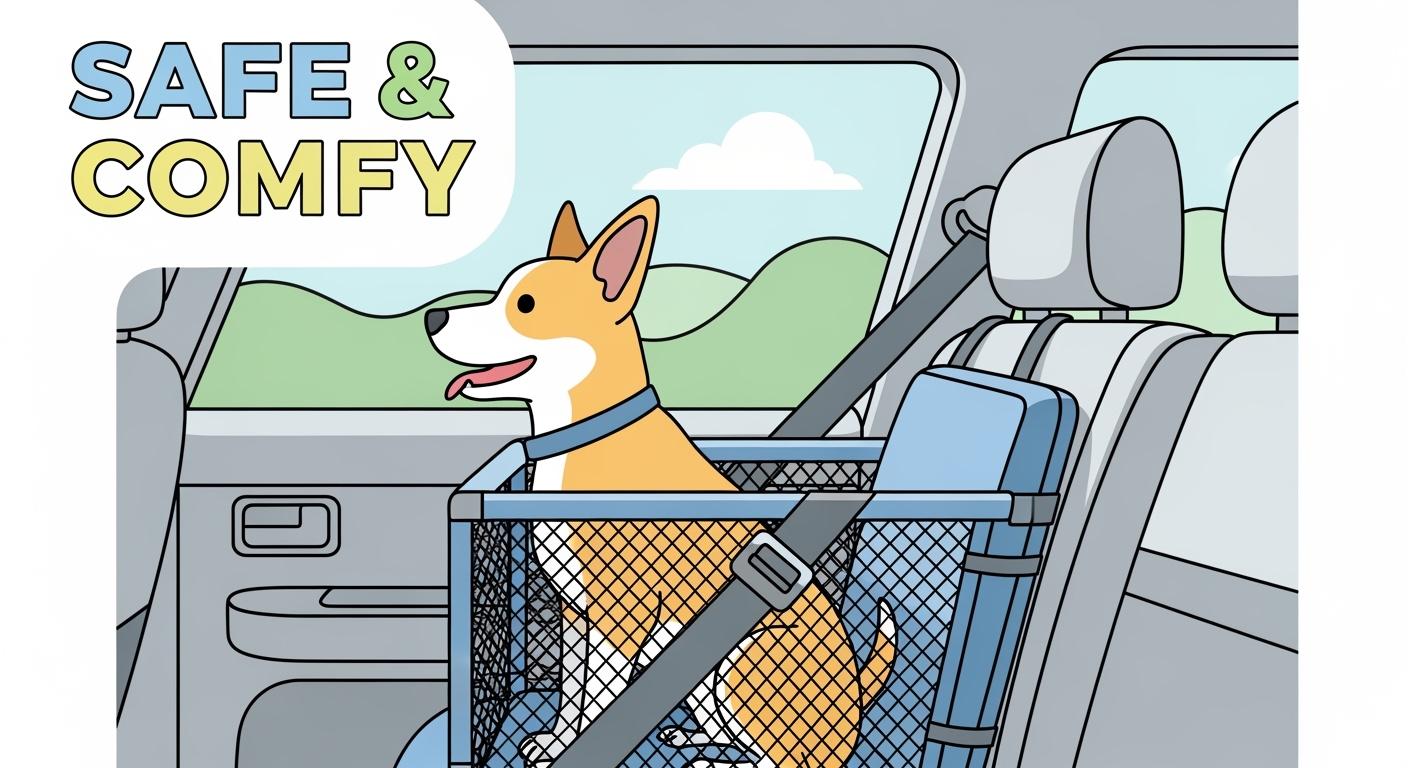
A dog booster seat gives your dog height to see out the window. That is the whole point. But the mesh wall that makes the view possible is also the first part to fail — and when it sags, airflow drops, support fades, and the seat stops doing its job. The difference between a wall that stays open and one that collapses is not brand or price. It is how the edge binding, panel tension, and frame work together to manage the force of a dog pressing into the mesh.
This article walks through why mesh walls sag, which design details prevent it, and how to tell the difference in real use — so the seat keeps your dog supported through every paw at the window.
Why the Mesh Wall Is the First Thing to Fail
What Happens When a Dog Paws at the Window
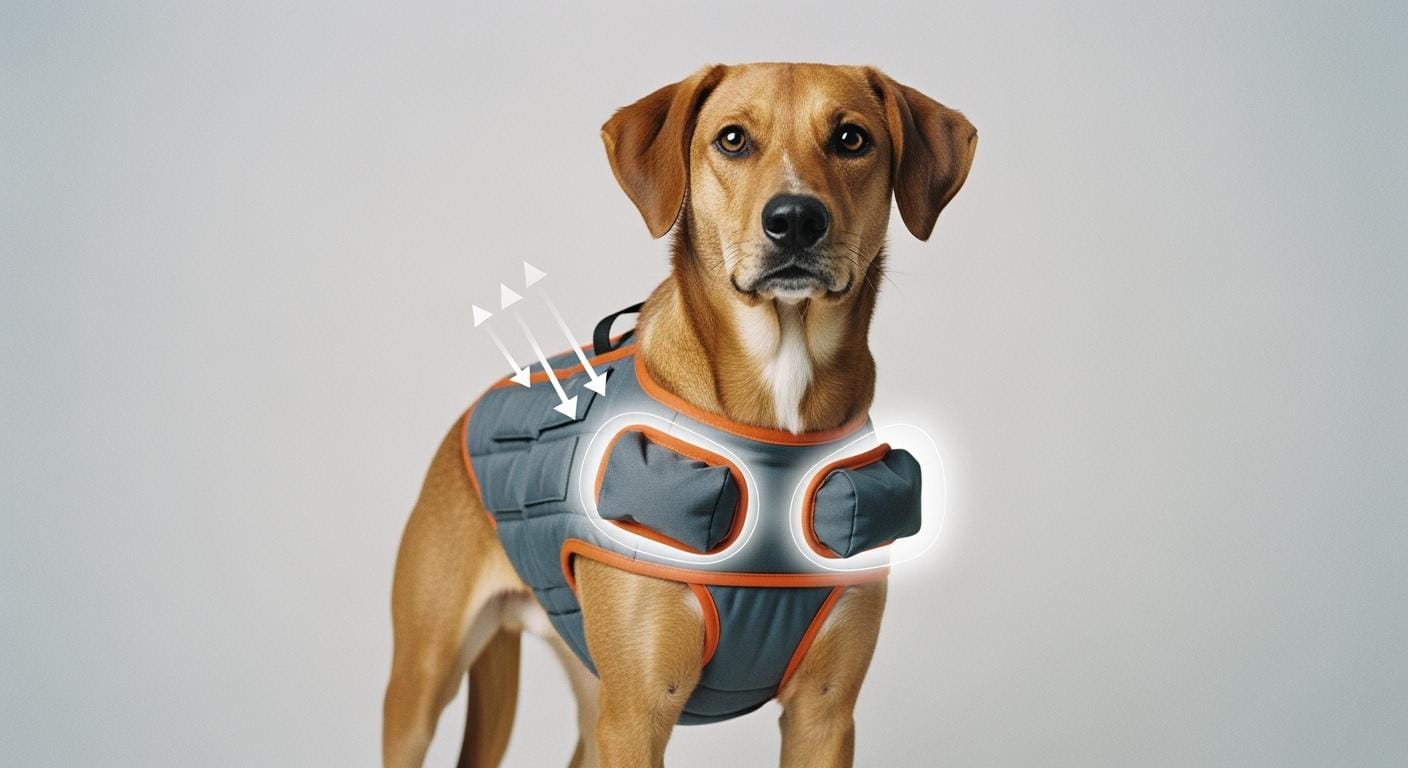
A dog in a booster seat pushes forward. Paws hit the mesh. The force is not trivial — an excited medium-sized dog can generate repeated point loads at the paw-contact zone, each one pulling outward on the mesh panel. Because the mesh wall is the front face of the seat, it takes nearly all of this pressure directly. There is no frame member between the dog and the mesh.
The load path runs like this: paw pressure pushes the mesh outward → the mesh transfers tension to the edge binding → the binding pulls against the frame or seam it is attached to. If the binding is narrow or single-stitched, that tension concentrates at the stitch line. Thread elongates. The binding starts to separate. Once the binding yields even slightly, the mesh loses panel tension and the sagging cascade begins. That is the mechanical story behind almost every collapsed booster seat wall.
This is not the same load pattern a dog booster seat handles when the dog simply sits still. Static weight distributes across the base and frame. Active pawing directs force straight into the mesh — the lightest, most flexible surface in the entire structure.
How Soft Edges and Loose Panels Respond
Soft edge binding bends. It was never meant to resist tension in the first place. Some seats use a thin fabric fold-over with a single line of stitching — construction that holds fine for a stationary panel but begins to creep the moment cyclic load is applied. Each paw push stretches the binding a fraction of a millimeter. Over weeks of daily drives, those fractions add up.
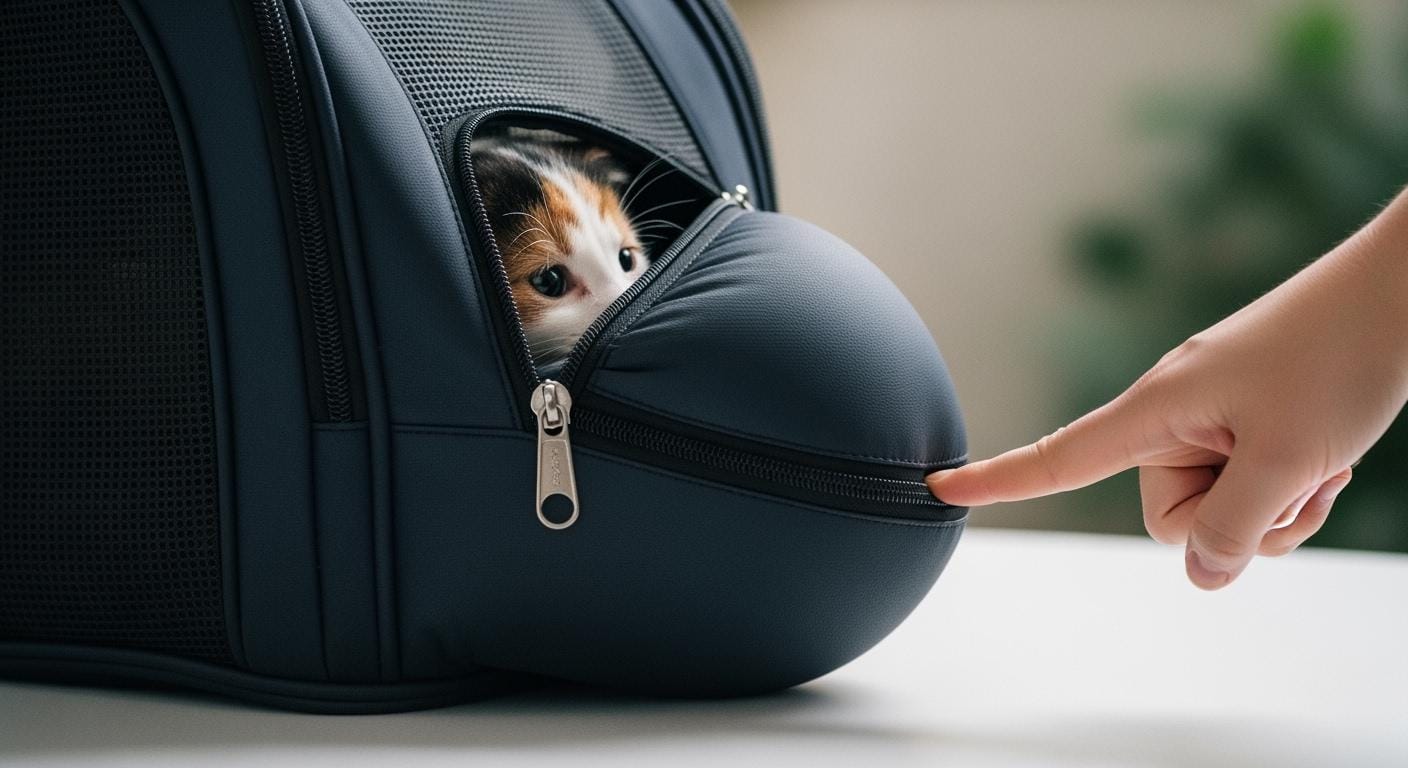
Loose panel tension makes it worse. A mesh panel that is not pulled taut during manufacturing has slack built in. When the dog leans, the mesh does not resist — it just bows outward. The dog’s view narrows. Airflow drops. And because a bowed panel puts even more load on the binding at odd angles, the wear accelerates. Material choices in a booster seat determine whether this cycle stops early or runs all the way to failure.
In practice: Run your hand along the mesh binding after a 15-minute drive with your dog. If you feel gaps, loose threads, or a wavy edge where the binding meets the mesh, the panel is already yielding. A binding that sits flat and tight against the mesh with no give under finger pressure is doing its job.
Real Signs the Mesh Wall Is Losing Structure
Sagging does not happen all at once. It shows up in stages.
| Failure Signal | Likely Design Cause | Better Product Detail |
|---|---|---|
| Mesh droops or folds at the top edge | Narrow binding with single-row stitching | Wide, double-stitched edge binding |
| Airflow feels reduced mid-ride | Mesh panel was never tensioned during assembly | Pre-tensioned panel with anti-scratch overlay |
| Seat wall tilts or leans | Soft frame corners that flex under side load | Rigid frame with a non-slip base plate |
Each of these signals points to a specific design shortcut. A drooping top edge means the binding cannot hold tension. Blocked airflow means the panel was cut with too much slack. A tilting wall means the frame corners — the points where the mesh wall meets the seat body — lack the stiffness to resist lateral force. In-car safety seating depends on the booster seat holding its shape, not just during the first week but across months of daily use.
The Three Design Details That Keep the Wall Open
The binding is the anchor point for the entire mesh panel. When it is wide, double-stitched, and made from a material with low elongation under load — typically a dense webbing rather than a thin fabric fold — it distributes paw-generated tension along the full perimeter rather than concentrating it at individual stitch points.
Why this matters structurally: a single stitch line under cyclic tension behaves like a perforation. Each needle hole is a stress riser. Under repeated load from a dog pawing the mesh, the thread saws through the hole, elongating it. Double-stitch patterns spread the load across two rows of perforations, roughly halving the stress per hole. The binding material itself also matters — a nylon webbing edge resists elongation better than a folded-over polyester mesh edge, which tends to stretch in sympathy with the panel it is supposed to be anchoring.
You can verify this yourself. After a week of regular drives, check the booster seat the way a product reviewer would: look at the binding where it meets the frame corners. If the stitching is still tight and the binding lies flat, the load path is intact. If you see puckering or thread loops pulling away from the fabric, the binding is losing the battle.
Anti-Scratch Side Panels
Not all mesh failure starts at the binding. Some starts in the middle of the panel, where claws make repeated contact. A standard polyester mesh has decent tensile strength but poor abrasion resistance — claws can snag individual filaments, creating small tears that grow under tension.
An anti-scratch overlay — typically a tighter-weave fabric bonded or stitched over the inner paw-contact zone — changes the failure mode. The overlay takes the abrasion. The structural mesh behind it stays intact, maintaining panel tension. This is a layered approach: the outer layer handles wear, the inner layer handles load. Without the overlay, one material has to do both, and it typically fails at the wear function first. A folding car seat with anti-scratch panels illustrates how this dual-layer strategy preserves the mesh across months of active use.
Tip: After a drive, flip the seat around and inspect the inner paw-contact zone under good light. Snags or fuzz on the mesh surface mean the material is abrading. An intact anti-scratch panel should show no filament pulls, even after weeks of use.
Firm Frame and a Stable, Non-Slip Base
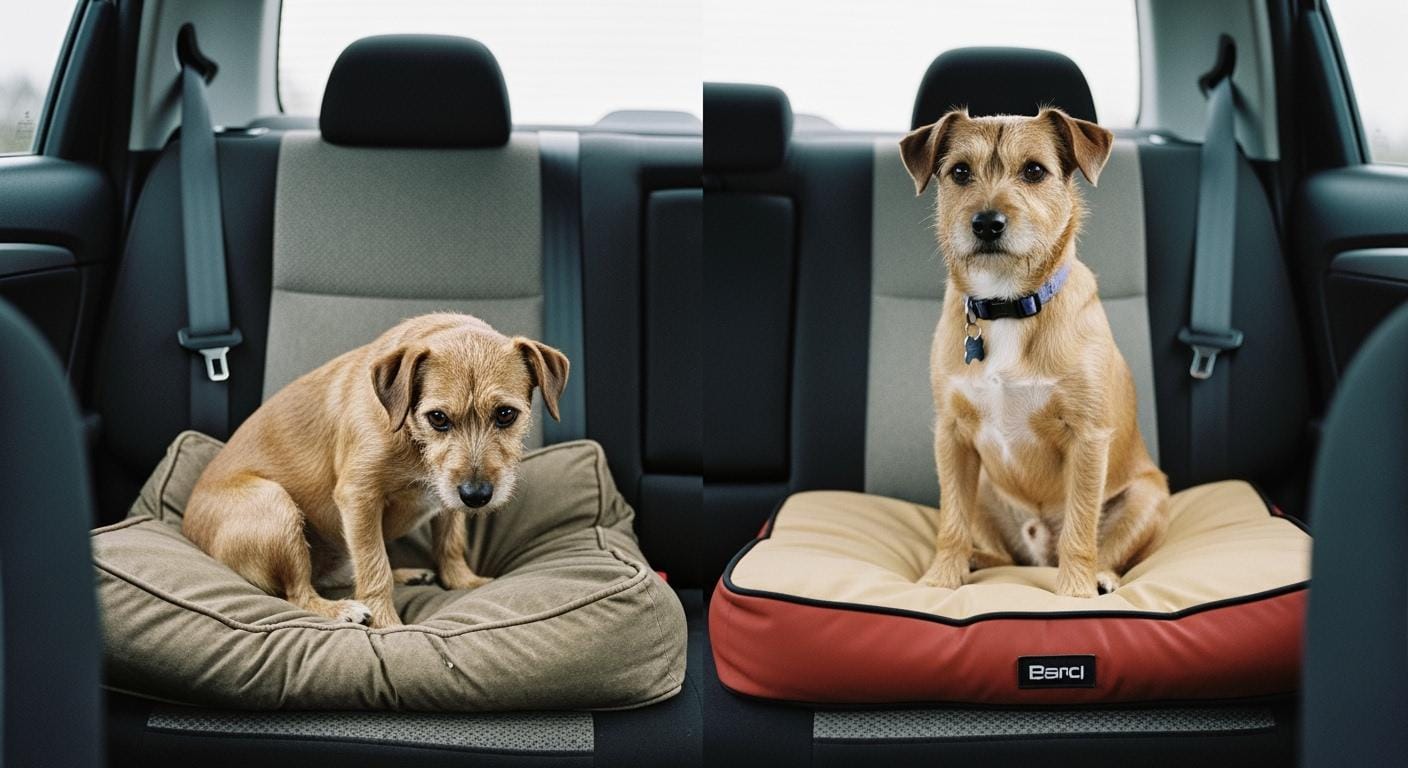
The frame and base do more than hold the seat upright. They determine whether the mesh wall stays in tension or gets pulled out of shape by forces entering from below. A soft frame that flexes at the corners allows the mesh wall to tilt — the top edge leans outward, the bottom edge pulls inward, and panel tension goes slack across the entire surface. The result looks like sagging, but the root cause is frame flex, not mesh failure.
A rigid frame with reinforced corner joints keeps the mesh panel in its designed geometry. Combine that with a non-slip base that prevents the entire seat from shifting during turns, and the mesh wall no longer has to act as a structural brace — it only has to be a mesh wall. That is the right division of labor. The frame handles structure; the mesh handles visibility and airflow.
| Design Difference | Why It Matters | Main Limitation |
|---|---|---|
| Wide double-stitched binding vs. narrow single-stitch | Distributes paw tension across more thread points; resists stitch-hole elongation | Adds marginal bulk at the seam; requires precise tension control during sewing |
| Anti-scratch overlay vs. bare mesh | Separates wear function from load-bearing function; preserves panel tension longer | Adds a material layer that may slightly reduce airflow at the contact zone |
| Rigid corner frame vs. soft frame | Prevents wall tilt under side load; keeps mesh geometry stable | Less collapsible for storage; heavier to carry between vehicles |
When Mesh Support Matters Most — and When It Matters Less
Active Dogs, Longer Drives, Warmer Days
The design advantages of reinforced mesh walls show up most clearly under three conditions: an active dog that paws and shifts frequently, drives longer than 20 minutes, and warm weather where airflow becomes a comfort factor, not just a nice-to-have.
An active dog puts the mesh through hundreds of load cycles per trip. Each paw press is a tension event on the binding. On a short errand — five minutes to the vet — a weak binding may hold. On a two-hour highway drive, the cumulative effect of those cycles separates a well-built wall from one held together by hope and thin thread. Installation mistakes compound this — a tether routed through the mesh instead of a frame anchor turns every paw push into a direct pull on the binding.
Warm weather raises the stakes further because a sagging mesh wall does two things at once: it blocks the dog’s view and cuts airflow. A dog that cannot see out and cannot feel moving air is a dog that pants, shifts, paws more, and accelerates the very wear that caused the problem. Reinforced edges and tensioned panels break that feedback loop.
When a Standard Mesh Wall Is Usually Enough
A dog that sits calmly, rides mostly on short trips, and does not paw at the window puts far less demand on the mesh wall. In these conditions, a standard single-stitch binding and basic panel tension may hold up fine for the life of the seat. The design differences described above matter most at the margins — active use, long duration, repeated load — and recede in importance when the dog treats the booster seat as a perch rather than a launch point.
The tether matters here too. A dog secured with a properly routed, harness-attached tether that keeps it centered in the seat cannot reach the mesh wall with its full body weight. In that setup, even a basic mesh panel is rarely challenged. The problem is that many dogs lean, shift, and paw regardless — and the mesh is the only thing between them and the dashboard.
Disclaimer: This assessment of mesh wall durability assumes a smooth-coated dog of typical build using the booster seat with its included tether and a harness. Double-coated breeds may show subtler rub marks that require hand-checking along the binding rather than visual inspection alone. Dogs that ride unrestrained or in seats without a dedicated tether anchor will subject the mesh wall to loads these design features were not dimensioned for.
FAQ
Why does mesh sag even when the seat looks well-made?
Visible build quality — clean stitching, even seams — tells you about assembly care, not design choices. A seat can be neatly sewn and still use a narrow single-row binding that elongates under cyclic load. The failure is in the specification, not the workmanship. What matters is binding width, stitch-row count, and whether the panel was pre-tensioned during manufacturing.
Can sagging mesh be fixed once it starts?
Not reliably. Once the binding has stretched or the stitch holes have elongated, re-tensioning the panel requires disassembly of the seam — something most booster seats are not designed for. The practical fix is prevention through design selection. A seat with double-stitched wide binding and pre-tensioned panels is far less likely to reach that point.
Does a non-slip base affect mesh wall stability?
Indirectly, yes. A seat that slides during turns forces the dog to brace against the mesh wall for stability. The mesh then absorbs lateral load it was never designed to carry. A non-slip base keeps the seat planted, which keeps the dog centered, which keeps lateral force off the mesh. The base and the mesh are part of the same system.
Should the tether attach to the frame or the mesh?
Always to the frame or a dedicated base anchor. A tether routed through or attached to the mesh wall turns every pull into a tension spike on the binding — exactly the failure mode reinforced edges are designed to prevent. The tether’s job is to position the dog, not to tension the mesh panel.