No-pull harnesses don’t fail because the idea is wrong-they fail when the harness twists, slides into the armpit zone, or sits in a position that blocks the dog’s stride. This Cluster guide explains when a front clip helps, how to fit for stability, and what “early wear” signals mean it’s time to refit or replace.
For style options and common structures, start in the dog harness category and compare layouts before you choose a clip strategy.
When a no-pull harness is the right tool
A front-clip or dual-clip setup is most useful when you need fast steering and distance control-especially during training or in busy environments:
- Dogs that lunge at triggers (dogs, scooters, wildlife)
- Urban walks with frequent crossings and tight sidewalks
- Early loose-leash training (short sessions, low distractions first)
- Handlers who need a reliable “close control” option in transitions
If you’re deciding between control approaches (front vs back vs dual clip) and want a clear setup baseline, see No-Pull & Better Control.
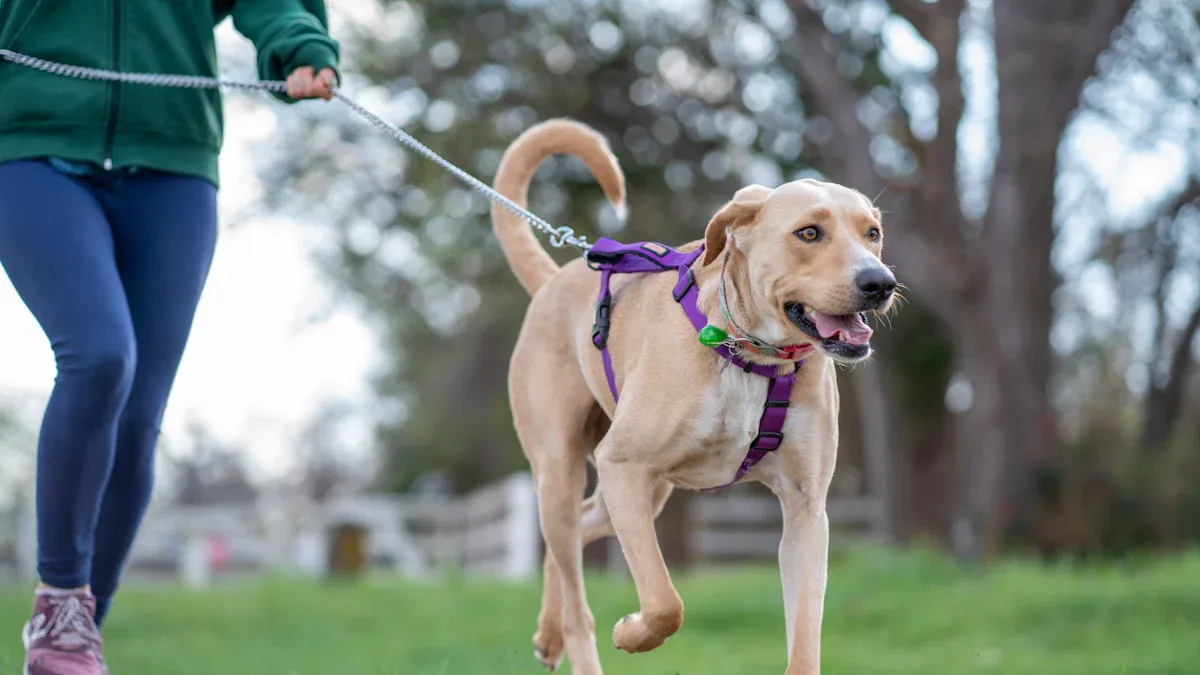
Front clip vs back clip vs dual clip
| Clip type | What it does best | Where problems start | Fast fix |
|---|---|---|---|
| Front clip | Steering + pull reduction during training | Harness rotates; straps migrate into armpits | Refit for stability; shorten distance in crowds |
| Back clip | Smooth comfort for calm walkers | Strong pullers can “lean in” and pull harder | Switch to front/dual clip for training phases |
| Dual clip | Flexibility across walk scenarios | Confusing setup; inconsistent use | Use front clip in high-distraction areas; back clip in calm areas |
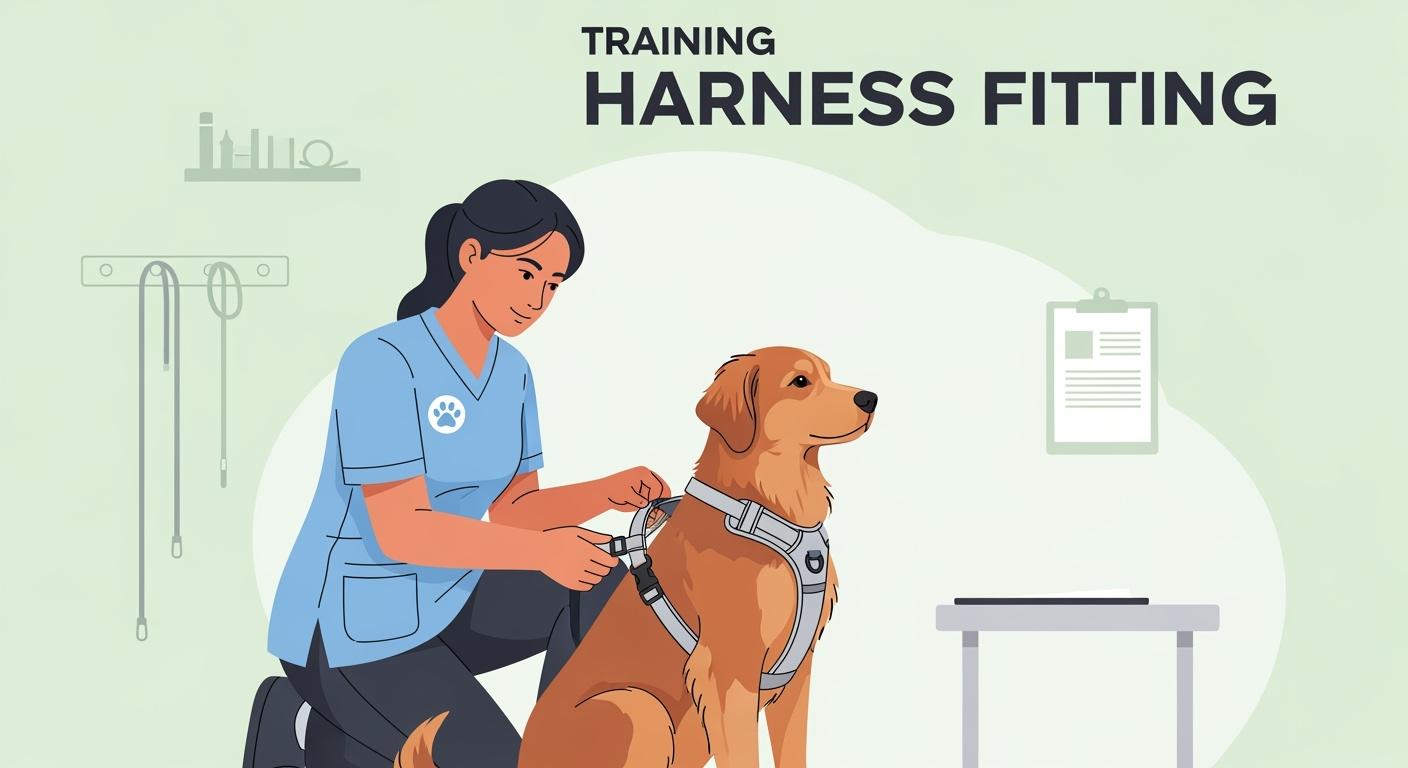
Fit checks that predict control and comfort
These checks take two minutes and prevent most “it rubs / it twists / it doesn’t work” outcomes.
Pass/fail: 2-minute fit routine
- Two-finger rule: two fingers under straps; snug but not tight.
- Rotation test: after a few turns, the chest strap and front clip stay near center.
- Rub-zone check: straps sit behind the front legs; no migration into the armpit zone.
- Shoulder freedom: chest panel doesn’t block stride or press into the shoulder joint.
- Slip-out check: a gentle backward pull doesn’t let the harness ride up toward the neck.
Where no-pull harnesses fail first
Most durability complaints start at predictable stress points. If you inspect these areas early, you can prevent “sudden failure” events.
- Front-ring stitch zone: thread fray, seam creep, stitch elongation near the clip point.
- Adjuster slip: straps creep longer during walks, increasing twist and rubbing.
- Hardware wear: grooves or burrs that accelerate webbing abrasion.
- Edge binding fray: especially near armpits and high-friction zones.
Refit vs replace (simple rules)
- Refit if the harness twists but the webbing, stitching, and hardware are intact.
- Replace if you see broken stitches, webbing cuts, melted spots, cracked hardware, or a clip point that has deformed.
- Stop using front clip if it consistently rotates the harness into the armpit zone-switch to a different geometry or size.
FAQ
Do no-pull harnesses stop pulling immediately?
They can reduce leverage and improve steering, but results depend on fit and handling. If the harness twists or rubs, control usually gets worse, not better.
Why does my front-clip harness twist so much?
Twisting is usually a fit stability issue (too loose, wrong geometry, or straps migrating). Start with the two-minute fit routine, shorten distance in distractions, and retest after a few turns.
When should I switch from front clip to back clip?
Use front clip during training phases and high-distraction areas. If your dog walks calmly and you want a smoother feel, back clip can work-provided the dog isn’t leaning hard into the leash.
How do I know if rubbing is happening?
Watch for redness, hair thinning, or the harness shifting into the armpit zone. Rubbing often comes from rotation and strap migration, not just tightness.
What’s a good sizing baseline if I’m between sizes?
Prioritize stability and shoulder freedom. If you need a deeper sizing and materials baseline, use the best dog harness guide to confirm measurement points and fit rules.