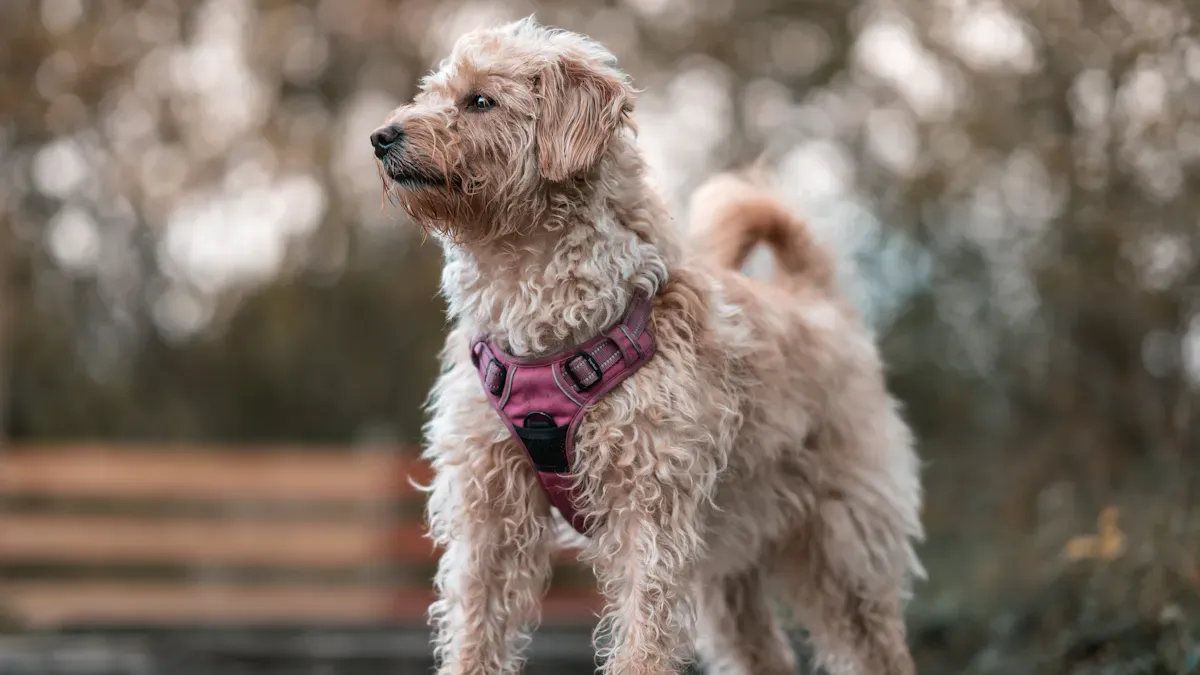
A dog harness should sit clear of the armpits, stay off the throat, and leave enough shoulder room to keep the walk comfortable. Rubbing behind the legs, a front strap that rides into the throat, or a harness that shifts to one side usually means the fit is off in motion even if the size seemed right at first. The goal is not just getting the harness on. It is getting it to stay clear of the pressure zones that matter while your dog actually walks.
That usually comes down to three things: where the straps sit, how evenly they are adjusted, and whether your dog can move through a full stride without the harness rotating or restricting the shoulders. Good fit also works better when it stays consistent with the leash setup, so harness and leash fit can affect the walk more than many owners expect.
Note: This article covers everyday walking harness fit. It does not replace veterinary care when your dog shows pain, breathing trouble, or skin injury that continues after the harness is adjusted.
What a correctly fitted harness should do
A harness fits well when it rests on the chest instead of the throat, clears the armpits, leaves room for the shoulder blades to move, and stays centered through a full walk. If one of those fails, the dog often tells you quickly through shorter steps, coughing, scratching, or visible redness after the walk.
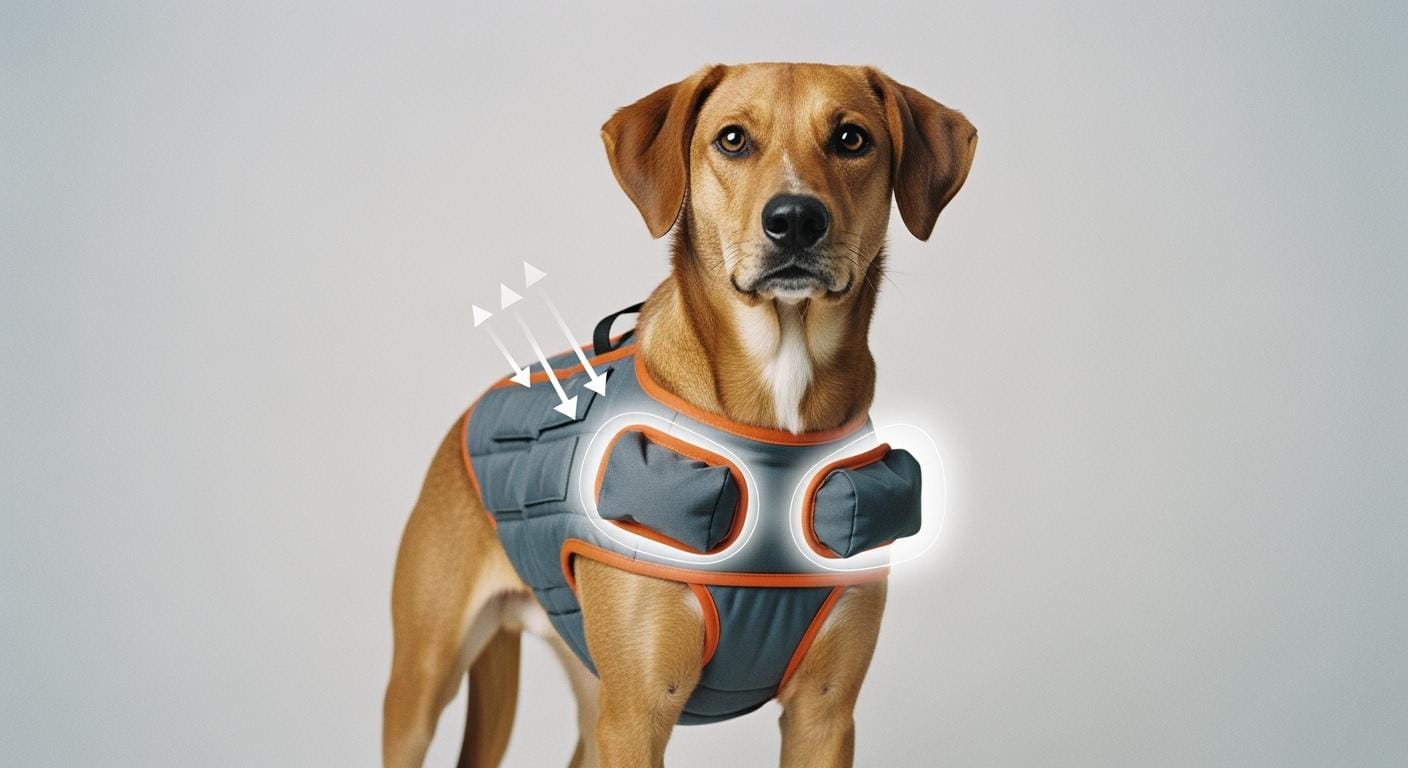
Watch the armpits first
Rubbing behind the front legs is one of the most common harness fit problems because the chest strap can look clear when the dog is still and then migrate inward once the dog starts moving. That repeated contact creates a narrow line of friction along the strap path. In many cases, preventing rubbing and shoulder restriction starts with moving the strap farther back rather than adding more padding to the wrong position.
Keep the front low enough on the chest
If the front of the harness rides too high, leash tension can shift pressure from the chest toward the throat. That matters even more for dogs that pull or for shorter-faced breeds that are more sensitive to throat pressure. Coughing or gagging during the walk is a sign to stop and refit before using that setup again.
Do not let the shoulder area get blocked
The front legs need room to extend fully. When a strap or panel crosses the shoulder blades at the wrong angle, the dog often takes shorter steps, moves stiffly, or starts looking uneven in front. If that keeps happening after adjustment, the issue may be the harness design rather than the strap tension alone.
| Pressure Zone | What You Want | Early Warning Sign | First Fix |
|---|---|---|---|
| Throat | Front sits on the chest, not the neck | Coughing, gagging, or stress under leash tension | Lower the front and recheck overall size |
| Armpits | Visible clearance during walking | Redness or hair thinning behind the legs | Move the girth strap back and reset tension evenly |
| Shoulders | Full front-leg reach | Short or uneven steps | Adjust for more clearance or try a different cut |
| Belly strap | Stable position behind the front legs | Rotation, skin marks, or escape risk | Reposition and tighten without pinching |
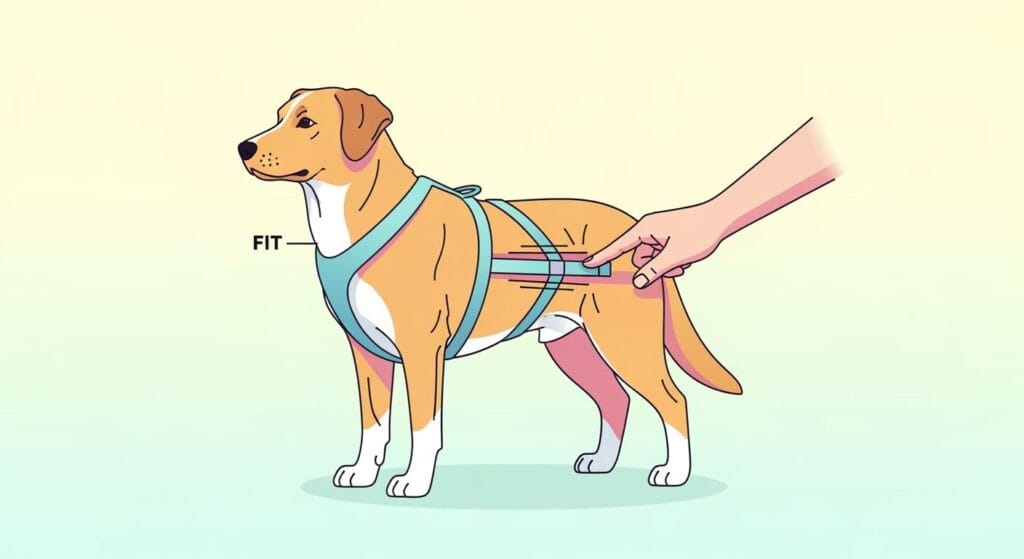
Measure before you adjust
Chest girth is usually the most important starting number, but it is not the only one that matters. Neck size, back length, and the space between the front legs and the belly strap all affect whether the harness lands in the right places once it is tightened. If you need a closer look at the basics, measuring your dog for a harness helps clarify what to record before you choose a size.
Use a soft tape measure, keep the tape snug but not tight, and write the numbers down before comparing them with the sizing chart. When your dog lands between sizes, the better option is usually the one that gives the chest enough room while still allowing the other straps to adjust into place.
How to fit the harness step by step
- Loosen the straps before putting the harness on so you can position it first and tighten it second.
- Set the front of the harness on the chest, below the throat.
- Place the belly strap behind the front legs so it clears the armpits.
- Tighten both sides evenly until the harness feels secure without pinching.
- Check that buckles and clips are not pressing directly into the skin.
- Walk your dog for several minutes and watch for rotation, strap migration, or shortened front steps.
- Inspect the skin and coat right after the walk for redness, indentation, or disturbed fur along the strap lines.
A fit that looks acceptable indoors can still fail once your dog turns, speeds up, or puts tension on the leash. That is why movement matters more than the first static check.
What to look for during the first few walks
The first few sessions usually tell you whether the harness is stable enough to keep using. Redness, coughing, or a harness that drifts off center are all easier to correct early than after they become repeated problems.
| Check Item | Pass Signal | Fail Signal | Next Step |
|---|---|---|---|
| Harness stays centered | Chest area stays on the midline through the walk | It twists or drifts to one side quickly | Reset both side straps evenly and recheck size |
| Front legs move freely | Stride looks full and even | Steps shorten or look uneven | Increase shoulder clearance or change harness style |
| No rubbing behind the legs | Skin and coat look normal after removal | Redness, hair thinning, or irritation appears | Move the girth strap farther back |
| No throat pressure | Breathing stays quiet and normal | Coughing or gagging appears under leash tension | Lower the front and reassess the fit |
| Dog accepts the harness | Normal willingness to walk and wear it | Resistance, scratching, or repeated backing away | Look for a pressure point or design mismatch |
Troubleshooting the most common fit problems
Most harness problems come from a small set of predictable issues.
| Problem | Likely Cause | Fast Check | Fix |
|---|---|---|---|
| Harness sits high on the neck | Front area too tight or overall size too small | See whether the front shifts toward the throat under leash tension | Loosen the front or try a larger size |
| Chest strap rubs behind the legs | Belly strap too close to the armpits | Inspect the skin after the walk | Move the strap back and retighten evenly |
| Harness rotates during the walk | Uneven strap tension or the wrong shape for the dog | Watch whether one side drifts lower than the other | Equalize both sides or try a different style |
| Dog resists putting it on | Existing discomfort or repeated bad fit | Check for skin marks and movement changes | Refit fully before using it again |
| Hardware presses into the body | Clip or buckle lands on a pressure point | Feel under the harness once it is tightened | Reposition the hardware or switch models |
When to try a different harness style
If the harness still rubs, rotates, or restricts movement after careful adjustment, the design may simply be wrong for your dog’s shape. Deep chests, wide shoulders, narrow builds, and fast growth phases can all make one style work much better than another.
In that situation, training harness fit and sizing checks can help you compare how different layouts interact with different body types. If you need to compare shapes directly, dog harness styles are easier to evaluate when you already know whether your main problem is throat rise, armpit rub, or shoulder restriction.
Bottom line
A good harness fit is not just about size. It is about where the harness sits once your dog is moving. If the throat stays clear, the armpits stay clear, the shoulders can move normally, and the harness stays centered through the walk, you are usually close to the right fit. If not, adjust early or switch styles before discomfort turns into a repeated problem.
FAQ
How often should you recheck a dog harness fit?
Every few weeks is a good baseline, and you should recheck sooner after weight change, coat change, or visible growth.
Can a poorly fitted harness cause skin problems?
Yes. Repeated rubbing can lead to redness, hair thinning, and sores if the strap position is not corrected.
What does shoulder restriction look like in a walk?
The front steps often look shorter, stiffer, or uneven because the harness is crossing the shoulder area at the wrong angle.