A dog leash usually does not fail first in the open middle section. The weak point is more often where force changes direction: the clip loop, the stitch zone behind the clip, the first folded bend, the handle junction, or any added ring or control handle. These areas carry repeated pulling, twisting, moisture, dirt, and sudden shock loads.
That is why leash quality is not only about thickness. A thick leash can still become unsafe if the clip gate sticks, the stitching stretches, the webbing thins inside a fold, or the handle joint starts to open. A better leash design should make these stress points easier to inspect and harder to damage during real walks.
For leash product lines, the most useful question is simple: where will the leash fail first after repeated use, and what material, hardware, stitching, and fold structure can reduce that risk?
If the main product type still needs comparison, start with the core dog leash category before checking the stress points below.
Where dog leashes usually fail first
The load path is the route force travels from the handler’s hand to the dog. Every pull, lunge, stop, and direction change passes through this path. On a leash, the highest-risk areas are rarely random.
- Clip attachment loop: The stitched loop behind the clip carries repeated pulling and flexing.
- First bend behind the clip: Webbing folds at this point, so abrasion can hide inside the bend before it becomes visible.
- Clip gate and swivel: Dirt, corrosion, weak spring action, or poor alignment can stop the clip from closing cleanly.
- Handle junction: The handler side takes sudden grip force, especially with strong dogs or quick stops.
- Added rings or traffic handles: Extra parts create extra stitch zones and new points where force concentrates.

A strong leash should not rely on one visible feature, such as a heavy clip or thick webbing. The full load path needs to work together. If one connection point wears faster than the rest, the leash can fail even when the main strap still looks usable.
Clip and stitching wear that should not be ignored
When a leash breaks suddenly, the clip and nearby stitching are often involved. The clip may still look attached, but the gate may not close fully, the swivel may bind, or the loop stitching may have stretched under repeated tension. These signs matter because the clip area is where movement, hardware contact, and pulling force meet.
| Check point | Early wear sign | Why it matters |
|---|---|---|
| Clip gate | Slow closing, weak snap, poor alignment, sticking | The leash may detach if the gate does not close fully. |
| Swivel | Binding, grinding feel, uneven rotation | Twisting increases and more force moves into the stitch loop. |
| Metal surface | Burrs, sharp edges, grooves, rust, bending | Rough hardware can cut or abrade webbing at the same contact point. |
| Stitch loop | Loose threads, gaps, pulled stitches, changed loop shape | The attachment zone may already be losing strength. |
| Fold behind clip | Flattening, hidden fuzzing, cracking, thinning | Repeated flexing can weaken the webbing before damage is obvious. |
The safest product direction is a clip that moves smoothly, closes cleanly, and sits against reinforced webbing without creating a sharp cutting edge. Reinforcement should support the load path without making the fold so stiff that it cracks or concentrates stress in one narrow line.
Material exposure makes hidden leash damage worse
Daily walking exposes leashes to more than pulling. Sand, salt, mud, water, sun, chewing, and repeated wet-dry cycles can weaken webbing, rope, stitching, and hardware. The leash may still look acceptable from a distance while the fold zones and stitch holes are already wearing down.
Material choice should match the environment. A leash used on sidewalks has different wear pressure than one used on beaches, muddy trails, wet grass, or high-salt coastal routes. The more exposure a leash sees, the more important clean edges, stable stitching, corrosion-resistant hardware, and fast-drying construction become.
| Exposure | Common damage | Better product detail |
|---|---|---|
| Sand and grit | Abrasion inside folds and hardware contact points | Smooth hardware, reinforced folds, easy-rinse surfaces |
| Salt air or seawater | Corrosion, sticky clip gates, rough metal edges | Corrosion-resistant hardware and clear care guidance |
| Mud and water | Slow drying, odor, stiffening, hidden stitch wear | Quick-drying webbing and stitching that does not trap debris |
| UV and heat | Fading, brittleness, surface hardening | UV-resistant materials and storage guidance |
| Chewing | Cuts, tooth marks, weakened fibers | Clear replace-now guidance; no leash should be kept after bite damage. |
For products used in hands-free walking or running, stretch and hardware wear can be easier to miss because tension changes quickly during movement. The hands-free dog leashes guide explains how belt position, bungee stretch, clip movement, and leash length affect control in those setups.
Replace-now signs for dog leashes
Some leash damage is not a “watch and wait” issue. If a connection zone is already damaged, the leash should be removed from use. Patching a high-load area may make the surface look neater, but it does not reliably restore hardware alignment, webbing strength, or stitch integrity.
- Broken, missing, or pulled stitches in the clip loop, handle loop, or any connection zone
- Deep cuts, thinning, melted spots, or chew marks on the leash body
- A clip gate that sticks, closes slowly, does not align, or feels weak
- Sharp hardware edges, bending, cracks, corrosion, or rough grooves
- A leash that has been shock-loaded in a fall, hard lunge, or caught-object incident
- Repeated twisting caused by a binding swivel or damaged clip position
These signs are especially important for strong pullers, busy walking routes, leash-reactive dogs, and outdoor use where a failure can happen near traffic, other dogs, uneven ground, or open spaces.
What better leash structure should solve
A better dog leash does not simply look thicker. It controls stress at the points where failure actually begins. That means the clip, webbing, stitching, folds, handle, and optional control features need to match the intended use.
| Product area | What works better | Failure it helps reduce |
|---|---|---|
| Clip | Smooth gate action, suitable size, reliable swivel, clean finish | Accidental opening, twisting, webbing abrasion |
| Stitch zones | Even reinforcement with clean thread tension | Loose stitches, pulled loops, early seam failure |
| Webbing or rope | Stable thickness, clean edges, suitable flexibility | Fraying, curling, hidden fold wear |
| Handle | Comfortable grip and reinforced handle junction | Hand discomfort, handle seam stress, sudden shock damage |
| Traffic handle or extra ring | Placed where it can be used without twisting the leash | Extra stress points and poor close-control handling |
The right leash design depends on the walking setup. A simple daily leash, a traffic-control leash, a bungee leash, and a hands-free leash all place stress in different ways. If the leash is paired with a harness, the connection angle also matters. The harness and leash set fit guide covers how clip size, leash length, and fit cues affect control.
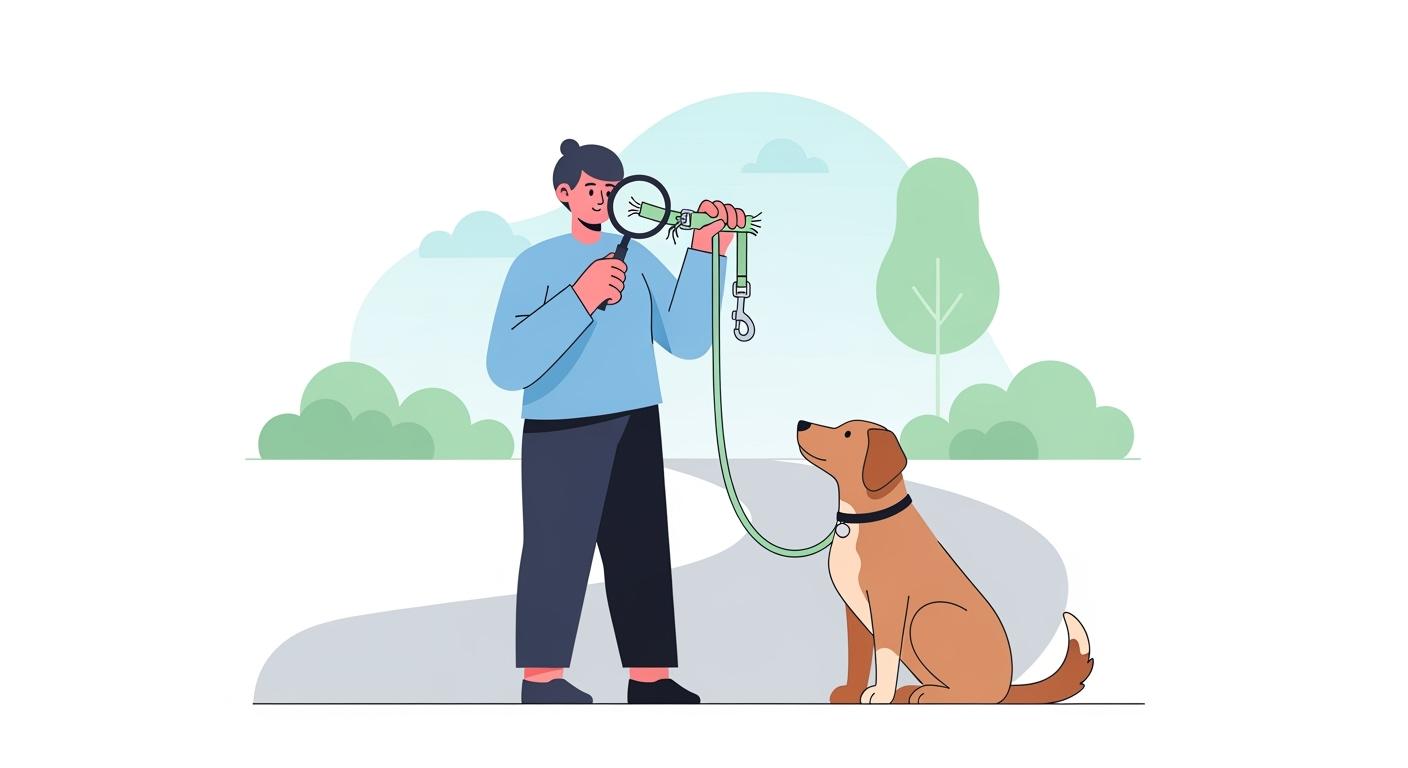
A simple inspection routine before walks
A practical leash check should be fast enough to repeat, but specific enough to catch real failure points. The routine below focuses on the areas that carry force, flex repeatedly, or hide early damage.
- Open and close the clip. It should snap back cleanly without sticking or drifting out of alignment.
- Feel the clip surface. Check for sharp edges, grooves, rust, bending, or rough contact points.
- Check the stitch loops. Look at both the clip end and the handle end for loose, broken, or stretched stitching.
- Bend the first fold behind the clip. Look for fuzzing, cracking, thinning, or hidden abrasion inside the bend.
- Run fingers along the leash body. Feel for cuts, melted areas, stiff sections, chew marks, or edge fraying.
- Check the handle junction. Make sure the seam and fold still sit flat under light tension.
This routine also helps identify what a product needs to improve. If the same style repeatedly wears at the clip fold, the issue may be fold structure, hardware finish, or webbing stiffness. If the handle junction opens early, the problem may be reinforcement, stitch spacing, or grip construction.
FAQ
How often should a dog leash be checked?
A quick check before every walk is safest, especially at the clip, stitch zone, first bend, and handle junction. A deeper check is useful after any hard pull, fall, water exposure, beach walk, trail use, or incident where the leash was shock-loaded.
What is the fastest sign that a leash is unsafe?
Damage at the load path is the clearest warning sign. Broken stitches, thinning near the clip loop, a sticky clip gate, sharp hardware, or chew damage should trigger replacement rather than continued use.
Can a damaged leash be repaired?
If the damage is on the clip loop, stitch zone, handle junction, or any other load-bearing area, replacement is safer. Sewing over a weakened point does not reliably restore the original strength or hardware alignment.
Why does an older leash tangle more?
Twisting often increases when the swivel starts to bind, the clip no longer rotates smoothly, or the webbing stiffens in a high-wear zone. If cleaning the hardware does not restore smooth movement, the leash should be replaced.
Should a leash connect to a collar or a harness?
For many dogs, a properly fitted harness gives better comfort and control than relying on a collar alone. The best setup depends on dog size, walking behavior, leash length, clip weight, and the angle where force enters the harness or collar.