Many owners guess when choosing canine collars, but this mistake puts your dog at risk. You need to use the two-finger rule every time you fit a collar. This rule keeps your dog comfortable and safe. Place two fingers flat between the collar and your dog’s neck. If you cannot do this, the collar is too tight. If there is extra space, your dog could slip out. The two-finger rule protects your dog and gives you peace of mind. Rely on this rule to make smart choices and keep your dog secure.
Tip: Always check the two-finger rule after grooming your dog.
Key Takeaways
Use the two-finger rule to check collar fit. This ensures comfort and prevents choking or slipping.
Measure your dog’s neck accurately before buying a collar. This helps you choose the right size and avoid common mistakes.
Inspect the collar regularly for signs of rubbing or irritation. Adjust the fit or switch styles if needed to keep your dog safe.
Consider using a harness for dogs that pull or have breathing issues. Harnesses provide better control and comfort during walks.
Always re-check the collar fit after grooming or when your dog’s coat changes. This keeps your dog secure and comfortable.
Canine Collar Safety: Fit and Function
ID and Leash Use vs Restraint
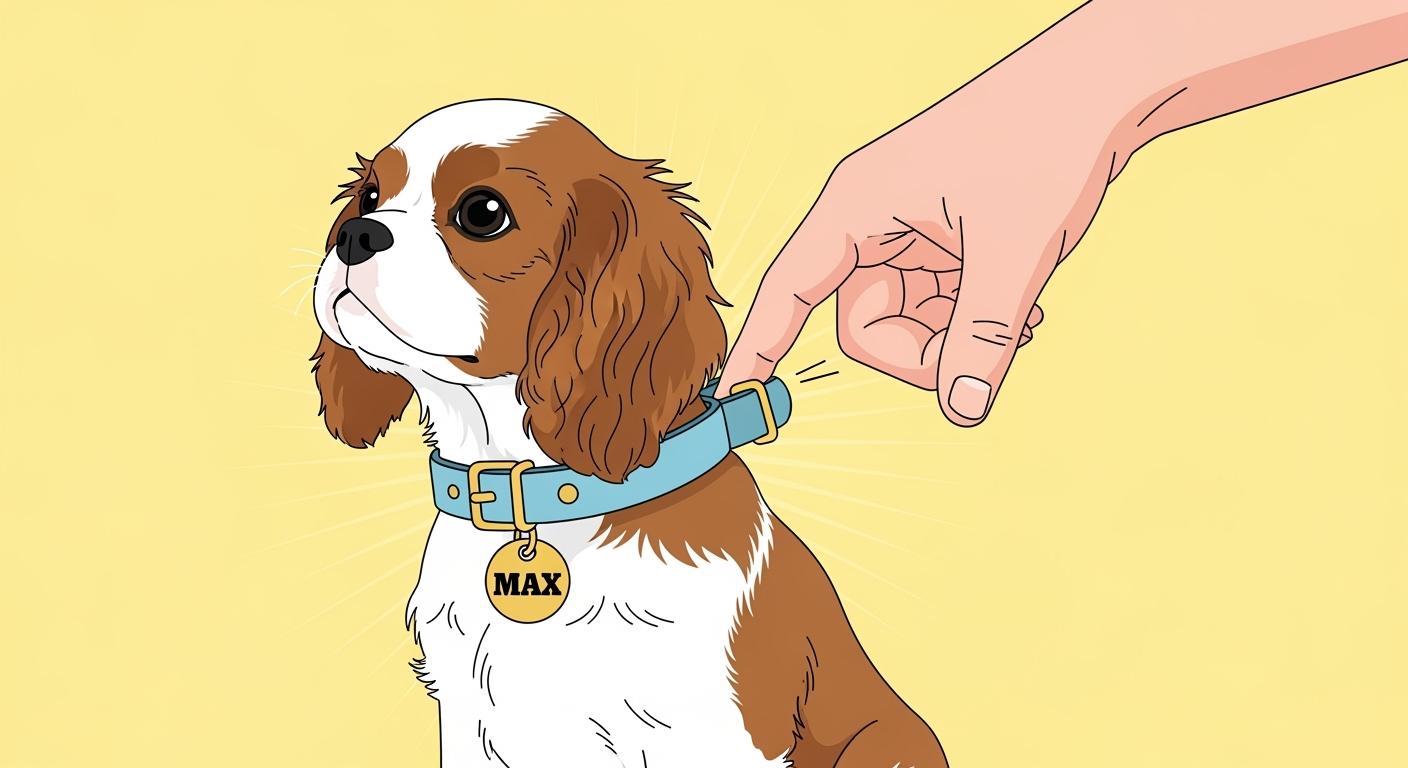
Your dog’s collar and leash do more than hold an ID tag. A good collar keeps your dog safe and comfy on walks. The collar should sit high on your dog’s neck. You should use the two-finger check to test the fit. This helps stop choking and rubbing. When you clip on a leash, the collar must stay in place. It should not slip off your dog’s head. If the collar and leash fit well, your dog is less likely to escape or get hurt.
Tip: Check the collar fit before every walk. This is extra important if your dog’s coat is thick or changes often.
Here is a table that shows how collars help keep dogs safe on walks:
Safety Function | Evidence |
|---|---|
Visibility Improvement | Reflective collars help people see dogs from far away, even up to 1,000 feet when light shines on them. |
Reduced Traffic Incidents | Dogs with reflective collars are much less likely to get into traffic trouble at night. |
Decreased Near-Miss Encounters | Reflective collars help stop close calls with bikers and runners by about 60 percent. |
Dog Walking During Low Light | About 40 percent of dog walks happen when it’s dark or getting dark, so safety matters a lot. |
Pressure Distribution and Security
You should think about comfort and safety when picking a collar and leash. The right fit spreads pressure across your dog’s neck. This helps stop pain and injury. Wider collars can make walks more comfy by spreading pressure better. But they should not block your dog’s jaw. Always look for rubbing or sore spots after walks. If you see red skin or missing hair, change the fit or try a new collar width.
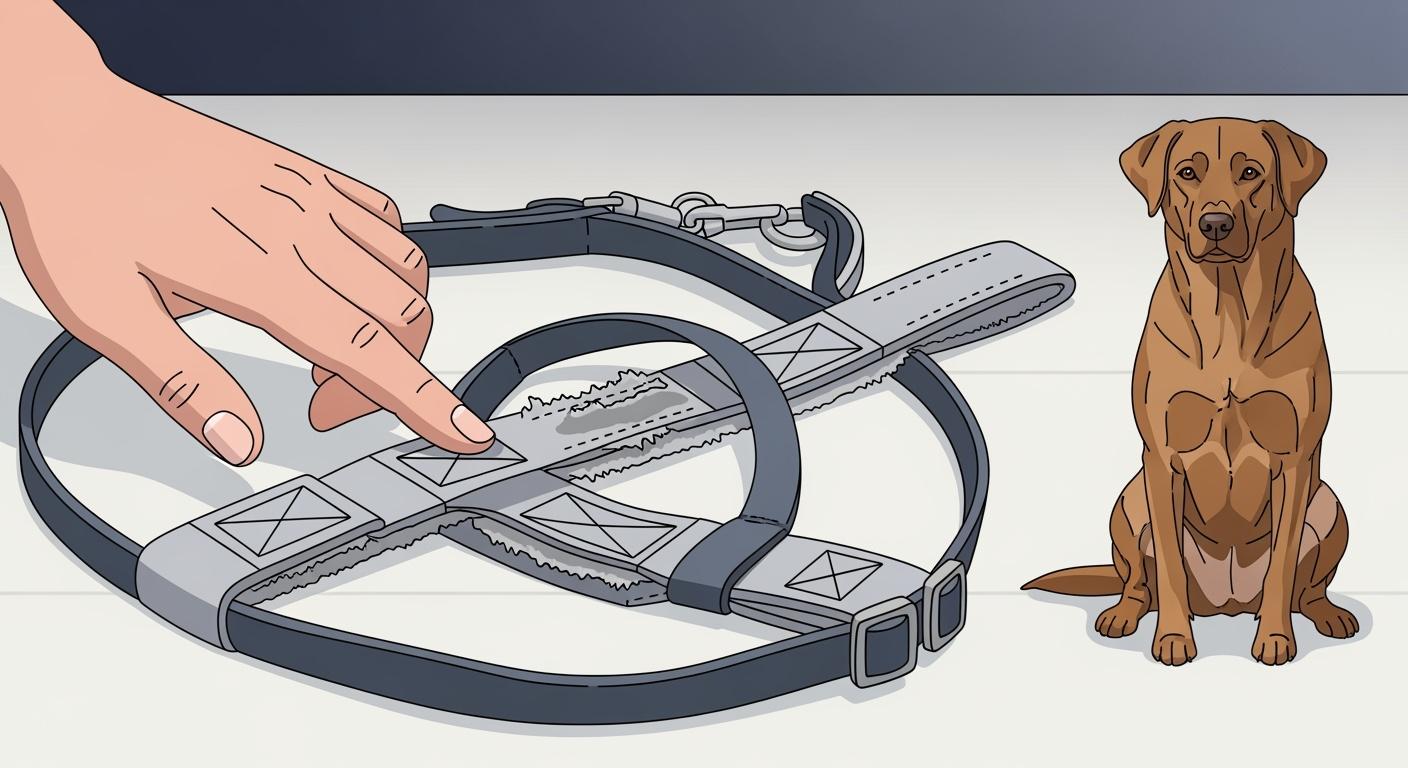
Harness vs Collar for Safety
Sometimes a harness is better than a collar for safety and comfort. You should use a harness if your dog pulls hard or has trouble breathing. A harness spreads pressure over the chest, not the throat. Young or nervous dogs may feel safer in a harness. You get more control on walks, which helps with pulling and steering your dog. If your dog slips out of the collar, use a harness instead of making the collar tighter.
A harness is safer than a collar for dogs with breathing problems because it spreads pressure over the chest.
Young or nervous dogs feel safer in a harness, which helps stop escapes and makes them braver.
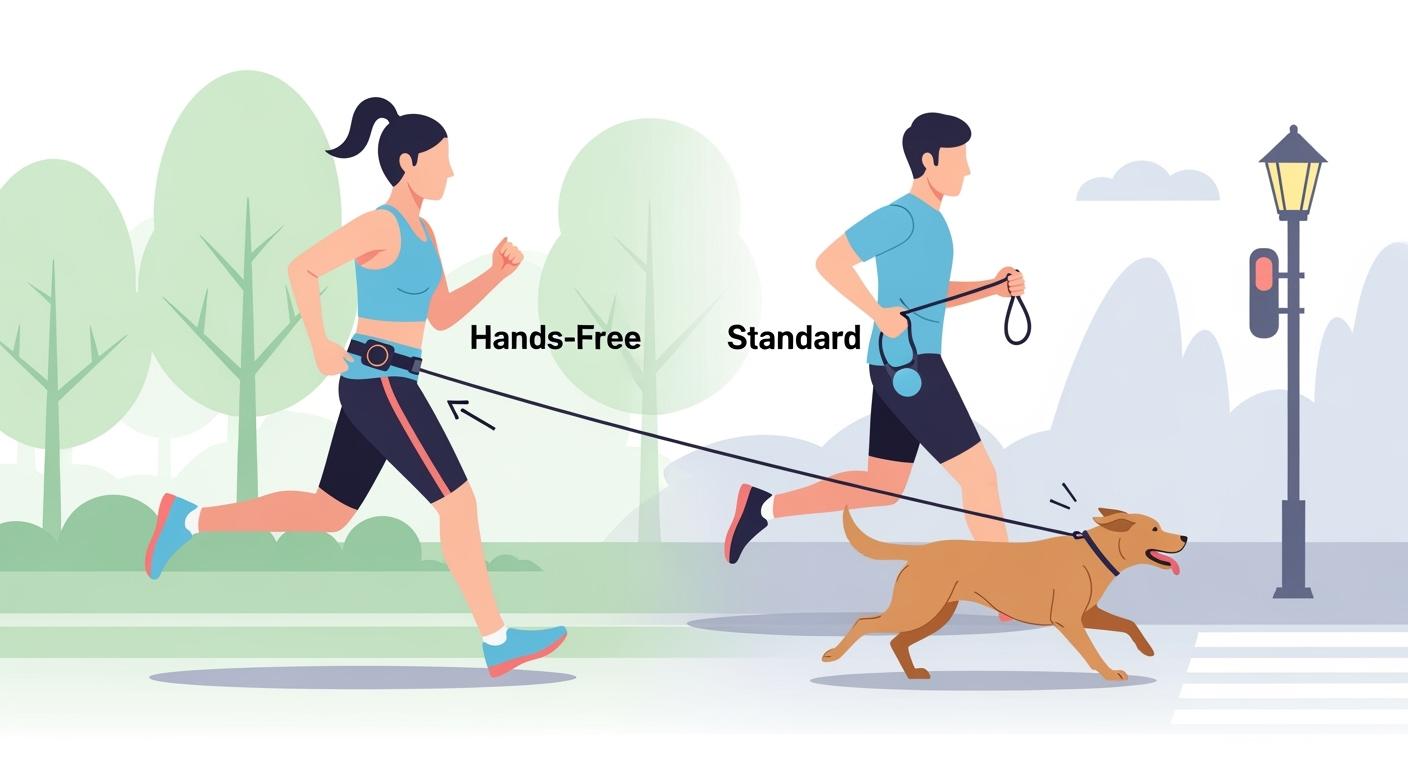
Harnesses give you better control on walks, so you can manage pulling and guide your dog.
Note: Always check the fit of both collar and harness after grooming or when your dog’s coat changes. This keeps your dog safe and comfy.
Sizing Steps: Measure Your Dog’s Neck First
Neck Circumference Without Fur Compression
Getting the right collar size starts with accurate measurement. You want to measure your dog’s neck where the collar will sit, not too high or too low. Avoid compressing the fur, as this can lead to a collar that feels too tight once worn. Follow these steps to measure your dog’s neck for the best sizing results:
Place a soft tape measure around the base of your dog’s neck, where the collar usually rests.
Make sure the tape sits flat against the skin but does not press down on the fur. You should be able to slide two fingers between the tape and your dog’s neck for comfort.
Check that you are not measuring too close to the ears or too far down near the shoulders.
Write down the measurement in both inches and centimeters.
Tip: Always measure your dog’s neck before buying a new collar, especially after grooming or if your dog’s weight changes.
Choosing Collar Size from Sizing Chart
After you measure your dog’s neck, use a sizing chart to pick the right collar size. If your dog falls between two sizes, choose the larger one and adjust for a snug fit. Most sizing charts list neck measurement ranges in both inches and centimeters. Double-check the adjustability range to make sure the collar will fit even if your dog’s coat changes.
Coat Type and Fit Checks
Coat type affects how a collar fits. Dogs with thick or long fur may need a slightly larger collar to avoid pinching. Short-haired dogs often need a closer fit. Always perform a two-finger fit check after putting on the collar. Run your fingers along the collar to check for any tight spots or gaps. Re-check the fit after grooming or when your dog’s coat grows out.
Measurement Table: What, How, Why
Here is a quick reference table to help you with sizing and measurement decisions:
Parameter | How to Measure or Check | Why it Matters |
|---|---|---|
Neck measurement | Around collar position, no fur compression | Sizing baseline for dog collar size |
Fit check | Two-finger rule | Reduces pinch and rubbing |
Adjustability | 2-4 in (5-10 cm) buffer | Allows for seasonal coat changes |
Collar width | 0.4-1.0 in (1.0-2.5 cm) | Comfort and stability |
Collar style | Buckle or martingale | Controls slip risk for narrow necks |
Checklist: Measure your dog’s neck, check the sizing chart, consider coat type, and confirm fit with the two-finger rule. This process helps you choose the right collar size and avoid common sizing mistakes.
Collar Fit Checks for Safety
You want your dog to stay safe and comfortable every time you use a collar. A proper fit protects your dog from choking, rubbing, and escape. You need to check the collar fit often, especially after grooming or when your dog’s coat changes. Follow these steps to make sure you get the best results.
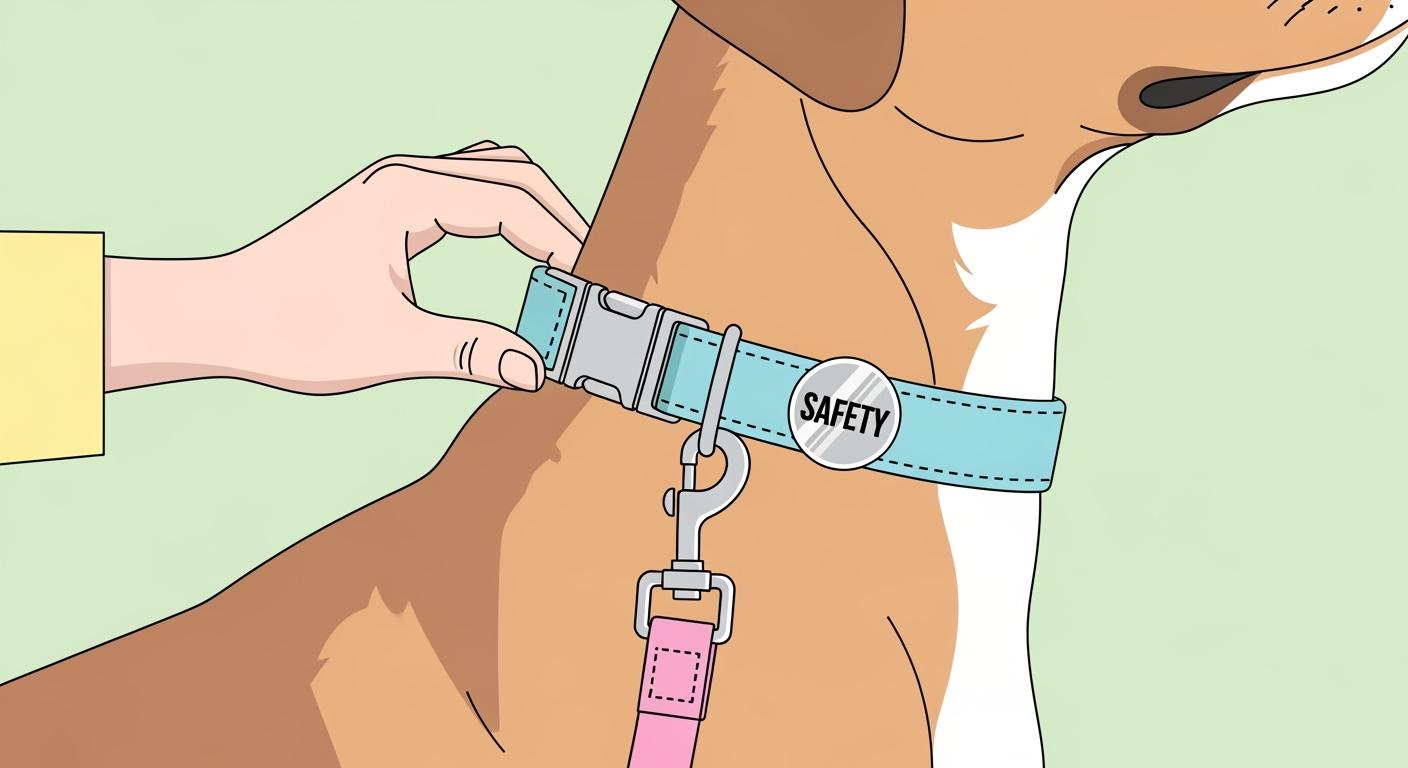
Two-Finger Rule Placement
Start with the two-finger rule. Place two fingers flat between the collar and your dog’s neck. You should feel the collar touch your fingers without squeezing them. If you cannot fit two fingers, the collar is too tight. If you can fit more than two fingers, the collar is too loose. This simple check helps you prevent choking, rubbing, and escapes. The two-finger rule works better than other methods because it balances comfort and safety. You can see this in the table below:
Method | Safety Outcomes | Risks of Poor Fit |
|---|---|---|
Two-Finger Rule | Prevents choking and escapes; ensures comfort and security during walks. | Restricted breathing, chafing, escapes, injuries. |
Other Methods | May not provide the same level of comfort or security; effectiveness varies. | Risks depend on specific method used. |
You should always check the two-finger rule before every walk and after you adjust the collar.
Hotspot Scan: Jawline, Throat, Edges
After you check the fit, look for hotspots. Hotspots are areas where the collar rubs or irritates your dog’s skin. Run your fingers along the jawline, throat, and strap edges. Check for redness, missing hair, or signs of pain. If you notice any of these, adjust the collar or try a different width or edge finish. Dogs with thick coats or sensitive skin need extra attention. Hotspots can develop quickly, especially on longer walks.
Scenario B: You take your dog for a long walk and notice rubbing under the collar. You can reduce hotspots by choosing a wider collar, picking one with smooth edge finishing, or repositioning the collar higher on the neck. Always check for rubbing after walks.
Walk Test: Pulling and Turning
You need to check how the collar fits during movement. Attach the leash and walk your dog. Watch for slipping, coughing, or signs of discomfort. Gently pull back on the leash and see if the collar rides up toward the ears. If the collar slips or your dog coughs, adjust the collar or try a different style. The walk test helps you spot problems that do not show up when your dog stands still.
Fit Check Table: Parameters and Ranges
Use this table to guide your fit checks and make sure you cover all safety points:
Parameter | Target Range or Option | Why it Matters |
|---|---|---|
Neck measurement | Around collar position, no fur compression | Sizing baseline |
Fit check | Two-finger rule | Reduces pinch and rubbing |
Position cue | Sits high on neck | Helps reduce slipping |
Slip check | Gentle backward pressure | Flags slip out risk |
Hotspot scan | Jawline, throat, strap edges | Catches rubbing early |
Width range small | 0.6-0.8 in (1.5-2.0 cm) | Comfort and control cue |
Width range medium | 0.8-1.0 in (2.0-2.5 cm) | Comfort and control cue |
Width range large | 1.0-1.5 in (2.5-3.8 cm) | Comfort and control cue |
Re-check routine | After a few wears and coat changes | Prevents gradual misfit |
Style switch cue | Switch style or harness if needed | Avoids overtightening |
Step 3: Fit Checks
Place two fingers between the collar and your dog’s neck.
Check the jawline, throat, and strap edges for redness or rubbing.
Walk your dog and check for slipping, coughing, or discomfort.
Adjust the collar if you see any problems.
Re-check after a few wears and after grooming.
Safety tip: If you notice irritation, pain, coughing, skin injury, or escape attempts, stop using the collar and consult a veterinarian or trainer. Never ignore signs of discomfort. Regular checks keep your dog safe and happy.
Prevent Collar Slipping and Escape
Low or Loose Collar Risks
You want your canine collars to stay secure during every walk. If you let the collar sit too low or keep it too loose, you increase the risk of slipping. A collar that hangs near the shoulders can slide off when your dog backs up or shakes its head. You lose control and your dog may escape. Always check that the collar sits high on the neck and fits snugly. Use the slip test by applying gentle backward pressure. If the collar moves toward the ears, you need to adjust it.
Tip: A collar that rides up or slips off during a walk means you need to redo your measurement and fit check.
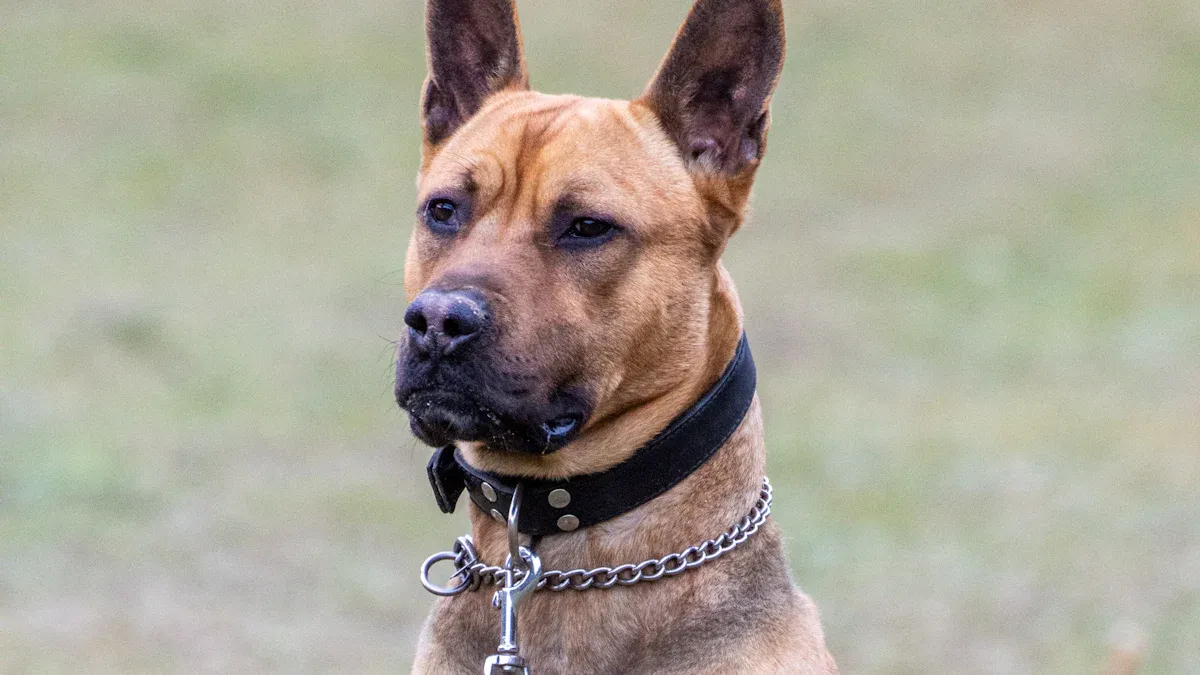
Slip Risk for Narrow Heads
Some dogs have narrow heads or thick necks. These shapes make slipping more likely, even with a collar that seems to fit. You must pay extra attention to control and adjust the collar for these dogs. Try the slip test and watch for movement when your dog backs up. If slipping happens, switch to a different collar style or use a harness for better control. A martingale collar or a front-clip harness can help prevent escapes.
Scenario A: Your dog backs up and the collar slips over its head. You measure the neck again, check the fit with two fingers, and try a martingale collar. The new style gives you more control and stops slipping.
Switching Collar Style or Harness
If you cannot stop slipping with regular adjustments, you need to change your approach. You can switch to a collar style that offers more control, like a martingale, or use a harness. Professional trainers recommend positive alternatives for long-term results.
“Positive alternatives like head halters and front-clip harnesses offer better long-term results.”
A front-clip harness or head halter gives you excellent control without risking injury. You keep your dog safe and prevent slipping.
“A front-clip no-pull harness or a head halter like the Gentle Leader provides excellent control without risking tracheal damage or spinal injury.”
Always check the fit of the new collar or harness. Adjust it for a snug fit and test for slipping before every walk.
Slip Prevention Table: Causes and Solutions
You need to know the common causes of slipping and how to fix them. Use this table to guide your decisions and keep your dog safe.
Common Cause | What It Leads To | What to Do Next |
|---|---|---|
Collar too loose | Slipping, escape risk | Adjust for snug fit, use slip test |
Collar sits too low | Slides off during backing up | Position high on neck, redo fit check |
Narrow head shape | Collar slips off easily | Switch to martingale or harness |
Poor adjustability | Cannot fine-tune fit | Choose collar with more adjustment holes |
Thick or changing coat | Collar loosens over time | Re-check fit after grooming |
Wrong collar style | Loss of control, repeated slips | Try harness or head halter |
You can also compare escape risks for different styles:
Collar/Harness Type | Escape Risk Description |
|---|---|
Dog Harness | High escape potential if poorly fitted; easy to slip out when loose. A snug, adjustable fit is essential. |
Step-by-Step Slip Prevention
Step 4: Slip Checks
Apply gentle backward pressure to the collar. Watch for movement toward the ears.
Ask your dog to shake its head. Observe if the collar shifts or loosens.
Adjust the collar for a snug fit if you see slipping.
Step 5: Short Walk Test and Re-Check Routine
Take your dog for a short walk. Watch for slipping, coughing, or discomfort.
Re-check the fit after a few wears and after grooming or coat changes.
Adjust as needed to maintain control and safety.
Safety disclaimer: If your dog shows pain, coughing, skin injury, or repeated escape attempts, stop using the collar. Consult a veterinarian or trainer for advice. Your dog’s safety comes first.
Collar Width and Material Choices
Width by Dog Size and Coat
You need to match collar width to your dog’s size and coat for the best fit and comfort. Small dogs usually do well with a collar that is 0.6-0.8 in (1.5-2.0 cm) wide. Medium dogs often need 0.8-1.0 in (2.0-2.5 cm). Large dogs benefit from 1.0-1.5 in (2.5-3.8 cm). A wider collar spreads pressure and helps prevent neck strain. For thick-coated dogs, a wider collar can stop the strap from digging into the fur. Always check that the collar does not block jaw movement. This step is key for sizing choices for control and comfort.
Webbing vs Leather Comfort
You have many material options for your dog’s collar. Webbing collars, like Biothane, are waterproof and easy to clean. They last through all weather and resist fraying. Many webbing collars have reflective stitching for safety at night. Leather collars offer a classic look and can feel soft, but they need more care to stay in good shape. Both types can provide comfort if you check the fit and adjust as needed.
Biothane collars are durable and hypoallergenic.
They prevent mold and bacteria growth.
Leather collars may stretch over time, so re-check the fit often.
Hardware and Edge Finishing
You should look at the hardware and edge finishing when you choose a collar. High-quality hardware keeps the collar secure and prevents breakage. Smooth edge finishing stops rubbing and protects your dog’s skin. Biothane collars resist UV damage and last for years with little wear. Avoid collars with rough edges or poor-quality coatings. These can cause discomfort and even skin problems.
Tip: Always check the hardware and edges for signs of wear during your regular fit checks.
Comparison Table: Options and Best Use
Here is a table to help you compare collar options for your dog:
Feature | Webbing (Biothane) | Leather |
|---|---|---|
Comfort | Soft, flexible, hypoallergenic | Softens with use, classic feel |
Durability | Waterproof, resists fraying and UV damage | Needs care, can stretch |
Cleaning | Easy to wipe clean | Needs special cleaning |
Safety | Reflective stitching, secure hardware | Depends on stitching, hardware |
Best Use | All-weather, active dogs | Calm dogs, style preference |
You can use this table to guide your collar fit and comfort decisions. Always match the collar to your dog’s needs and check the fit often.
Common Collar Sizing Mistakes and Fixes
Choosing the right collar and getting the best fit can be tricky. Many owners make the same common mistakes, but you can avoid them with a few simple checks. Here are the most common sizing errors and how you can fix them for your dog’s safety and comfort.
Single Hole Fit Without Re-Check
A common mistake is setting the collar to one hole and never checking it again. Your dog’s neck size can change after grooming or as they grow. If you do not re-check the fit, the collar may become too tight or too loose. Always use the two-finger rule and adjust the collar after a few wears or coat changes. This keeps the fit safe and comfortable.
Using Collar for Pulling Control
Many owners try to control pulling by tightening the collar. This is a common error. Using a collar for pulling control can cause problems for your dog:
Restricted movement limits your dog’s shoulder extension.
Tracheal pressure can irritate the throat and cause long-term damage.
Escape risk increases if the collar does not fit well.
Poor fit encourages pulling and discomfort.
You should use a harness for pulling control. A harness spreads pressure and keeps your dog safer during walks.
Ignoring Rubbing Signs
Some owners ignore common signs of rubbing or irritation. If you see redness, missing fur, or your dog scratches at the collar, you need to act. Check the fit and look for rough edges or hardware. Try a wider collar or one with smoother edges if rubbing continues. Always check your dog’s neck after walks.
Mistake Table: Causes and Fixes
Here is a table of common collar sizing mistakes, what they cause, and how you can fix them:
Common Mistake | Consequence | Recommendation |
|---|---|---|
Choosing style over coverage | Poor visibility at night | Pick collars with wide, continuous reflective trim |
Selecting the wrong width | Collar rotation, discomfort | Match width to dog size and check fit regularly |
Using weak hardware | Breakage, hot spots | Inspect buckles and D rings for strength and smoothness |
Poor fit (too tight/loose) | Irritation, escape risk, injury | Use the two-finger rule and adjust for comfort |
Collar rotation | Reflective strip faces down, less safe | Try a wider collar, adjust buckle, check fit often |
Tip: Make a checklist for your collar fit routine. Check the fit, inspect for rubbing, and adjust after grooming. This helps you avoid the most common mistakes and keeps your dog safe.
Sizing Clarity for Retail and Wholesale
Size Chart Copy and Re-Check Advice
You help customers pick the right collar by using clear size charts. Always show how to measure a dog’s neck for the best fit. Use a soft tape measure behind the ears and around the thickest part of the neck. Add 1–2 inches (2.5–5 cm) so the collar is not too tight. Remind buyers to check the manufacturer’s size chart before they buy. These steps help stop returns and mistakes with sizing.
Here is a simple table you can use in your size chart:
Step | Description |
|---|---|
1 | Use a soft tape measure behind the ears and around the thickest part of the neck. |
2 | Add 1–2 inches (2.5–5 cm) for comfort. |
3 | Double-check manufacturer sizing charts. |
Tip: Tell customers to check the collar fit again after grooming or when the dog’s coat changes. This keeps the collar safe and comfy.
Listing Width, Adjustability, Hardware
It is easier for buyers to choose when you list collar width, adjustability, and hardware. Always give the width in both inches and centimeters. Show the adjustability range, like 2–4 inches (5–10 cm), so buyers know if the collar will still fit after the dog’s coat changes. Describe the hardware, such as buckles and D rings, and say if they are smooth or reinforced. This helps buyers compare collars and pick the best one for their dog.
Checklist for product listings:
Give collar width in inches and centimeters.
Show the adjustability range for each size.
Describe the hardware type and finish.
Remind buyers to check the fit after a few wears.
Supplier Specs: Width, Buckle, Stitching
You help retailers and buyers when you give clear supplier specs. Always include collar width, buckle type, and stitching details. Say how many adjustment holes there are or how long the adjustable strap is. Describe the stitching pattern and how strong it is. Full specs make things less confusing and help stop sizing mistakes.
Spec | What to Include |
|---|---|
Collar width | 0.6–1.5 in (1.5–3.8 cm) |
Buckle type | Material, shape, reinforcement |
Adjustability | Number of holes, strap length |
Stitching | Pattern, durability |
Note: Clear specs and size charts help you build trust with buyers and lower the chance of returns.
You keep your dog safe by following important collar rules. First, measure your dog’s neck before you pick a collar. Always use the two-finger rule to check the fit. Inspect the collar often, especially after grooming or when the coat changes. Adjust the collar if your dog’s fur gets longer or shorter. Use checklists and tables to help you choose the right size. If you notice any irritation or are unsure about the fit, ask a professional for help. Experts say you should check the collar every day and visit the vet regularly for safety. Look at the table below for more helpful tips:
Key Takeaway | Description |
|---|---|
Health Assessment | Schedule vet checks for neck safety. |
Three-Finger Rule | Allow three fingers for breathing ease. |
Session Limitation | Limit collar use and give breaks. |
Environmental Awareness | Avoid wet surfaces and unsupervised use. |
Check the area where the collar touches your dog’s neck every day.
Stop using the collar if you see any irritation.
Checking the collar often helps keep your dog safe and comfortable.
FAQ
How do I know if my dog’s collar is too tight or too loose?
You should use the two-finger rule. Place two fingers flat between the collar and your dog’s neck. If you cannot fit them, the collar is too tight. If you can fit more than two, the collar is too loose.
How often should I check the fit of my dog’s collar?
You should check the fit every few wears. Always re-check after grooming or if your dog’s coat changes. This helps you keep the collar safe and comfortable.
What is the best collar width for my dog?
Choose the width based on your dog’s size. Small dogs need 0.6-0.8 in (1.5-2.0 cm). Medium dogs need 0.8-1.0 in (2.0-2.5 cm). Large dogs need 1.0-1.5 in (2.5-3.8 cm).
Can all dogs wear canine collars safely?
Most dogs can wear canine collars if you measure and check the fit. Some dogs with narrow heads or breathing issues may need a harness or a different style for safety.
What should I do if my dog keeps slipping out of the collar?
Try adjusting the collar for a snug fit. If slipping continues, switch to a martingale collar or a harness. Always test the fit before walks.