When a dog pulls hard on every walk, the best harness is not just the one with a “no pull” label on the tag. What matters more is how the harness handles your dog’s actual pattern. Some dogs lean steadily from the first step. Others walk calmly and then explode forward when something catches their attention. Those two dogs do not ask the same thing from the hardware.
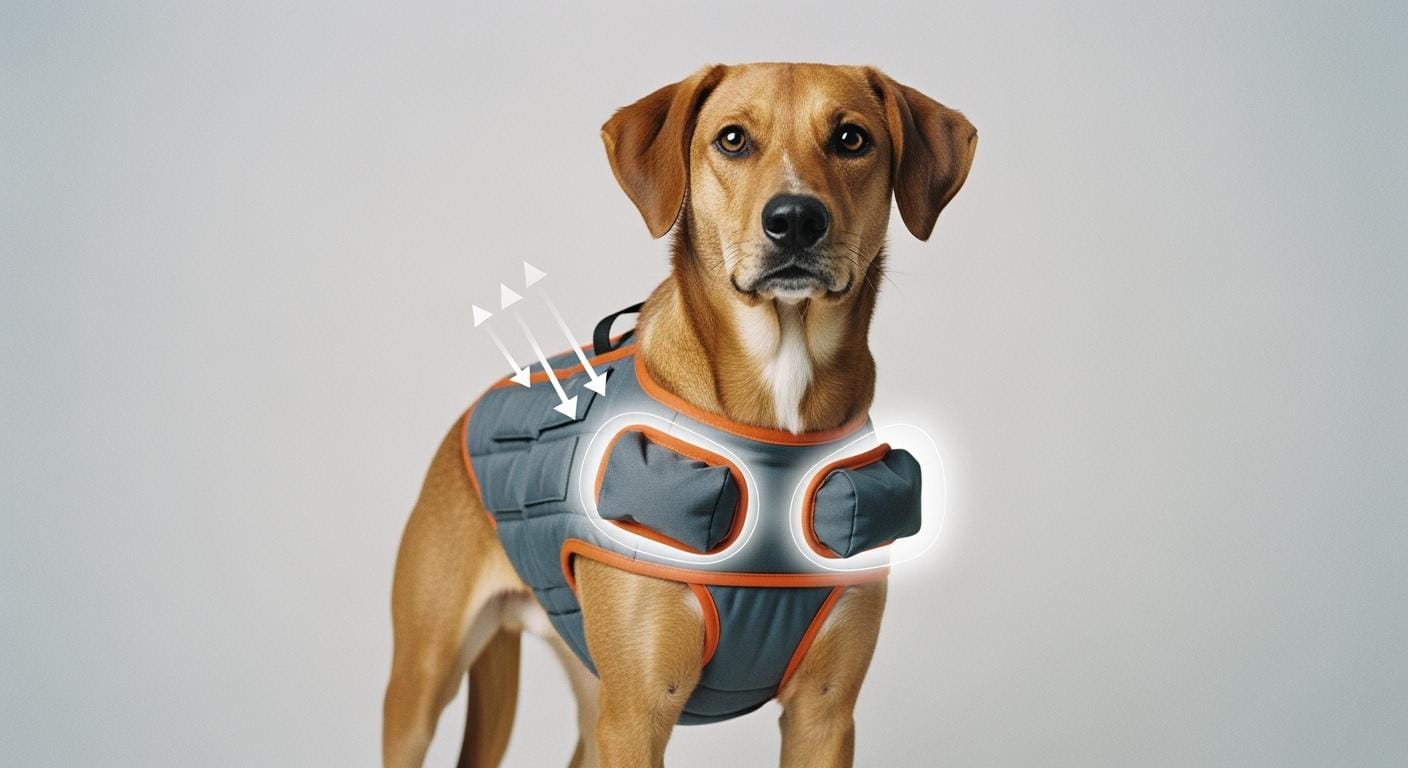
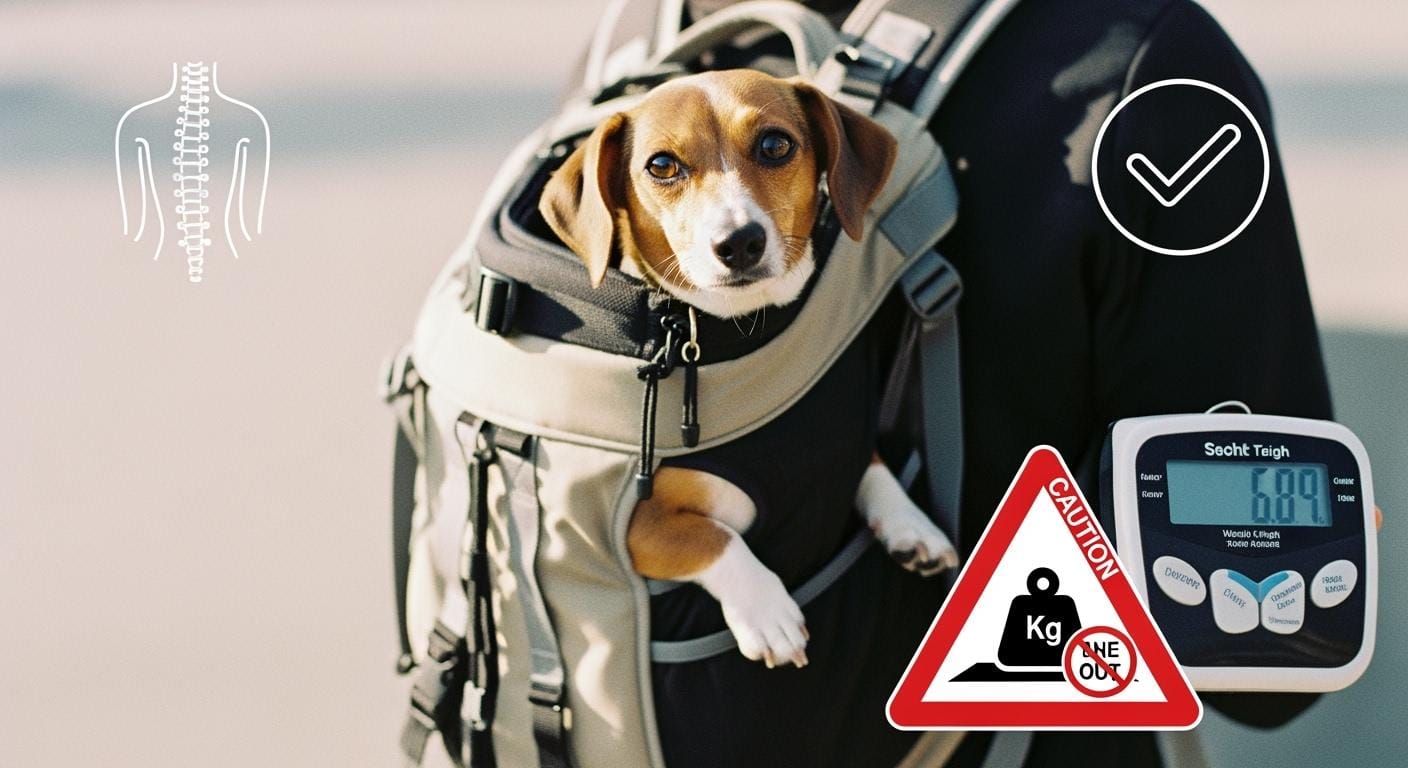
The best harness for a dog that pulls usually comes down to three things working together: the clip position, the way the straps sit on the body, and whether the hardware still feels stable once the leash snaps tight. Fit is part of that from the start, which is why dog training harness fit and sizing matters long before the first strong pull happens outdoors.
Note: This article focuses on harness choice and fit for dogs that pull on leash. It does not replace veterinary advice when pain, airway problems, or abnormal gait are involved.
Key Takeaways
- Front-clip designs usually help most with steady pulling because they interrupt straight-line force.
- Sudden lungers often need stronger hardware and a harness that stays stable under sharp force spikes.
- A harness that looks fine at rest can still twist, rub, or lose steering value once the dog is fully loaded into the leash.
Why Pulling Style Matters More Than the No-Pull Label
A no-pull label tells you how the product is marketed. It does not tell you how it behaves once your dog hits the end of the leash. Pulling style gives you a much better starting point.
Steady pullers and sudden lungers are not the same problem
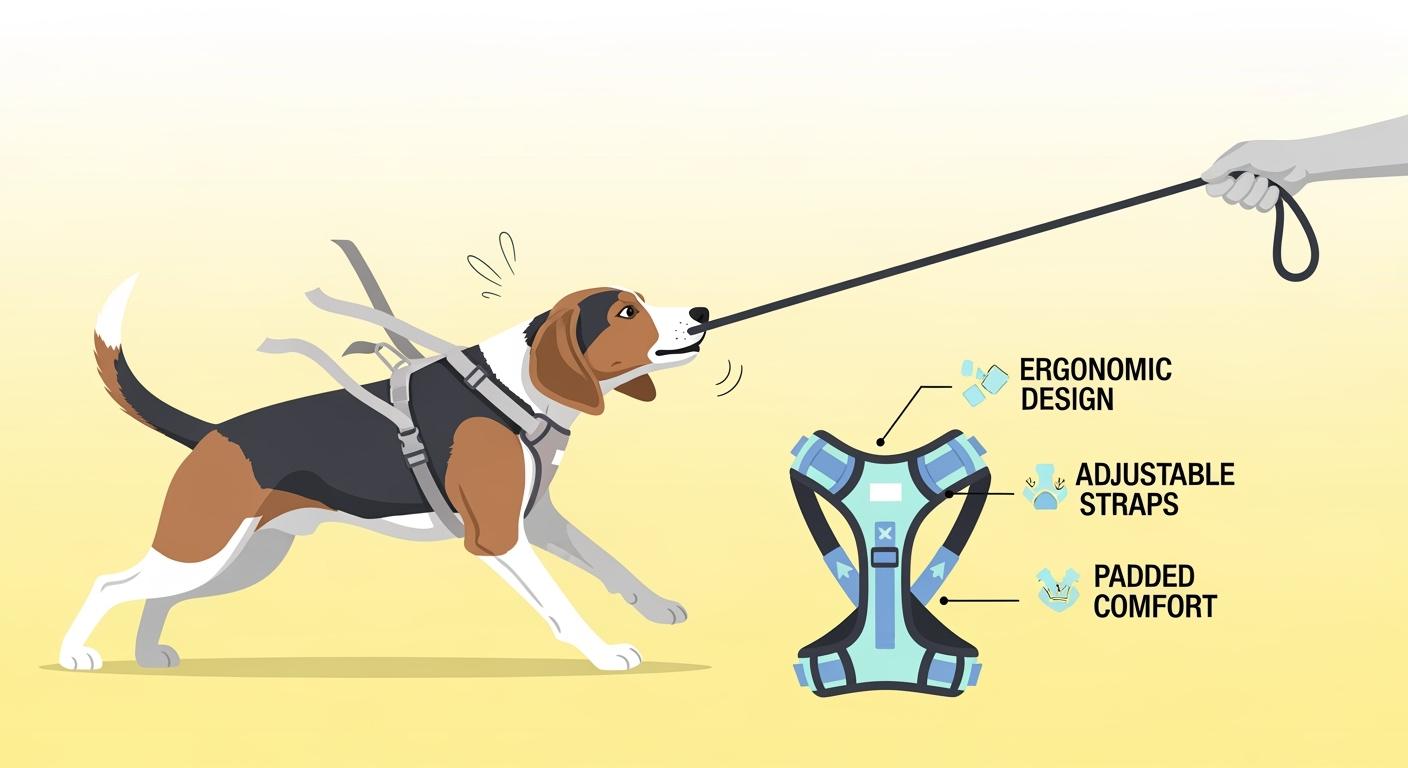
A steady puller leans forward over and over and rarely releases pressure on their own. A sudden lunger may look easy for half the walk and then throw a sharp burst of force at one trigger. The first dog usually benefits from redirection. The second dog usually exposes weak buckles, poor stitching, and harnesses that rotate too easily.
Clip position changes how force travels
A front clip changes the angle of the leash and makes straight-ahead pulling less efficient. A back clip keeps the leash connection out of the way, but it also lets many dogs push straight into the line with more comfort. That difference is why so many dogs feel easier in one style and stronger in another.
| Harness Design | How Force Travels | What It Usually Helps | What to Watch |
|---|---|---|---|
| Front-clip chest design | Redirects the dog sideways toward the handler | Steady pulling and early loose-leash work | Chest panel can drift on narrower builds if the fit is off |
| Back-clip design | Carries force straight up the leash line | Calmer dogs or dogs that do not pull hard | Often gives strong pullers more room to lean forward |
| Dual-clip design | Changes with the active clip point | Mixed environments and dogs with changing patterns | Results depend on which clip is actually in use |
| Reinforced harness build | Depends on clip position, but handles higher force better | Dogs that surge suddenly or hit the leash hard | Extra structure can feel bulkier on some dogs |
Dogs that lean steadily into the leash usually improve fastest when the redirect happens early, which is why front-clip harness training steps tend to make more sense for constant pullers than relying on a back clip alone.
Front-Clip, Back-Clip, and Dual-Clip: What Fits Which Dog
Clip position is usually the biggest single difference in how much control a handler feels during a real walk. Higher control is not always the better answer, but the wrong clip position can make a strong puller feel much harder than necessary.
Front-clip usually helps steady pullers most
For dogs that lean forward from the first minute, a front clip usually gives the quickest change in feel. The dog does not stop wanting to pull, but the mechanics become less efficient, and that often gives the handler more time to interrupt the pattern before it builds.
Back-clip usually feels better but helps less with pulling
A back clip often feels simpler and more comfortable, especially for dogs that already walk fairly well. The downside is that many strong pullers can drive straight through it with very little change in body direction.
Dual-clip works best when the dog does not pull the same way all the time
Some dogs pull steadily in quiet areas but lunge only in stimulating places. A dual-clip harness can make sense there, because the same dog may not need the same clip point in every environment.
| Harness Type | Usually Best For | Control Level | Comfort Level | What to Watch |
|---|---|---|---|---|
| Front-clip harness | Steady pullers and early loose-leash work | High | Good when fitted well | Front panel drift or twisting if sizing is off |
| Back-clip harness | Calmer walkers and lower-control situations | Low | Often very comfortable | Can reinforce straight-line pulling |
| Dual-clip harness | Dogs with mixed pulling patterns | Medium to high | Good | Using the back clip during heavy pulling changes the result |
| Reinforced harness with strong hardware | Large dogs and sudden lungers | High | Varies by build | Bulk and strap pressure need checking after longer walks |
Material quality also starts showing up very quickly in a dog harness once a larger dog hits the end of the leash several times in one outing. Thin webbing, weak stitching, or unstable buckles usually reveal themselves faster under sharp force than under quiet walking.
What to Check After a Real Walk
A harness that behaves well in the living room can still fail once the leash goes tight outdoors. That is why the first few real walks matter more than a static fitting alone.
Watch what happens under tension
The harness should stay centered, the chest panel should not drift badly, and the leash connection should still help you change direction when you need to. If the dog pulls straight through the redirect, the problem may be clip choice, chest panel height, or the overall shape of the harness on that body type.
Check the skin right away
When the walk ends, look behind the front legs, across the sternum, and anywhere the straps sat close to the shoulder. Warm spots, redness, or flattening in one repeated area usually matter more than how comfortable the harness looked while the dog was standing still.
| Symptom | Likely Cause | Fast Check | Fix |
|---|---|---|---|
| Harness twists under pull | Uneven adjustment or chest panel too wide | Watch the harness during a short tension test | Adjust evenly or switch to a narrower front shape |
| Chest panel drifts off-center | Belly strap too loose or poor match to body shape | Check the panel after 5 minutes of walking | Snug the belly area or change design |
| Redness behind the front legs | Strap sits too close to the armpit | Inspect skin right after the walk | Refit the strap path or add softer contact material |
| Dog pulls straight through the redirect | Wrong clip point or poor chest position | Compare front-clip and back-clip response briefly | Use the front clip and recheck panel placement |
| Dog backs out during a surge | Overall fit too loose or wrong shape for the build | Check for escape room at the neck and chest | Re-measure and change structure if needed |
If rubbing keeps showing up even after the straps are rebalanced, preventing harness chafing on active outings becomes part of the same fit problem rather than a separate one.
Disclaimer: If the dog shows airway restriction, sudden gait changes, repeated coughing, or clear distress in the harness, stop using it and speak with your veterinarian before continuing.
The Right Harness Still Needs Training
A harness changes the mechanics of pulling. It does not automatically change the habit. That is why some dogs feel easier the first day in a new harness and then go right back to pulling hard once they learn the new pattern.
Use the harness to manage the walk while the dog learns
The harness is there to make the walk safer and more manageable while you work on leash habits. For many dogs, that means short sessions, early redirection, and clear reinforcement before the leash is fully loaded.
Expect equipment and behavior to improve on different timelines
You can often feel a mechanical difference right away, but behavior usually takes longer. Quick results versus training timelines rarely match perfectly, because equipment can interrupt force before it changes the reason the dog keeps pulling.
- Start in a low-distraction place where your dog can succeed.
- Interrupt the pull early instead of waiting until the dog is fully loaded into the leash.
- Reward slack and attention often enough that the easier choice stays clear.
- Move into harder environments only after the easier ones stop falling apart.
Common Mistakes When Choosing the Best Harness for a Dog That Pulls
Most harness mistakes come down to buying for the label instead of the mechanics, or fitting by weight instead of by shape. Both usually look reasonable at first and then fail outside.
| Mistake | Real Consequence | Better Approach |
|---|---|---|
| Choosing by “no pull” label alone | The harness may not change force direction at all | Check clip position and strap path first |
| Sizing by weight only | Chest panel and strap length sit wrong on the body | Measure chest, neck, and body proportions |
| Ignoring gait changes after fitting | The dog starts moving with a shorter, less natural stride | Watch the first several walks, not just the fitting |
| Leaving the harness on too long | Pressure and rubbing build without you noticing | Remove it after the walk and inspect contact points |
| Skipping hardware checks | Wear shows up only when the dog surges hard | Inspect buckles, webbing, and rings routinely |
Tip: One of the most common mistakes is choosing a back-clip harness because it feels easier to put on, then expecting it to interrupt strong forward pulling on its own.
FAQ
How do you know if a harness fits correctly on a dog that pulls?
It should stay centered under leash tension, avoid twisting, and leave no repeat rubbing or warm spots after the walk.
Is a front-clip harness always the best choice for a pulling dog?
Not always, but it is often the best starting point for steady pullers because it changes the direction of force more clearly.
Can one harness work for every dog that pulls?
No. Pulling pattern, body shape, and force level all change what works best.
How often should you check a new harness?
Check it after every walk for the first couple of weeks, because many problems show up only once the dog is pulling in real conditions.
The best harness for a dog that pulls is usually the one that matches the dog’s actual pulling style, stays stable under tension, and still lets the dog move comfortably. Clip position matters, but fit and hardware decide whether that design keeps working once the real walk starts.