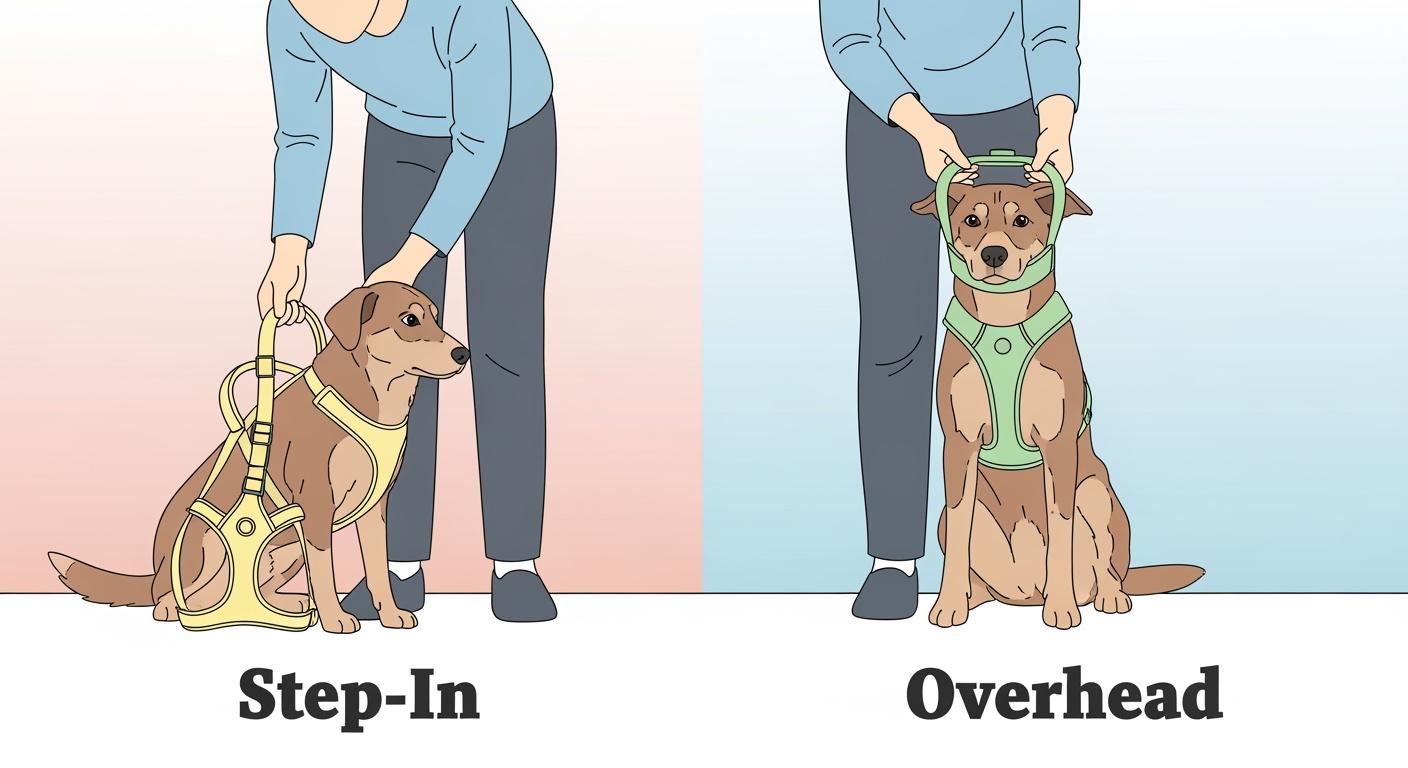
Applying a dog harness gets easier when you choose the style your dog accepts calmly and can move in comfortably, whether that is step-in or overhead.
Key Takeaways
- Pick a step-in harness when your dog is sensitive to overhead handling or tends to freeze when gear comes near the face.
- Pick an overhead harness when you need more secure adjustment around the neck and chest, especially for larger or more active dogs.
- Always check the fit before walking. A good harness keeps your dog safe and comfortable.
Applying Dog Harness: Step-In vs Overhead
What changes between the two styles
Step-in and overhead harnesses ask different things from the dog. A step-in harness starts low and usually feels less intrusive around the head and ears. An overhead harness gives you more control over where the neck opening sits and how the chest strap lines up, but some dogs dislike anything passing over the head.
| Feature | Step-In Harness | Overhead Harness |
|---|---|---|
| How it goes on | Dog places front legs into openings | Harness passes over the head, then fastens around the body |
| Best initial match | Dogs sensitive to face or ear handling | Dogs that tolerate head handling and need a more adjustable fit |
| Main watchout | Can sit unevenly or allow escape if fitted loosely | Can trigger avoidance if the dog dislikes overhead gear |
| Fit priority | Even front-leg placement and centered chest panel | Neck opening, shoulder clearance, and stable body strap placement |
Tip: The better style is usually the one your dog will accept calmly and move in naturally, not the one that seems quickest to buckle.
Which dogs often do better with each type
A step-in harness often works better for dogs that duck away from overhead handling, are small enough that low-bulk gear matters, or become worried when something passes near the eyes or ears. An overhead harness often works better for dogs that are larger, more active, or more likely to slip backward out of looser designs.
That said, no harness type is automatically correct just because of breed or size. The better way to decide is to watch your dog’s response during fitting and again during the first few minutes of movement.
You want the harness to sit flat, stay centered, and allow normal front-leg movement. If your dog stiffens, scratches, shortens the stride, or tries to back out, the problem may be the style, the fit, or both.
Step-by-step: applying each harness type
Step-in harness
- Lay the harness flat so you can clearly see the leg openings and chest panel.
- Guide each front paw into the correct opening without twisting the straps.
- Lift the side panels up evenly.
- Fasten the buckle on the back.
- Check that the chest panel is centered and the straps are not rolled.
Overhead harness
- Hold the neck opening open and guide it over the head calmly.
- Bring the body strap under the chest and behind the front legs.
- Fasten the side buckle or buckles.
- Check the neck opening, chest alignment, and strap length on both sides.
- Walk a few steps before making final micro-adjustments.
Note: VCA advises that collars and harnesses should fit comfortably, be introduced gradually and gently in a safe, quiet space, and only be used for walks or training once the dog has adjusted to the gear.
Common Mistakes When Applying a Harness
Twisted straps and off-center panels
Twisted straps are one of the fastest ways to make a harness feel wrong. They create uneven pressure, make buckles harder to fasten, and often lead to the chest panel drifting to one side. This problem is especially common when people rush through fitting or only check the harness while the dog is standing still.
| Check Item | Pass Signal | Fail Signal | Fix |
|---|---|---|---|
| Chest panel position | Flat and centered | Drifting or twisted | Reset the harness and smooth each strap before fastening |
| Throat clearance | No pressure at the throat | Harness rides up when leash tension appears | Readjust or try a different style |
| Shoulder freedom | Dog reaches forward normally | Short steps or stiff movement | Move straps away from the shoulder area and reassess |
| Buckle access | Easy to reach and close cleanly | Awkward angle or repeated fumbling | Reset placement before tightening everything down |
| Dog response | Calm, steady movement | Scratching, freezing, backing up, or stress signs | Pause, reward calm behavior, and reintroduce more slowly |
Fit mistakes that show up only after walking
Some harnesses look fine in the house and fail once the dog starts moving. That is why static fit checks are not enough. You also need to watch the dog take a few steps, turn, and walk with a loose leash.
Common signs of a poor moving fit include:
- the harness tilts to one side,
- the dog shortens the stride,
- the chest panel rides up,
- the dog scratches at the gear, or
- red marks appear after the walk.
Many people guess size or rely on appearance instead of checking movement. That is one of the main reasons a harness feels uncomfortable even when the buckles are technically closed correctly.
How to introduce the harness more calmly
If your dog resists the harness, slow the process down. AKC leash-training guidance recommends starting by getting the dog used to wearing a harness and attaching a leash, then rewarding calm behavior so the dog builds value around the equipment. AVSAB’s position statement also supports reward-based training methods rather than force or intimidation.
- Show the harness and reward calm interest.
- Touch the harness to the body briefly, then reward again.
- Practice tiny steps such as one paw into a step-in opening or one calm head pass through the neck opening.
- Stop before the dog becomes frustrated.
- Build duration gradually instead of trying to finish the whole fitting in one rushed session.
Tip: If the dog is panicking, freezing, or fighting the harness, the answer is usually not to push through faster. The answer is to break the fitting process into smaller, calmer steps.
Dog Harness Fit: Signs and Troubleshooting
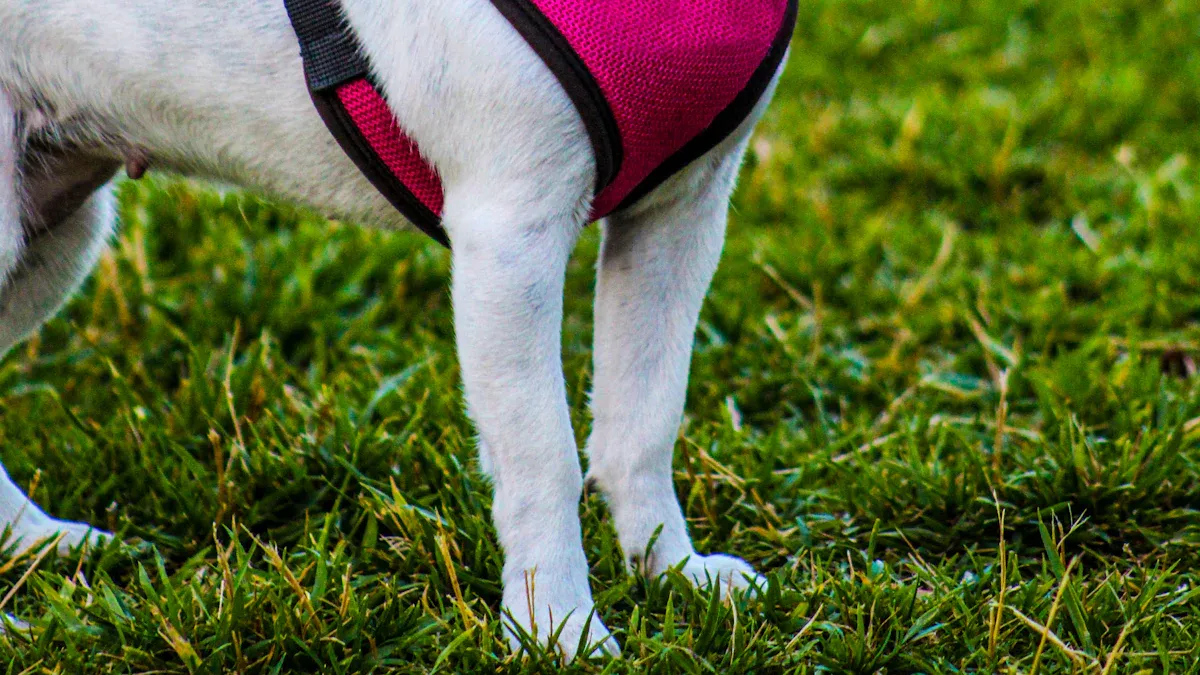
Pressure points, back-out gaps, and uneven tension
You want even pressure and a secure fit, not loose gaps in one place and tight straps in another. Back-out gaps often appear when the chest or body strap is too loose or the harness shape does not match the dog’s body. Pressure points appear when people overtighten in one area to compensate for looseness elsewhere.
| Symptom | Likely Cause | Fast Check | Fix |
|---|---|---|---|
| Harness slips or tilts | Uneven strap length or wrong size | Compare both sides after a few steps | Even out the straps and recheck movement |
| Dog backs out | Loose fit or unsuitable harness shape | Check for gaps at the neck or chest | Tighten correctly or try a more secure style |
| Chafing or redness | Too much friction or poor strap position | Inspect after the walk, especially behind the elbows | Reposition or change the harness before using it again |
| Restricted movement | Straps too close to the shoulder or too tight overall | Watch the front legs on a loose leash | Adjust or switch to a less restrictive shape |
| Coughing or stress | Pressure in the wrong place or poor introduction | Notice whether the dog changes behavior as soon as the harness goes on | Stop, reassess fit, and reintroduce more gradually |
Note: AVMA advises owners to make sure each dog’s collar or harness fits properly to prevent injury or escape, and some dogs with airway, neck, or other conditions may specifically need a harness rather than a collar.
When to stop and reassess
Stop using the current setup if your dog is limping, breathing heavily in a way that looks abnormal, coughing, showing red marks, or refusing to move normally. Those are not signs to keep tightening and hoping it improves. They are signs to reassess the fit, the style, or the dog’s underlying comfort.
If you cannot get the harness to sit flat and allow easy movement after careful adjustment, try a different size or a different style. Step-in and overhead designs solve different problems. Sometimes the wrong answer is not your fitting technique. It is the design itself for that dog.
This article is general guidance and does not replace veterinary care. If your dog shows pain, trouble breathing, repeated escape behavior, or ongoing distress with any harness, ask your veterinarian or a qualified trainer for help.
You keep your dog safer by matching the harness style to the dog, introducing it calmly, and checking fit in motion rather than only at a standstill. Step-in harnesses often help dogs that dislike overhead handling. Overhead harnesses often help when you need a more secure, more adjustable fit. The right answer is the one your dog can wear comfortably and move in naturally.
FAQ
How do you know if your dog’s harness fits correctly?
The harness should sit flat, stay centered, and let your dog walk without coughing, rubbing, or shortening the stride. Always recheck the fit once your dog is moving.
What should you do if your dog resists the harness?
Slow the process down. Use treats, praise, and short steps instead of trying to force the full fitting all at once. If resistance continues, try a different harness style.
Can you leave a harness on your dog all day?
That is usually not ideal. VCA advises that dogs should be supervised when wearing collars and harnesses because gear can catch on objects or other dogs during normal activity.