Most car tether issues come from a length that is too long, too short, or clipped to the wrong point. If your dog can reach the front seat, the tether is too long. If your dog cannot lie down, it is too short. Use the reach test, anti-tangle scan, and a 5-10 minute test drive to confirm comfort before longer trips.
Note: A car tether can help limit roaming and reduce driver distraction, but it cannot eliminate risk in sudden stops or crashes.
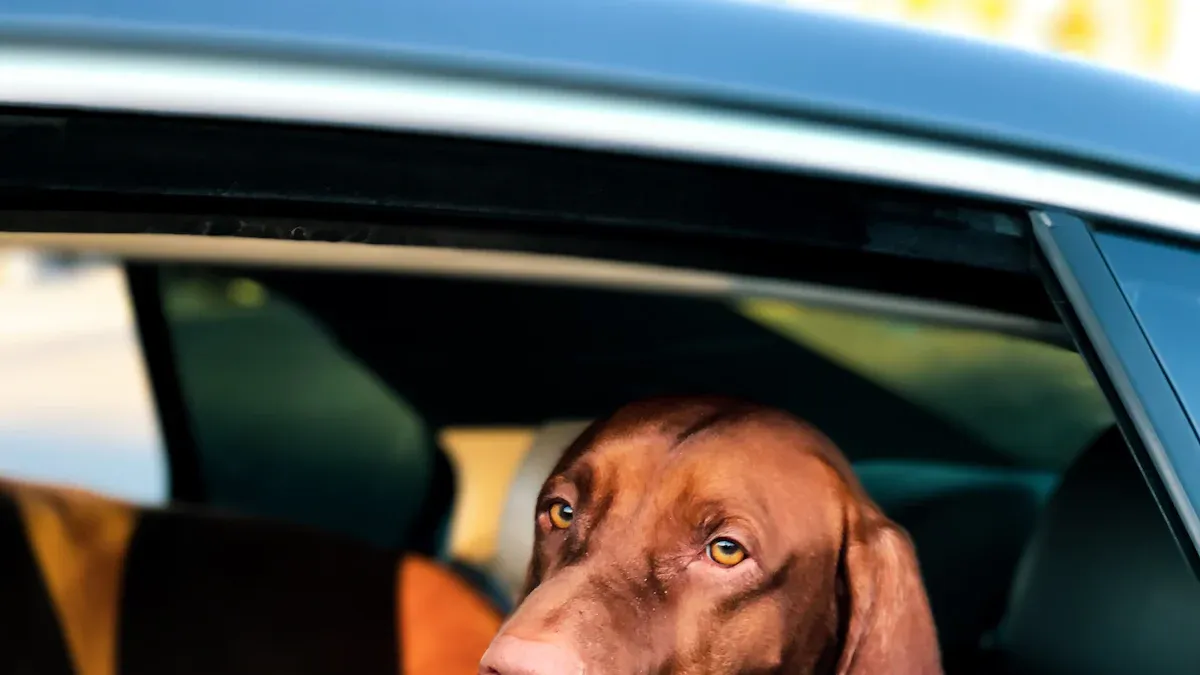
Key Takeaways
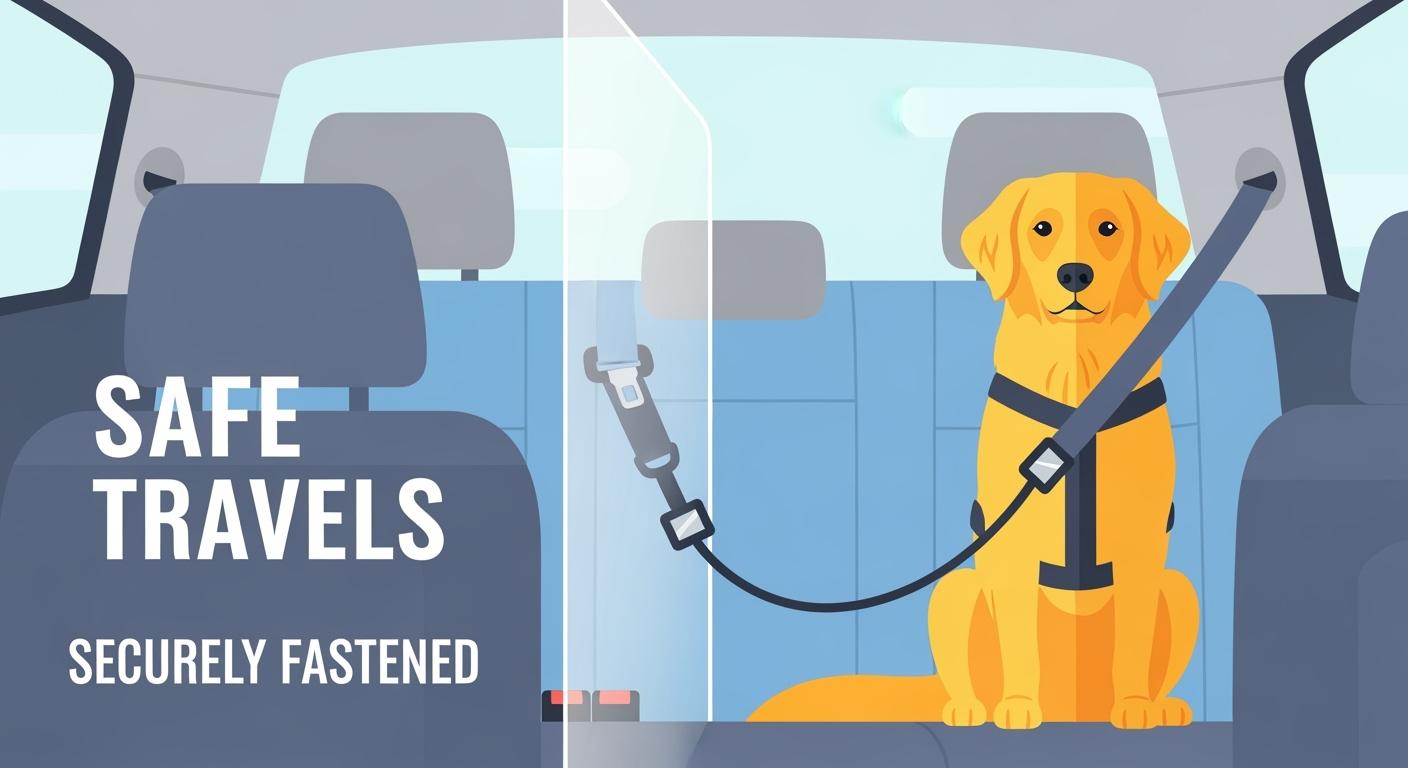
For many dogs, the back seat reduces distraction and keeps them away from the dashboard and front airbags.
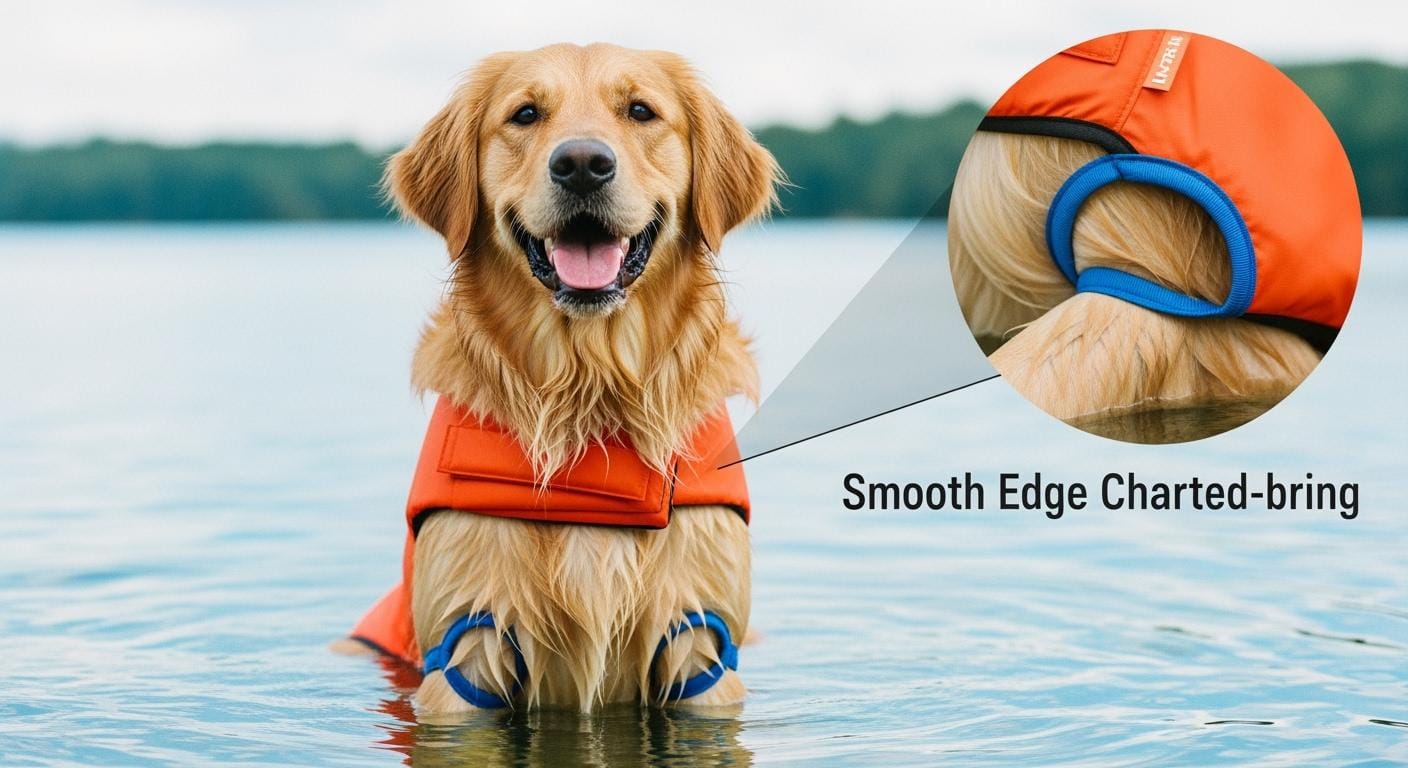
Clip the tether to a harness, not a collar, to reduce neck strain during sudden braking.
Adjust the tether so your dog can sit and lie down comfortably but cannot reach the front seat.
Before each trip, check for twists, slack, and snag points around the seat and hardware.
Do a short 5-10 minute test drive, then fine-tune the length and connection point as needed.
Car tether safety: what it does and doesn’t do
Note: A car tether helps reduce roaming and distraction, but it does not remove all risk in a sudden stop or accident.
Distraction control vs crash safety
You want your dog to stay in the back seat and not jump to the front. A car tether helps with this by keeping your dog in place. This reduces distraction for you while driving. You should know that a car tether is not the same as a crash-tested harness. It does not promise full protection in a crash. The main job is to keep your dog from moving around and causing problems.
Here is a quick look at how different seat setups work for dog safety:
Safety Function | Description |
|---|---|
Two-point restraint (if provided) | May help keep the dog centered by sharing load across two attachment points, depending on design and installation. |
Lower anchor connection | Attaches to a lower anchor point and limits forward movement; follow the vehicle manual for safe anchor locations. |
Seat belt path or upper strap | Helps manage slack and direction of pull; correct strap routing reduces twisting and tangles. |
Products and vehicles vary, so use manufacturer instructions, confirm hardware is fully closed, and re-check fit during travel. If you want higher crash protection, look for restraints that publish third-party test results or clear load ratings.
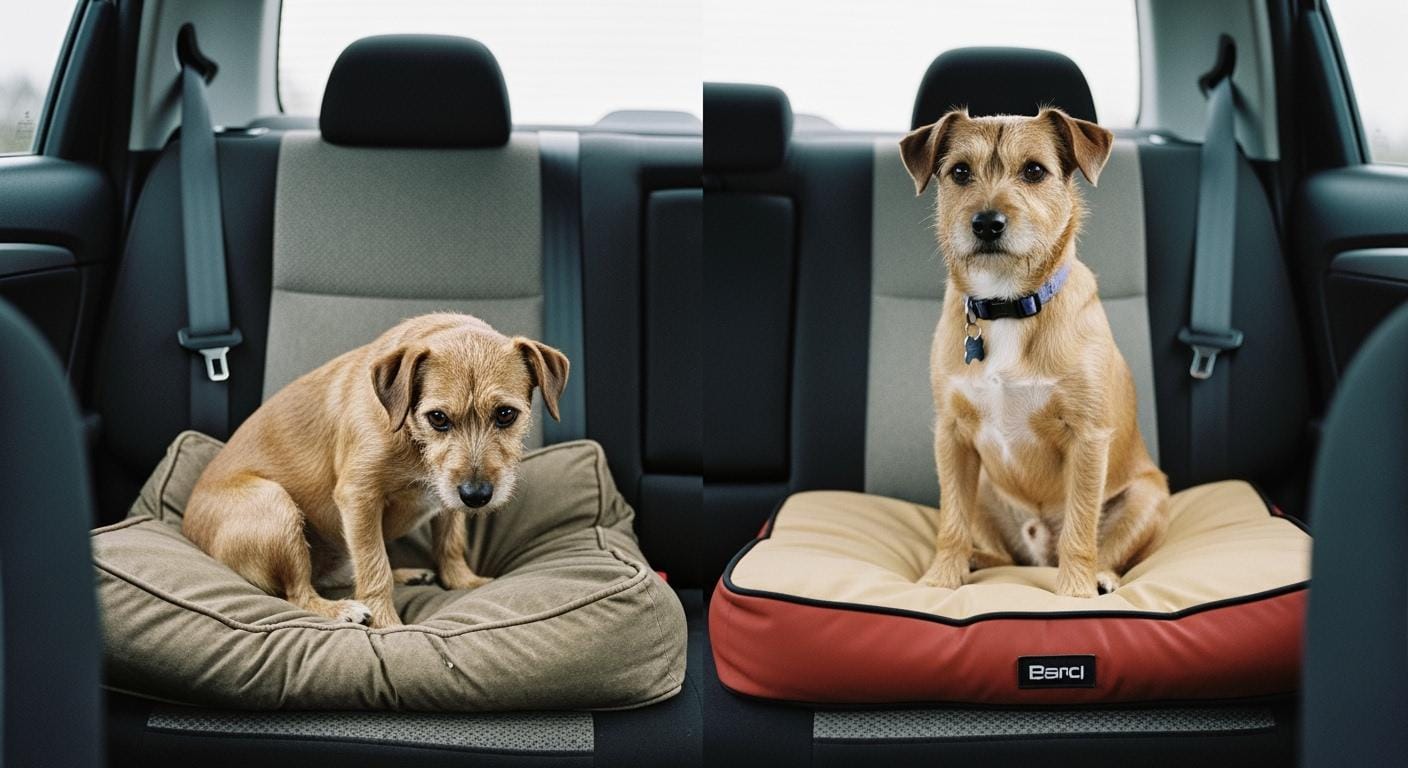
Why back seat is best for dog car safety
For many vehicles, the back seat helps keep dogs away from the dashboard and reduces driver distraction. Choose a stable seating position, avoid front airbags, and use a harness-based restraint that fits your dog and your car layout.
When crates or other restraints are safer
In some situations, a crate or a different restraint can be a better fit than a tether, especially for nervous dogs, long trips, or dogs that tangle easily. Rigid crates typically hold shape better than soft bags, but space, ventilation, and your dog’s comfort still matter.
Decision Table
Dog and Context | Best Restraint Setup | What to Avoid |
|---|---|---|
Calm dog, short trips, back seat | Car tether with harness | Collar attachment, front seat |
Nervous dog, long trips, frequent stops | Hard-sided crate | Soft travel bag, loose tether |
Large dog, strong puller | Crash-tested harness | Unlabeled or weak restraints |
Worked Scenarios
Scenario A: You set the tether too long. Your dog reaches the front seat or gets tangled. You fix this by using the shortest-length rule, running the front-seat reach test, and setting up the tether to prevent twisting.
Scenario B: You set the tether too short. Your dog cannot lie down and shows stress. You increase the length and run the short test drive protocol to check comfort.
You should always check your setup before each trip. Using proper restraints and following these steps helps improve dog car safety.
Choosing car tether connection points for dogs
Seat belt buckle vs cargo anchor
You want to pick a strong and stable spot to connect your dog’s tether. Most cars have two main options: the seat belt buckle or the cargo anchor. Both points can help keep your dog secure. Safety guidelines show that child car seat anchors and seat belt receivers work well for this purpose. You can see the options in the table below:
Evidence Description | Connection Points |
|---|---|
Often a stable anchor point when used as directed by the vehicle manual. | Child-seat anchor locations or seat belt receiver (vehicle-dependent) |
Choose an attachment point that keeps the tether low and centered to reduce twisting. | Cargo tie-down or lower anchor (vehicle-dependent) |
A harness-based restraint can help reduce roaming and keep the dog positioned. | Seat belt path or LATCH-style anchor (if supported) |
You should check your car manual to find these anchor points. Make sure the tether clips in firmly and does not slip out.
Harness connection for safety
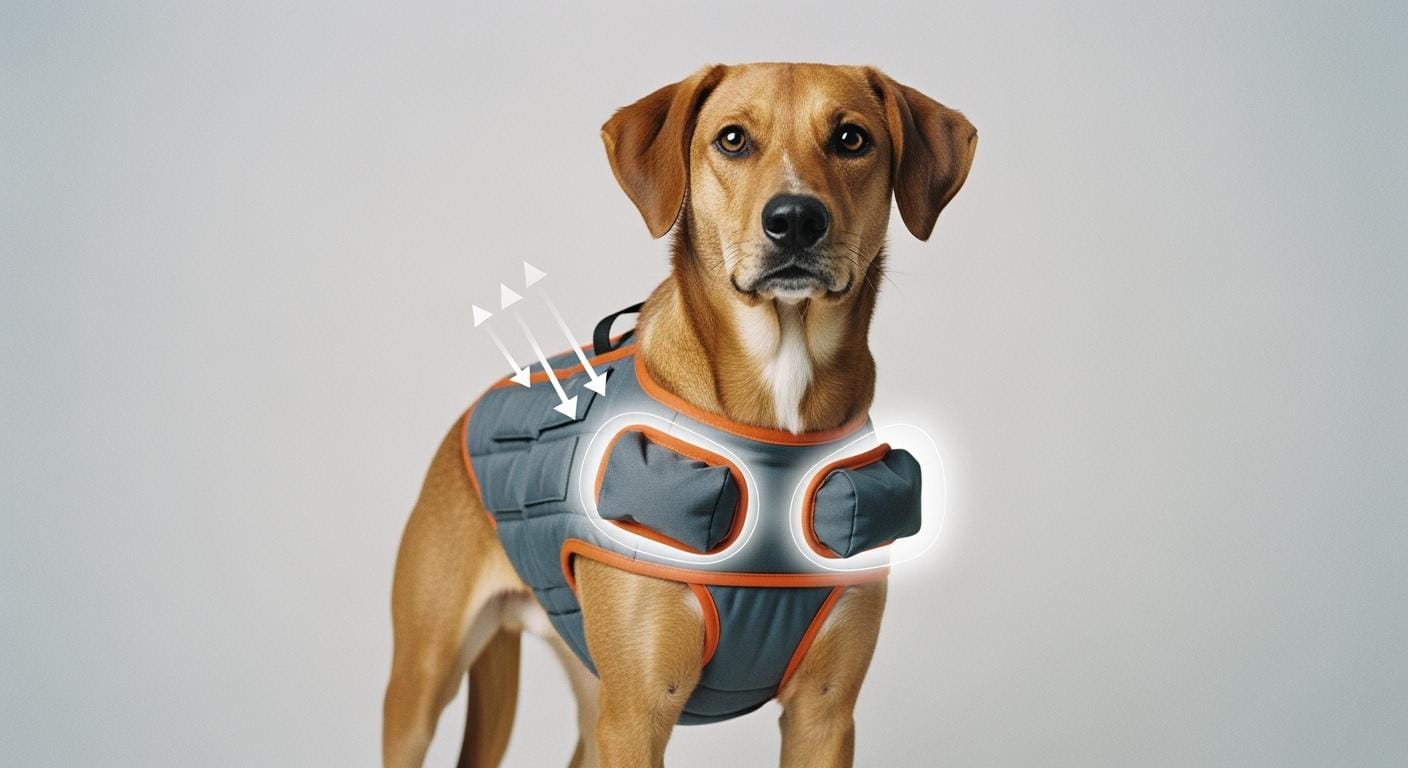
You should always attach the tether to a harness, not a collar. A harness spreads out the force if you stop suddenly. This helps protect your dog’s neck and spine. A collar can hurt your dog if you brake hard. Many experts recommend using a dog car harness with a metal loop or reinforced stitching near the shoulders. This setup keeps your dog safe and comfortable. You can also look for a harness that connects to the seatbelt or LATCH system for extra security.
Tip: Clip the tether to the harness attachment point on your dog’s back. This helps keep the tether straight and reduces twisting.
Prevent twisting and tangling
You want your dog to stay comfortable and free from tangles. Here are some ways to prevent twisting and tangling:
Lay the harness straps flat and check that they are not twisted.
Adjust the tether length so your dog cannot step over it.
Use the two-finger rule to check the fit. You should fit two fingers between the harness and your dog’s armpit.
Scan the area around the seat for sharp edges or hardware that could snag the tether.
If you follow these steps, you help your dog stay safe and relaxed during every ride.
Setting car tether length for keeping your dog safe
Reminder: A car tether is for in-car positioning. A walking item like a reflective stretch dog leash may show strap length options, but those are not the same as the effective in-car tether length. Use a purpose-built in-car tether and confirm its adjustable range.
You want your dog to ride safely and comfortably in your car. Setting the right tether length is the key step. If you follow a simple checklist, you can help your dog stay secure and relaxed in the back seat. You also lower the risk of distraction while you drive.
Shortest length for sit and lie down
Start by choosing the back seat for your dog. This seat keeps your dog away from the front and gives the most protection. Find the anchor point in your car. You can use the seat belt buckle or a cargo anchor. Next, fit the harness on your dog. Attach the tether to the harness, not the collar. This step protects your dog’s neck and spine.
Adjust the tether in small steps until your dog can sit upright and lie down naturally. As a starting point, many owners add about 4-8 in (10-20 cm) of room for shifting and about 2-4 in (5-10 cm) for turning, then tighten if the dog can reach the front seating area.
Front seat reach test
Run the front seat reach test. Watch your dog as you set the tether length. Your dog should not reach the front seat from the back seat. If your dog can touch or climb into the front, shorten the tether. This step helps prevent distraction and keeps your dog in the safest area.
You can use these common examples for reference:
Fixed tether: about 10 inches (25 cm)
Adjustable tether: about 15 to 22 inches (38 to 56 cm)
If you use a product like the StridePaw High Reflective Stretch Dog Leash, check the strap length options. The visuals show M 60-70 in (152-178 cm) and L 70-85 in (178-216 cm). These are leash lengths, not the in-car tether length. Confirm the effective in-car tether length with the supplier spec sheet before use.
Allow for stretch and slack
Some tethers have a stretch or bungee section. If your tether stretches, use the stretched length as the true maximum. This step prevents your dog from reaching farther than you expect. Run your hand along the tether path. Make sure the tether does not snag on seat edges, belt hardware, or sharp corners. This scan helps reduce tangles and keeps the restraint working well.
Here is a quick checklist for setting up dog restraints in cars:
Choose back seat placement and identify anchor type.
Fit harness and connect tether.
Adjust length using shortest-length rule and run front seat reach test.
Run anti-twist and anti-tangle check.
Run short test drive and follow re-check rhythm.
Take a short test drive of 5 to 10 minutes. Watch your dog for comfort and movement. Re-check the setup every 10 to 15 minutes during longer drives. This habit helps you catch any loosening or tangles early.
Parameter and Value Table
Parameter | Target range or option | Why it matters |
|---|---|---|
Shortest-length rule | shortest that allows sit and lie down | Reduces restriction without excess slack |
Front-seat reach rule | cannot reach front seating area | Reduces distraction and roaming risk |
Fixed length example | 10 in (25 cm) | Common labeled example for reference |
Adjustable range example | 15-22 in (38-56 cm) | Common labeled range for reference |
Short test drive | 5-10 minutes | Confirms comfort and reach limits |
Re-check rhythm | every 10-15 minutes | Catches loosening and tangles early |
Harness connection | tether to harness point | Reduces neck risk vs collar attachment |
Stretch rule | use stretched length as max | Prevents surprise reach increase |
Snag scan | clear path around seats | Reduces tangles and abrasion |
StridePaw buckle clip | seat belt buckle style | Clarifies anchor expectation |
StridePaw strap options | 60-70 in (152-178 cm) or 70-85 in (178-216 cm) | Product example field for listings |
You can use these steps and checks for any dog and car. You do not need special tools. You only need a harness, a tether, and a few minutes to adjust and test. If you follow this guide, you help your dog stay safe and comfortable in the seat on every trip.
Fit checks for comfort and dog car safety
You want to secure your dog in the seat and keep them comfortable during travel. Checking fit helps you spot problems before they lead to injury or stress. Use these pet safety tips to guide your checks.
Comfort cues: movement and posture
Watch your dog in the seat. You should see relaxed posture, easy movement, and calm behavior. Dogs feel safer in defined spaces. When you use a harness and restraint, your dog learns where they can move. If your dog sits, lies down, and looks out the window without straining, you have a properly secured setup. Some dogs treat the back seat or a crate as a safe zone, which helps reduce travel anxiety. If your dog pants, whines, or tries to escape, check the tether and harness fit.
Look for these comfort cues:
Relaxed body and soft eyes
Ability to sit and lie down
Calm breathing and no signs of stress
Scan for tangles and snags
Check the seat area for anything that could snag the tether. Run your hand along the restraint and make sure it does not catch on seat edges or hardware. A tangled tether can limit movement and cause discomfort. You want the tether to stay flat and untwisted. If you see the tether wrapped around your dog’s leg or caught under the seat, adjust it right away. This step helps with keeping your dog safe and prevents injury.
Door and window reach limits
Test how far your dog can reach in the seat. Your dog should not be able to touch the door handle or window controls. This keeps your dog from opening doors or getting stuck. The dog car seat setup should keep your dog away from risky areas. If your dog can reach the front seat, shorten the tether. This check supports dog car safety and helps you use dog safety gear correctly.
Feature Check Table
What to Check | How to Check | Why It Matters |
|---|---|---|
Movement and posture | Watch for relaxed sitting and lying | Shows comfort and reduces stress |
Tangles and snags | Run hand along tether and seat | Prevents injury and discomfort |
Door/window reach | Test reach with treats or toys | Limits risk and keeps dog safe |
Harness connection | Confirm tether clips to harness | Improves dog safety |
Seat area scan | Look for sharp edges or hardware | Protects restraint from damage |
You can use this checklist every time you travel. It helps you secure your dog and maintain dog safety. Remember, no restraint removes all risk, but regular checks improve safety for every seat and every trip.
Short test drive protocol for car tether fit
A short test drive helps you check if your dog feels secure and comfortable in the seat. This step-by-step protocol lets you spot problems early and adjust before a longer trip. Remember, a car tether reduces roaming and distraction but does not remove risk in sudden stops.
Pre-drive check: buckle and clip
Before you start, check the seat area for hazards. Make sure the tether clips to the harness, not the collar. Confirm the seat belt buckle or anchor holds the tether firmly. Run your hand along the seat and tether to check for sharp edges or hardware that could snag. Look at the harness fit. Your dog should sit and lie down without strain. The seat should feel like a safe space for your dog.
Re-check and adjust rhythm
Begin with a short test drive of 5 to 10 minutes. Watch your dog in the seat. Every 10 to 15 minutes, pause and check the tether and harness. Look for tangles, slack, or signs of discomfort. Adjust the tether if your dog cannot change positions or if the seat area looks crowded. Use treats or gentle praise to help your dog relax in the seat. This rhythm helps you catch small issues before they become big problems.
Stop-use cues for dog safety
Stop the drive if you see any of these signs:
Your dog shows distress, panic, or tries to escape the seat.
The tether causes repeated tangling or rubs against your dog’s skin.
You notice injuries or your dog seems anxious or uncomfortable.
The seat area blocks the seat belt buckle or makes the harness hard to use.
If you see these cues, stop and consult your veterinarian or a professional trainer before you continue to travel. Proper installation and restraint improve safety, but they do not guarantee results. Your dog’s comfort and safety come first. Always check the seat setup before every trip.
Troubleshooting car tether fit issues
You want your dog to stay safe and comfortable in the seat. Sometimes, problems happen with the fit of your restraint. You can use this guide to spot and fix common issues. Remember, a car tether reduces roaming and distraction but does not remove risk in sudden stops.
Too long: front seat reach, tangles
If you set the tether too long, your dog may reach the front seat. This can cause distraction while you drive. A long tether can also lead to tangles around the seat or your dog’s legs. You might see your dog move too far or get stuck. To fix this, shorten the tether so your dog stays in the back seat. Run the front seat reach test. Make sure your dog cannot touch the front seat. Check for slack that could cause tangles.
Too short: restriction, stress
A tether that is too short can make your dog feel trapped. Your dog may not sit or lie down in the seat. You might notice signs of stress, like whining or restlessness. If this happens, lengthen the tether a little. Watch your dog try to change positions. The seat should let your dog move enough to stay relaxed. Use the shortest-length rule to guide your adjustment.
Wrong attachment: twisting, unstable pull
If you attach the tether to the wrong point, you may see twisting or an unstable pull. The seat may not hold your dog steady. You should connect the tether to the harness, not the collar. Pick a strong anchor point in the seat area. Check for twisting or pulling to one side. Adjust the clip so the tether stays flat and untangled.
Tip: Use a checklist before every trip. Watch your dog in the seat and adjust as needed.
Troubleshooting Table
Common Cause | What It Leads To | What To Do Next |
|---|---|---|
Tether too long | Front seat reach, tangles | Shorten tether, run reach test |
Tether too short | Restriction, stress | Lengthen tether, check movement |
Wrong attachment | Twisting, unstable pull | Attach to harness, pick strong anchor |
Tether twisted | Discomfort, tangles | Untwist, lay tether flat |
Snagged tether | Limited movement, abrasion | Clear seat area, reroute tether |
Worked Scenario Recap
If your dog reaches the front seat, shorten the tether and check for tangles.
If your dog cannot lie down, lengthen the tether and watch for comfort.
You can solve most seat problems with these steps. Check the seat setup often to keep your dog safe and happy.
Retailer and brand notes for dog car safety
Listing fields to reduce returns
You want to help customers pick the right seat restraint for their dog. Clear product listings can lower returns and improve satisfaction. Use these fields in your seat product listings:
Show a sizing chart with chest girth, back length, and weight. Give measurements in inches and centimeters.
Write detailed descriptions that explain which seat areas the product supports, how it helps with ventilation, and what safety instructions to follow.
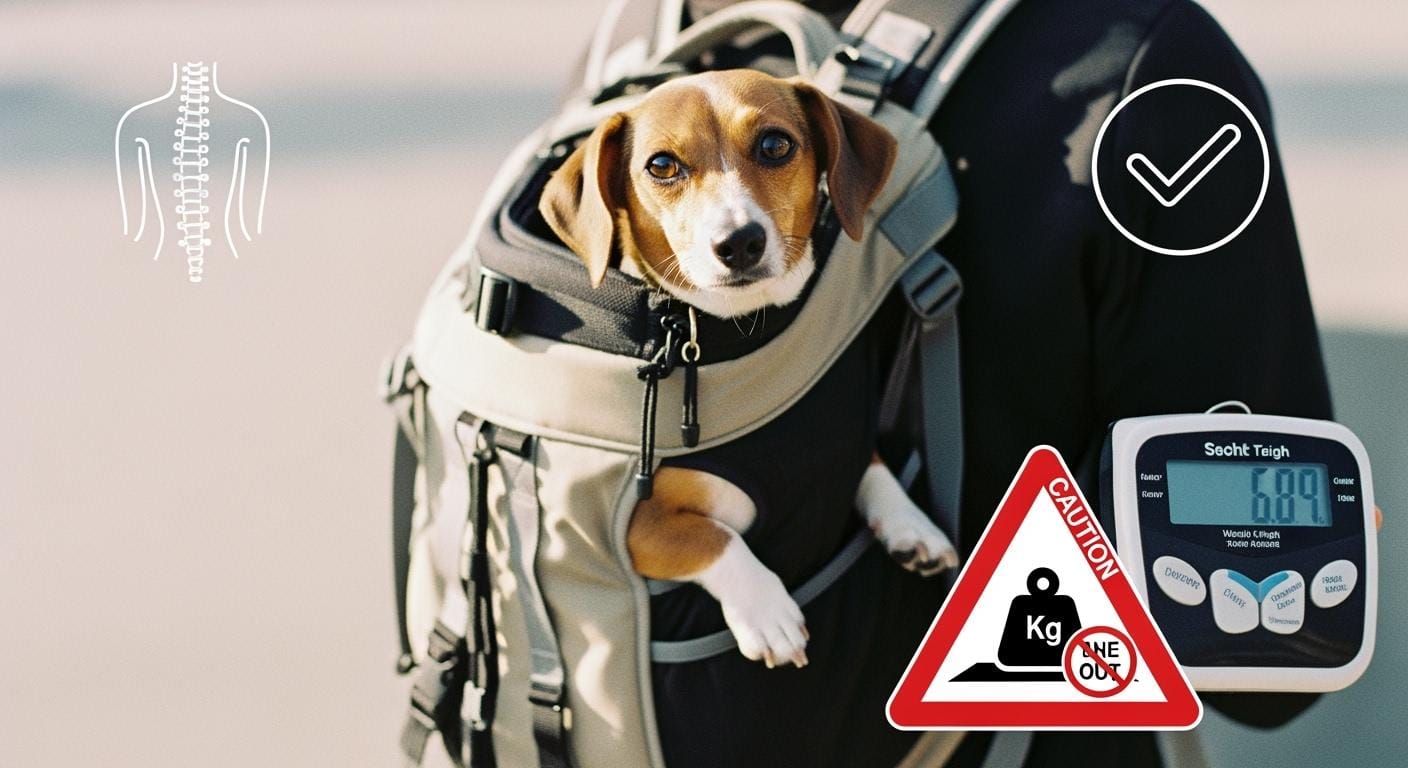
Ask suppliers for full specifications. Include fabric type, strap width, and the maximum weight the seat can hold.
When you give clear information, you help shoppers choose the right seat for their dog. This step reduces confusion and makes the buying process smoother.
Simple instructions for customers
Easy instructions help customers use the seat restraint the right way. You can add a quick-start guide with every seat product. Use simple steps and clear words. For example:
Place the seat restraint in the back seat.
Fit the harness on your dog.
Attach the tether to the harness, not the collar.
Adjust the seat tether so your dog can sit and lie down.
Run a short test drive and check the seat setup.
Add tips for checking fit and comfort. Remind customers to check the seat area for sharp edges or things that could snag the tether. A clear guide helps prevent mistakes and keeps the dog safe.
Supplier spec requests and OEM/ODM
OEM means a supplier manufactures to your specifications and branding. ODM means you start from an existing design and customize it under your brand.
Here is a practical spec checklist to request from your supplier:
Feature | Description |
|---|---|
Hardware and clip material | Type of metal or polymer, gate style, corrosion notes, and any load rating information provided. |
Webbing and stitching details | Webbing width and thickness, stitching pattern, reinforcement points, and abrasion notes. |
Adjustable length range | Minimum and maximum usable length, plus any stretch section behavior under load. |
Sizing and use guidance | Recommended dog size (lb/kg) and fit notes for different coat types and body shapes. |
Documentation | Instructions, inspection checklist, and any third-party test reports or internal test summaries if available. |
Ask for proof of these features before you list a seat product. This step helps you offer safe and reliable options for every dog.
You want to keep your dog safe and comfortable on every car trip. A proper car tether fit helps you secure your dog and supports dog car safety. Quick fit tests and small adjustments can solve most problems before you travel. Check the fit often and adjust for your dog and car. A well-fitted tether protects both you and your dog. Remember, a car tether reduces roaming and distraction but does not remove risk in sudden stops.
Check fit before each trip
Watch your dog for comfort
Adjust as your dog grows
FAQ
How do you know if your car tether is the right length?
Check if your dog can sit and lie down without straining. Run a short test drive. Make sure your dog cannot reach the front seat. Adjust the tether if you see discomfort or too much slack.
Can you use a collar instead of a harness with a car tether?
You should use a harness, not a collar. A harness spreads force across your dog’s body. This helps prevent neck injuries during sudden stops. Clip the tether to the harness attachment point.
What should you do if your dog gets tangled in the tether?
Stop the car safely. Untangle the tether and check for snags around the seat. Adjust the length and lay the tether flat. Watch your dog for signs of stress before driving again.
How often should you check the tether during a trip?
Check the tether every 10 to 15 minutes. Look for tangles, slack, or discomfort. Adjust as needed. This habit helps keep your dog safe and comfortable throughout the ride.
Is a car tether enough to protect your dog in a crash?
A car tether reduces roaming and distraction. It does not remove risk in sudden stops or crashes. For higher protection, consider a crash-tested harness or crate.