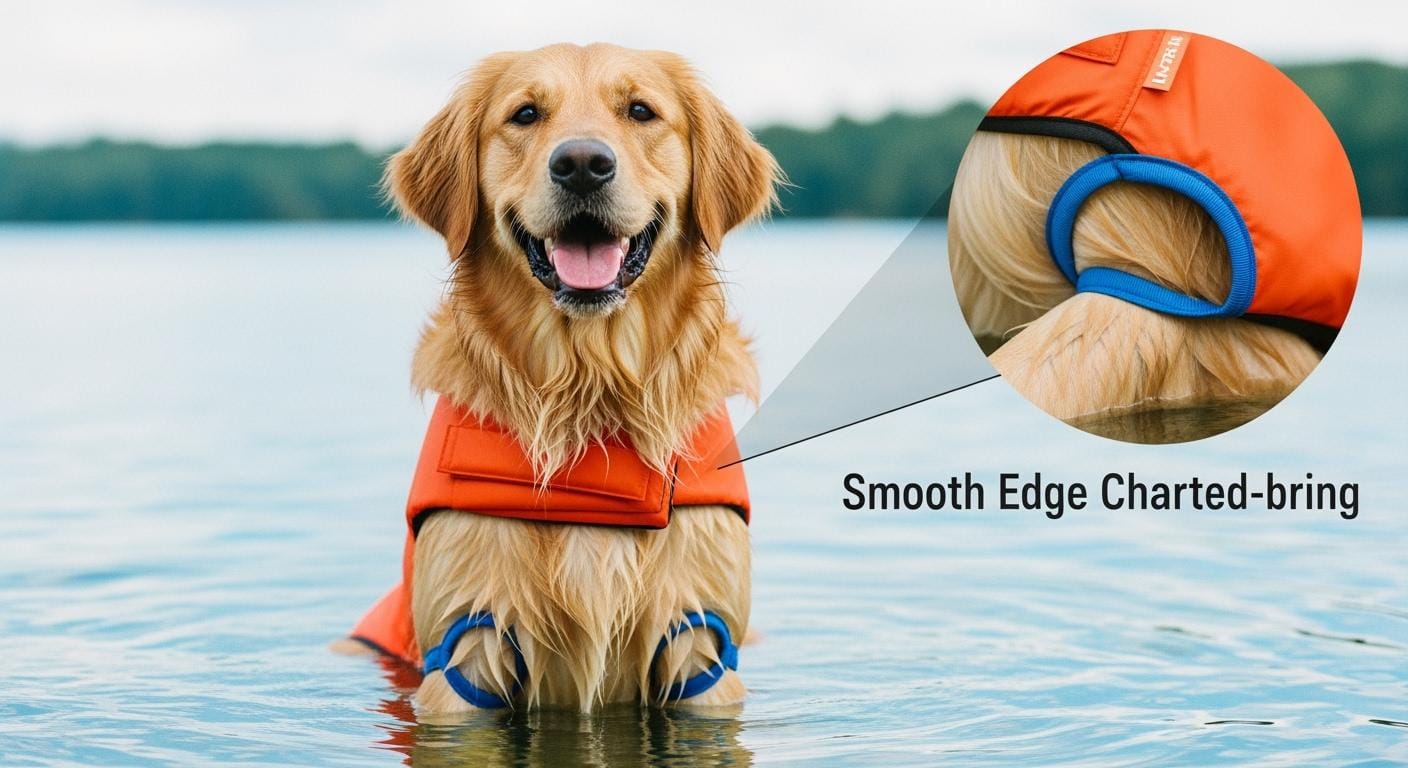
Dog harness chafing usually shows up during real walks, not while the dog is standing still. A harness can look secure at home, then start rubbing under the armpits after a few turns, pulls, wet grass patches, or muddy paths. The problem is often a mix of strap position, tightness, body shape, wet grit, and repeated movement. This guide focuses on how to spot harness rub, hair loss, redness, and early discomfort before a short walk turns into a daily fit problem.
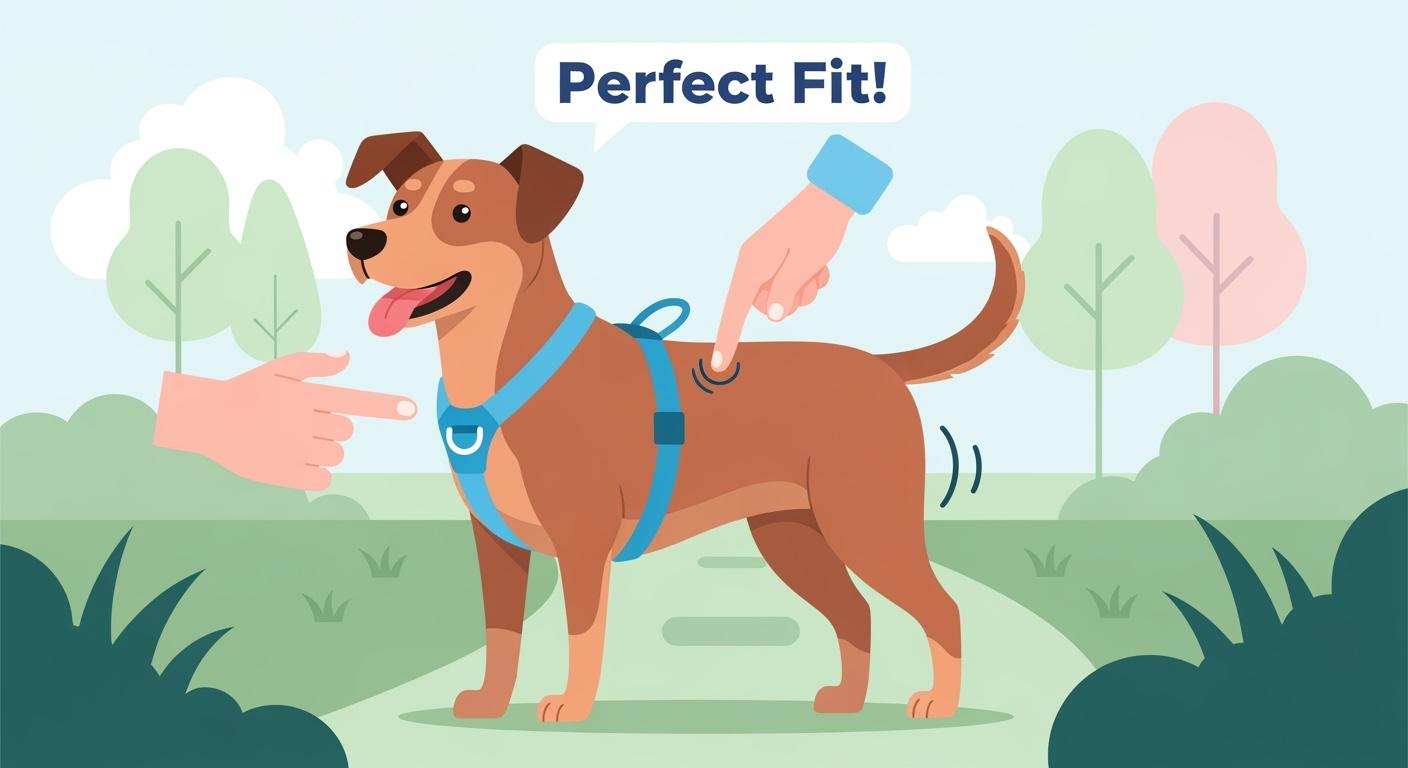
Start with a stable dog harness that matches your dog’s size and walking style, then judge fit by movement instead of standing posture alone. A harness that looks fine indoors can still slide into the armpits, ride up toward the throat, or twist when the leash comes under tension.
What a secure fit feels like on a real walk
A good fit feels snug, centered, and quiet on the body. The harness should stay in place when your dog walks, turns, sniffs, and pauses. You should be able to slide fingers under the straps, but the harness should not gap so much that the chest panel shifts side to side or the neckline climbs toward the throat.
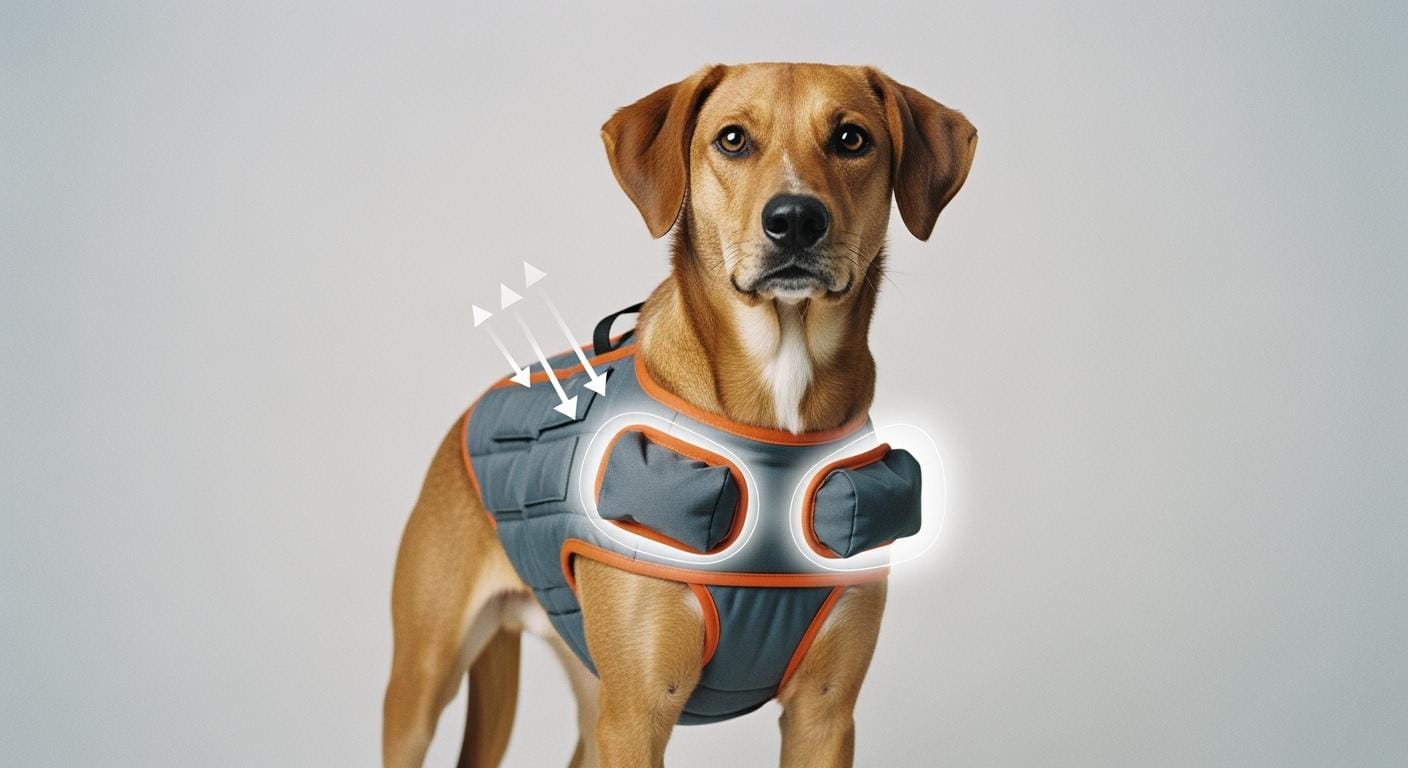
For dog harness chafing, the most important check is not whether the straps feel tight in your hand, but whether they stay clear of the armpits while the dog stretches forward, turns back, pulls slightly, or walks on uneven ground.
The two-finger rule is still useful, but it is only a starting point. Narrow straps on a very small dog may feel right with less space than a bulky padded harness on a large dog. What matters more is whether the pressure stays spread across the chest and whether the straps remain behind the front legs without sawing back and forth.
Watch for these fit signals during the first few minutes outside:
- The chest panel stays centered instead of rotating.
- The neckline sits low enough to avoid throat pressure.
- The armpit area stays clear when your dog lengthens stride.
- The leash attachment stays aligned instead of pulling the harness off balance.
- Your dog moves normally instead of shortening stride, hopping, or freezing.
If the harness shifts every time the leash tightens, do not assume tighter is better. Over-tightening often trades twisting for rubbing. The better fix is usually a combination of correct size, better strap placement, and a style that matches your dog’s shape.
Measure before you tighten, and size for an adjustment buffer
Fit problems usually start before adjustment. Measure chest girth at the widest point behind the front legs and measure the base of the neck where the harness neckline will sit. Then compare both numbers to the size chart instead of guessing from breed or body weight alone.
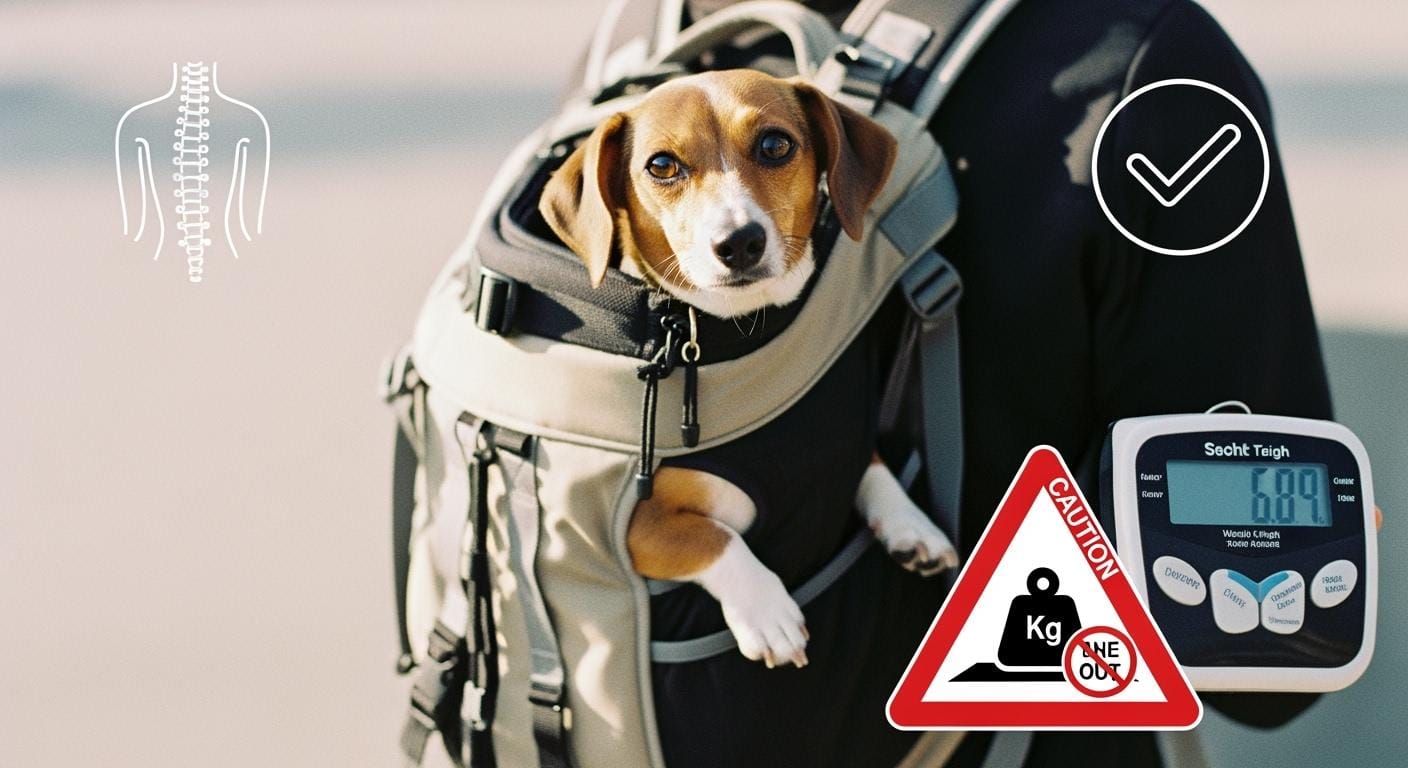
The safest size is usually the one that puts your dog near the middle of the adjustment range, not at the smallest or largest setting. That extra buffer makes it easier to fine-tune fit for coat changes, seasonal layers, or small weight changes. If you need a broader sizing baseline across different structures and materials, use this best dog harness guide before you compare styles.
When a dog falls between sizes, the right answer depends on stability, not label size. Choose the option that lets the harness sit flat, stay centered, and leave room for shoulder movement. A larger harness that can be adjusted securely is often safer than a smaller one that has to be worn at its limit.
| Measurement point | Where to measure | Why it matters |
|---|---|---|
| Chest girth | Widest part behind the front legs | Helps prevent sliding, twisting, and armpit rub |
| Neck base | Where a collar would rest low on the neck | Helps keep the neckline off the throat |
| Body shape check | Standing and walking posture | Confirms whether the harness geometry matches your dog |
Fit checks to do before and after the first short walk
Once the harness is on, adjust one area at a time instead of tightening everything at once. Start at the neck, then the chest, then any belly strap. Make sure the harness lies flat and the buckles are not sitting in a high-friction zone.
Before you head out, run a simple indoor movement test. Ask your dog to walk a few steps, turn both ways, sit, and stand again. If the straps pull into the elbows, bunch behind the shoulders, or shift when the leash takes light pressure, refit before starting the walk.
Then do a short outdoor test rather than a full long walk. After a few minutes, stop and recheck the harness. Look behind the elbows, across the sternum, and under buckles for redness, hair breakage, damp grit, flattened fur, or a strap line that keeps landing in the same armpit area. These are often the first signs of harness chafing before the skin looks seriously irritated.
If you are also pairing a leash at the same time, use this dog harness and leash set guide to judge whether the issue is really the harness, the leash length, or the way both pieces work together in your walking environment.
- If the harness rotates, check strap balance and chest placement before tightening more.
- If the neckline rides up, recheck size and how high the front section is sitting.
- If the armpits turn pink, move the straps back or change to a style with less elbow interference.
- If your dog shortens stride, check whether the chest panel is blocking shoulder movement.
- If the harness slips backward when wet, clean it, dry it fully, and retest fit before the next walk.
How to prevent chafing and fix common hot spots
Dog harness chafing is rarely caused by tightness alone. It usually comes from repeated friction in a high-motion zone, especially where straps sit close to the armpits or buckles press into one small area. Even a soft harness can rub hair off if it twists, stays wet, traps grit, or keeps sliding back into the same contact point. That is why prevention means checking strap placement, movement, and fabric condition together.
After muddy or wet walks, wipe down the harness, check the strap edges, and let everything dry fully before the next use. Dirt, salt, and moisture all make rubbing worse. Dogs with short coats, sparse fur, or recently trimmed areas often need even closer checks because there is less natural cushion between the harness and the skin.
| Problem | Likely cause | What to change first |
|---|---|---|
| Redness behind the elbows | Straps too close to the armpits or shifting during movement | Reposition straps and retest on a short walk |
| Neckline pressing high | Harness sitting too far forward or wrong shape | Lower the front position or try a different style |
| Harness twisting off center | Loose balance, poor sizing, or front pull mismatch | Even out adjustments and recheck chest fit |
| Hair breakage under one buckle | Pressure concentrating in one contact point | Reposition buckle zone and inspect for rough edges |
| Dog backs out when startled | Too much slack or unstable geometry | Re-measure and confirm the harness is the right type |
Stop using the harness and switch plans if you see raw skin, swelling, limping, obvious pain, or refusal to walk. At that point, the issue is beyond a quick fit adjustment.
FAQ
How tight should a dog harness be?
It should feel snug enough to stay centered but loose enough to avoid pinching or restricting stride. The best check is not just finger space under the straps, but whether the harness stays stable during actual movement.
Why does my dog’s harness chafe even when it is not tight?
Because chafing often comes from friction, not just pressure. Rotation, wet fabric, dirt, rough edging, and strap placement near the elbows can all create hot spots even when the harness is not obviously tight.
Should I size up if my dog is between harness sizes?
Usually yes, if the larger size can still be adjusted to stay stable. A harness worn at the edge of its size range often creates more rubbing and less control than one with a small adjustment buffer.
Is a front-clip harness more likely to rub?
It can be, especially if the harness rotates under tension or the front section sits too close to the shoulder joints. That does not mean front-clip styles are wrong; it means they need careful fit checks during movement.
How often should I recheck harness fit?
Recheck after grooming, weight change, coat change, muddy walks, long hikes, and any time you notice rubbing, twisting, or new resistance to walking. Small fit changes can matter a lot once the dog starts moving.