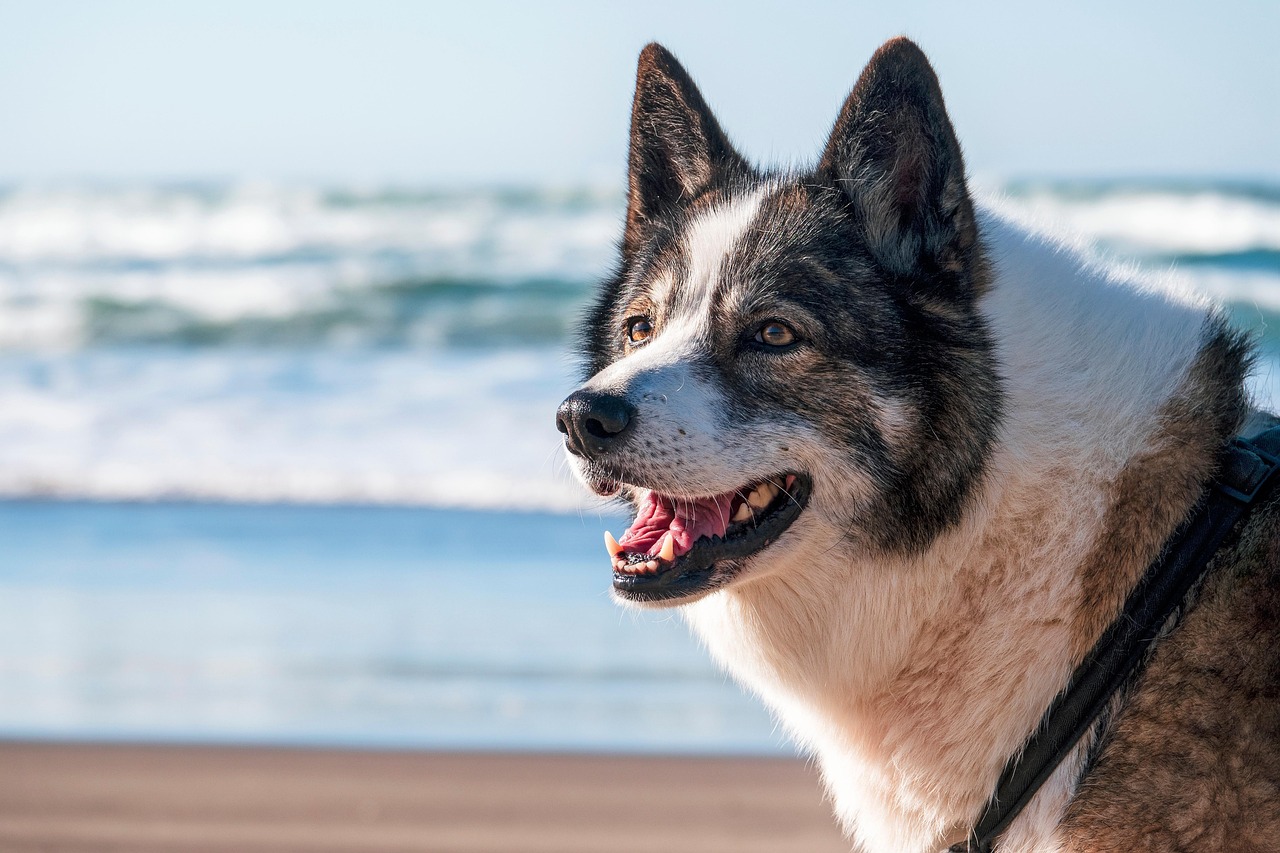
Most problems on car trips with your pet happen because the safety belt harness for dogs is wrong or not put on right. Your dog is not the main problem. You should check four things every time:
snugness and security
body positioning
adjustability and comfort
proper seatbelt attachment
If you check the harness fit, you can stop common risks like quick stops, getting too hot, feeling scared, and running away. You help keep your dog safe and make pet safety better every trip. These habits make car rides safer for you and your pet.
Key Takeaways
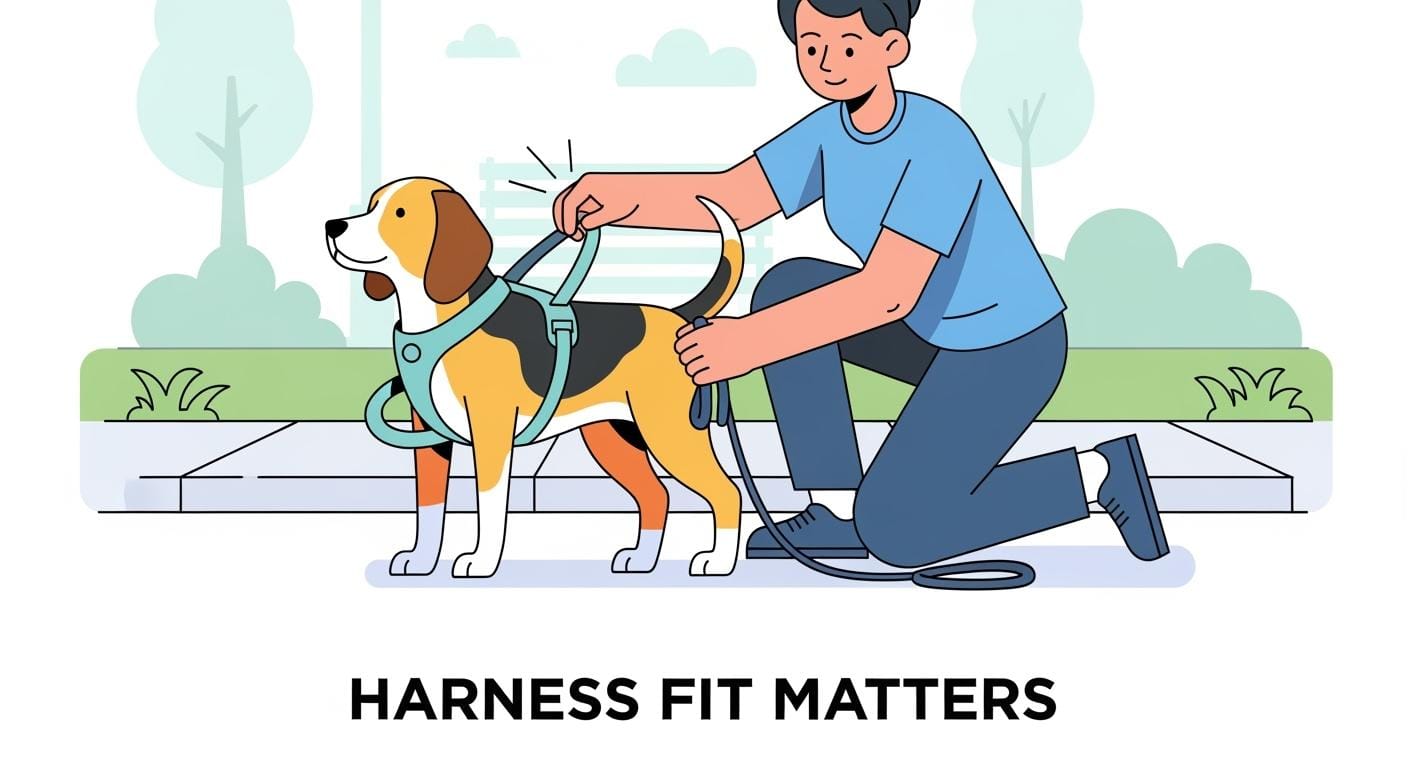
Always check the harness fit using the two finger rule. This ensures comfort and prevents your dog from slipping out.
Use a safety belt harness to reduce distractions while driving. It keeps your dog secure and helps you focus on the road.
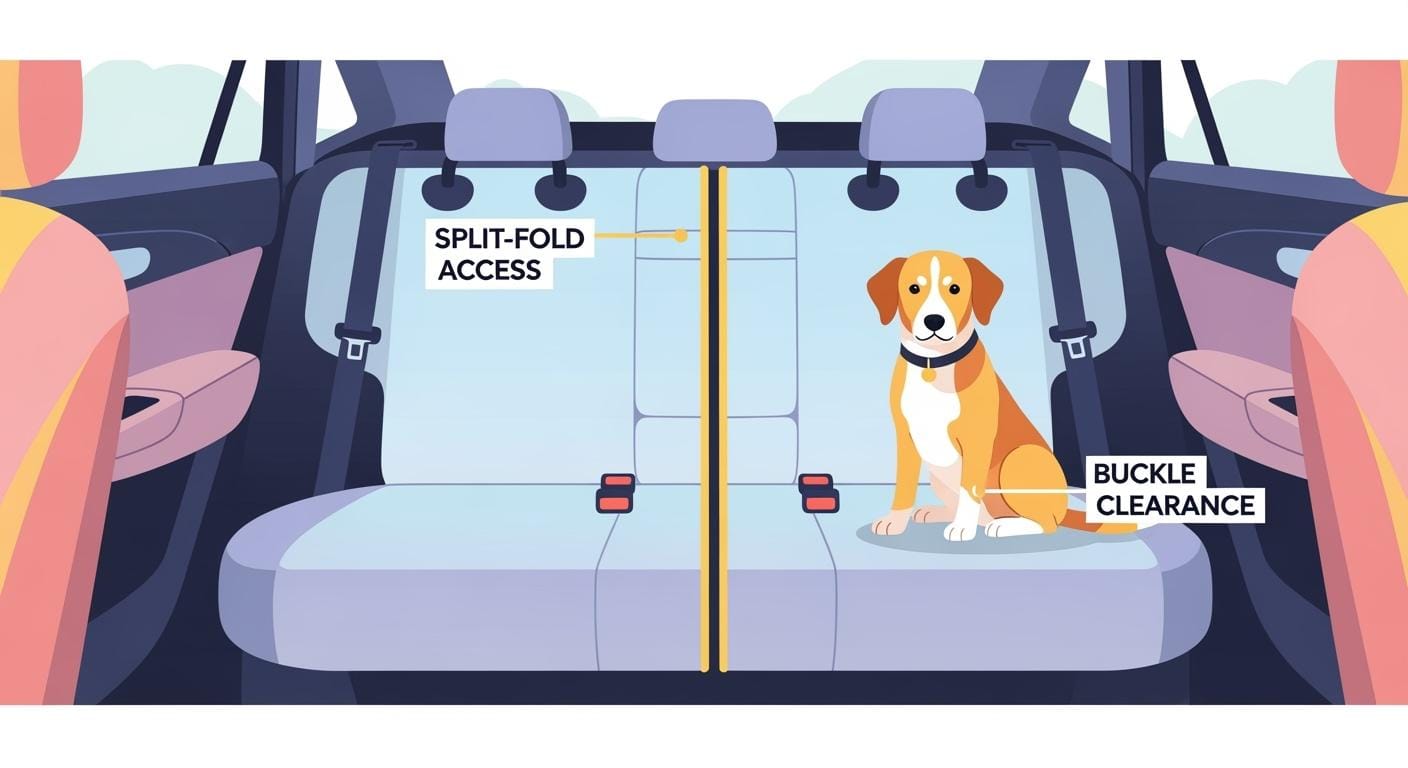
Place your dog in the back seat for safety. This protects them from airbags and reduces the risk of injury during sudden stops.
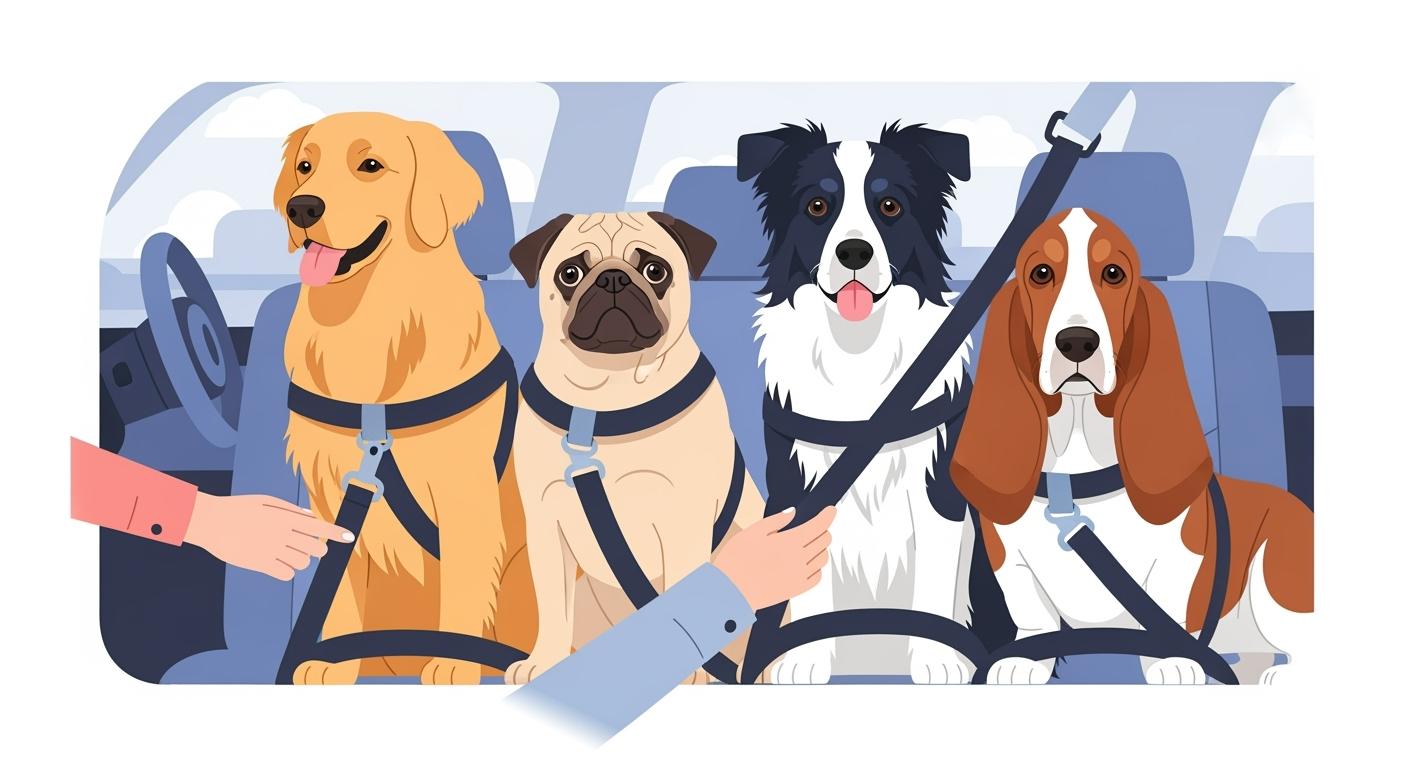
Choose the right restraint based on your dog’s size and behavior. A secured crate may be safer for larger or more active dogs.
Regularly inspect the harness for damage and adjust the fit as needed. This helps maintain safety and comfort during every trip.
What a safety belt harness for dogs can and cannot do
Reducing roaming and distraction vs crash protection
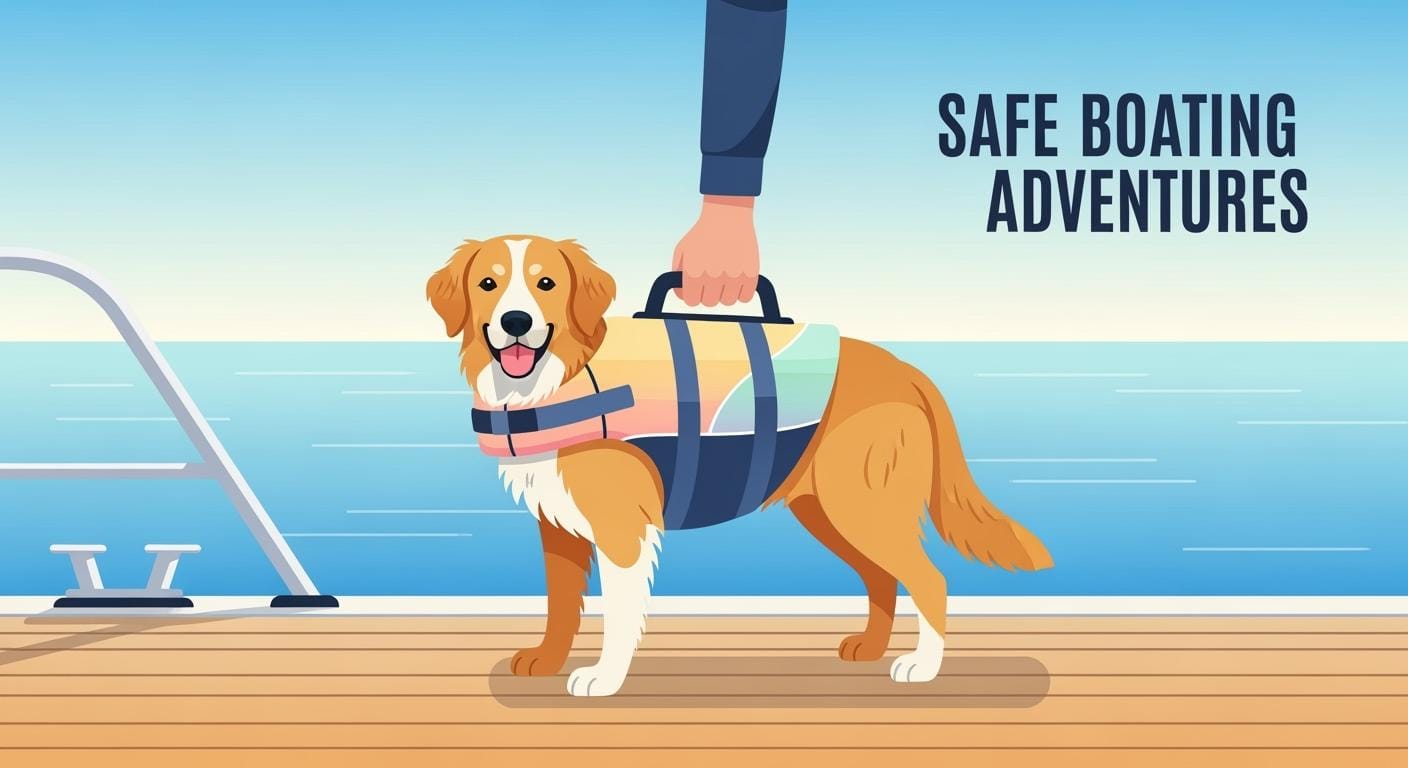
You want your dog to be safe and calm in the car. A safety belt harness for dogs helps stop your dog from moving around. It also keeps your dog from bothering you while you drive. The harness spreads pressure over your dog’s chest and back. This is more comfortable than a collar or clothes with a leash loop. A harness helps with roaming and distraction. But it does not always stop injuries in a crash. Always put your dog in the back seat if there are airbags. Never let your dog sit on your lap.
Here is a table that shows how harnesses compare to other restraints:
Feature | Dog Harness | Dog Clothes with Leash Loop |
|---|---|---|
Pressure Distribution | Evenly spread across chest and back | Localized on shoulder or spine area |
Material Durability | Reinforced nylon, mesh, or neoprene | Fashion fabrics |
Leash Attachment Security | Metal D-ring anchored to straps | Threaded ring in thin fabric |
Ventilation & Comfort | Breathable panels, extended wear | Limited airflow, overheating risk |
Adjustability | Multiple straps, custom fit | Minimal adjustment |
Safety Certification | Some meet safety standards | Rarely tested for load-bearing |
A harness is made to stop distracted driving. Most harnesses are not tested for crashes. You should not expect every restraint to protect your dog in a crash.
Why fit and install matter
You need to put the harness on right for safety. If the harness is loose or twisted, your dog can move too much or get out. If your dog seems upset, tries to escape, or chews the harness, stop and check for damage. Always clip the restraint to the harness, not the collar, to protect your dog’s neck. Pet restraints work best when you check the fit and install them right every time.
When a secured carrier or crate is better
Sometimes, a secured carrier or crate is safer than a harness. You should use a crate if:
Your dog is big, over 30 pounds (13.6 kg).
Your dog is very active or aggressive.
You take long or regular trips.
You want the best crash protection.
You need to keep the carrier from flying in a crash.
A hard crate, especially one tested for crashes, absorbs force and lowers injury risk. Studies show a well-secured crate protects your dog better than soft bags or loose restraints.
Safety belt harness for dogs: options explained
When you choose pet travel harnesses, you see many designs. Each harness works in a different way to keep your dog safe and comfortable. You need to know how each option fits your dog and your travel style.
Belt routed harness overview
A belt routed harness uses your car’s seat belt. You thread the belt through the harness, which is made for travel. This setup spreads force across your dog’s chest. You get a secure fit if you adjust the straps and check the two finger rule. This harness helps keep your dog in place and reduces roaming.
Harness plus tether overview
A harness plus tether setup connects your dog’s harness to the seat belt or a strong anchor point. The tether lets your dog sit or lie down. You control how far your dog can move. You must keep the tether short enough to stop your dog from reaching the front seat. Always attach the tether to the harness, not the collar.
Secured carrier or crate overview
A secured carrier or crate gives your dog a safe space. You lock the crate so it cannot slide or tip. This option works best for big dogs, active dogs, or long trips. You lower the risk of injury if you use a crash-tested crate. You also keep your dog calm in a familiar space.
Tip: Some harnesses, like Roman style or step-in designs, focus on comfort and freedom of movement. You should check if the harness fits well and does not cross the shoulder point.
Comparison table: options, pros, cons, best for
Option | Pros | Cons | Best For |
|---|---|---|---|
Belt routed harness | Secure, spreads force, easy to use | Needs correct routing, fit checks | Most dogs, short trips |
Harness plus tether | Adjustable movement, flexible setup | Tether can tangle, needs anchor | Small-medium dogs |
Secured carrier/crate | High protection, less roaming | Bulky, needs space, setup time | Large dogs, long trips |
Dog car booster seats | Elevates small dogs, improves view | Not for big dogs, needs harness use | Small dogs, short trips |
Dog profile or travel context | Best restraint choice | What to avoid |
|---|---|---|
Small, calm dog, short trip | Belt routed harness | Collar attachment |
Large, active dog, long trip | Secured carrier/crate | Loose harness, soft carrier |
Puppy, first car ride | Harness plus tether | Overly tight straps |
You make safer choices when you match the harness to your dog’s size and travel needs. Pet safety harnesses help you control movement and keep your dog secure.
Installation and compatibility mistakes
Buckle clip vs belt routing
You need to know how your harness connects to the seat belt. Some harnesses use a buckle clip that snaps into the seat belt slot. Others use belt routing, where you thread the seat belt through the harness. If you use the wrong method, your dog may not stay secure. Always check the harness instructions before you install it. Some vehicles do not work well with buckle clips. For example, certain trucks and specialty vehicles may not fit universal harness clips.
Here is a table showing how harnesses fit with different vehicles:
Vehicle Type | Compatibility Status |
|---|---|
Volvo | Not compatible |
Ford F-Series trucks | Not recommended |
Most vehicles | Universal fit |
Anchor points and strap twists
You want the harness straps to stay flat and untwisted. Twisted straps can rub your dog and weaken the harness. Always use a strong anchor point, such as the seat belt or a tested anchor. Avoid using loose or moving parts. After you install the harness, run your hand along each strap to check for twists. Make sure the buckle faces the right way and does not dig into your dog.
Tip: Flat straps and correct anchor points help your dog stay comfortable and safe during travel.
Collar attachment risks
Never attach the seat belt or tether to your dog’s collar. Collars can choke or injure your dog in a sudden stop. Always use a harness with a sturdy attachment point. The harness should fit snugly but not too tight. You protect your dog’s neck and spine when you use the harness correctly.
Red flag table: setup, risks, safer alternatives
Setup Detail | What Can Go Wrong | Safer Alternative |
|---|---|---|
Buckle clip in wrong slot | Harness may detach | Use belt routing or correct slot |
Twisted harness straps | Chafing, weak restraint | Keep straps flat and smooth |
Tether on collar | Neck injury, choking | Attach tether to harness |
Loose anchor point | Harness moves, dog escapes | Use seat belt or tested anchor |
Harness too tight or loose | Discomfort, escape risk | Use two finger fit check |
You lower travel risks when you check each harness setup before every trip. Always look for red flags and choose safer options for your dog.
Fit checks for safety and comfort
You want every car trip with your pet to be safe and comfortable. You need to check the harness fit before you start your journey. Safety experts recommend several steps to help you avoid common problems and keep your dog secure.
Harness fit basics: two finger rule, armpit clearance
Start with the two finger rule. Slide two fingers between the harness and your dog at the chest, neck, and belly. You should feel a snug space, not tightness. If you cannot fit two fingers, loosen the straps. If you can fit more than two fingers, tighten them slightly. This check helps prevent discomfort and rubbing. Make sure the straps sit behind the front legs and do not cut into the soft armpit area. Straps should not cross the shoulder point. Your dog needs freedom to move without restriction.
Tip: Always measure your dog around the widest part of the chest and the base of the neck. Choose the right size harness. If your pet is between sizes, size up for comfort.
Tether length and movement
You need to balance safety and freedom of movement. The tether should be long enough for your dog to sit and lie down comfortably. It should be short enough to keep your pet from stepping over or reaching the front seat. Most experts suggest a tether length between 15 inches and 22 inches (38 cm – 56 cm). Check that the tether does not tangle or twist. Flat strap paths and correct buckle orientation help your dog stay comfortable.
Movement test: sit, stand, turn, lie down
Test your setup before you drive. Let your dog sit, stand, turn, and lie down while wearing the harness. Watch for signs of rubbing, slipping, or restricted motion. Gently pull on the harness to check for security. The chest area should stay centered and not slide toward one shoulder. Your pet should not be able to slip out of the harness during gentle backward pressure.
Note: Remove the harness after a short practice ride. Inspect your dog for redness or irritation. Adjust the fit if needed.
Table: fit check, good vs bad, what to do
Check Item | What Good Looks Like | What Failure Looks Like | What to Do |
|---|---|---|---|
Two finger rule | Snug, two fingers fit at contact | Too tight or too loose | Adjust straps |
Armpit clearance | Straps behind front legs | Straps cut into armpit | Reposition harness |
Shoulder freedom | Straps avoid shoulder point | Straps cross shoulder | Change harness style |
Centering rule | Chest stays centered | Slides to one side | Re-adjust straps |
Slip test cue | Dog cannot slip out | Dog backs out of harness | Try different fit or style |
Tether length | Dog sits, lies down, no tangling | Tether too short or tangled | Adjust tether length |
Routing | Straps flat, no twists | Twisted or tangled straps | Flatten and re-route straps |
Worked scenarios
Scenario A: Dog twists strap and steps over tether
Your dog steps over the tether and twists the harness straps. This can cause tangling and discomfort. You check the harness fit using the two finger rule and armpit clearance. You flatten the straps and adjust the buckle orientation. You test movement by letting your pet sit, stand, turn, and lie down. You shorten the tether to prevent stepping over. Your dog now rides with less tangling and more comfort.
Scenario B: Dog panics in car and tries to back out
Your dog feels scared and tries to back out of the harness. You check the fit using the slip test cue and centering rule. You place your pet in the back seat and use short practice sessions to help them get used to the harness. You watch for signs of stress and adjust the fit as needed. Your dog becomes calmer and less likely to escape.
Step-by-step blocks for safer journeys
Restraint selection
Measure your dog’s chest and neck.
Choose a harness, tether, or secured carrier based on size and travel habits.
Pick the restraint type that matches your pet’s behavior.
Harness fitting
Put the harness on gently.
Adjust all straps using the two finger rule.
Check armpit clearance and shoulder freedom.
Installation
Attach the harness to the seat belt or anchor point.
Keep straps flat and untwisted.
Set the tether length for safe movement.
Pre-trip test
Let your dog sit, stand, turn, and lie down.
Check for rubbing, slipping, or restricted motion.
Make final adjustments.
Practice ride
Take short trips to help your pet acclimate.
Watch for signs of stress or discomfort.
Adjust fit and setup as needed.
Parameter and value table
Parameter | Target range or option | Why it matters |
|---|---|---|
Restraint type | belt routed harness, harness plus tether, secured carrier or crate | Matches risk and dog behavior |
Attachment rule | harness attachment point, not collar | Reduces neck risk |
Seat placement | prefer back seat when airbags present | Safety-first positioning |
Fit check | two finger rule at contact points | Avoids tight spots and rubbing |
Shoulder freedom | avoid crossing shoulder point | Reduces restriction risk |
Armpit clearance | straps sit behind front leg | Helps prevent chafing |
Centering rule | chest stays centered | Flags poor adjustment |
Slip test cue | gentle backward pressure check | Signals style or fit change needed |
Anti-tangle routing | strap path stays flat, minimal twist points | Improves comfort and control |
Pre-trip test | sit, stand, turn, lie down | Flags tangling and escape risk |
Acclimation | short practice sessions | Reduces stress and surprises |
Break cue | about every 2 hours on long trips | Supports comfort routine |
Window rule | head stays inside the vehicle | Reduces injury risk |
Unattended rule | do not leave dog alone in a vehicle | Heat and safety risk control |
You improve pet safety when you follow these fit checks and steps. You help your dog travel with less stress and more comfort. Small adjustments make a big difference in safety for every pet journey.
Crash-tested dog harnesses and travel safety
Crash-tested vs non-tested harnesses
When you shop for dog car seats, you see many harnesses labeled as crash-tested dog harnesses. These harnesses go through special tests to check how they perform in a crash. You may think crash-tested dog harnesses always keep your dog safe, but you should know that crashworthiness of pet travel harnesses depends on many factors. Crash-tested dog harnesses help reduce risks, but they do not guarantee protection in every crash. Non-tested harnesses focus on stopping your dog from roaming and distracting you while driving. You should always check if the harness attaches to the seat belt and fits your dog well.
Tip: Crash-tested dog harnesses work best when you use them with dog car seats and follow all fit checks.
Hardware and build quality cues
You want your crash-tested dog harnesses to last and keep your dog secure. Look for harnesses with strong metal hardware and smooth edges. Reinforced stitching at stress points helps prevent early wear. If your dog chews straps, you should change your setup or training routine. Do not rely on stronger materials alone. The table below shows key features to look for in dog car seats and harnesses:
Feature | Description |
|---|---|
Tether length | Extends from 15″-22″ for a broader range of movement |
Swivel action | Provides tangle-free mobility |
Universal fit | Compatible with most vehicles |
Safety note | Not crash tested, designed to prevent distracted driving |
Maintenance | Spot clean recommended |
You should check the harness and dog car seats for flat straps and correct buckle orientation. These steps improve pet safety and comfort.
Why crash-tested does not mean guaranteed protection
Crash-tested dog harnesses help lower risks, but you should not expect them to prevent all injuries. Crash-test standards vary, and no harness can promise complete safety. You should use harnesses with dog car seats in the back seat, away from airbags. Always follow fit checks and install steps. You improve pet safety when you combine crash-tested dog harnesses with safe travel habits. Take short practice rides and watch your dog for signs of stress. Small changes in harness fit and setup make a big difference in safety.
Note: Crash-tested dog harnesses support safer journeys, but you must use them correctly and check fit every time.
Best practices for safer car travel
Where your dog should ride
You want your pet to stay safe every time you travel. Always place your dog in the back seat, especially if your car has airbags. The back seat lowers the risk of injury during sudden stops. Never let your dog ride on your lap while you drive. This can distract you and put both you and your pet in danger. Make sure your pet stays inside the vehicle at all times. Do not let your dog stick its head out the window, even on short trips. This helps prevent injury from flying debris or sudden stops.
Safety tip: If your dog shows distress, tries to escape, or chews the harness, stop and check the setup. Replace any damaged parts before your next trip.
Training and acclimation tips
You help your pet feel calm by making the car a familiar place. Start with short sessions in a parked car. Offer treats or praise to build positive feelings. Next, take short drives around your neighborhood. As your dog gets used to the routine, slowly increase the length of each trip. Bring your pet’s favorite blanket or toy to make the space feel safe. Play soft music and keep a steady routine before each drive. Exercise your dog before travel to reduce restlessness.
Breaks, hydration, and heat safety
Traveling with pets means planning for comfort and safety. Stop every couple of hours to let your dog stretch and drink water. Always offer fresh water during breaks. Bring your pet’s usual water if possible to avoid stomach upset. Never leave your pet alone in a parked car. Temperatures can rise quickly, even on mild days. Keep the car well-ventilated and avoid direct sunlight on your pet. Frequent breaks help manage heat and keep your dog comfortable.
Remember: Regular breaks, hydration, and a calm routine make traveling with pets safer and more enjoyable for everyone.
Common mistakes and quick fixes
You want every trip with your dog to be safe and stress-free. Many problems come from simple mistakes with the harness or setup. You can fix most issues quickly if you know what to look for.
Choosing by weight only
You might pick a harness based only on your dog’s weight. This can lead to poor fit and discomfort. You should measure your dog’s chest and neck before buying. Size charts help you match the harness to your dog’s shape, not just weight.
Wrong routing and harness rotation
You may route the seat belt or tether incorrectly. Twisted straps or rotated harnesses can rub your dog and weaken the restraint. Always check that the harness sits flat and the straps do not twist. Run your hand along the straps to feel for any problems.
Letting the dog reach the front or chew straps
If your dog can reach the front seat, it may distract you while driving. Long tethers allow too much movement. You should keep the tether short enough so your dog stays in the back seat. Some dogs chew on straps when bored or anxious. If this happens, change your setup or give your dog a chew-safe toy.
Tip: Practice short rides to help your dog get used to the harness and car routine.
Table: mistake, result, what to do
Mistake | Result | What to Do |
|---|---|---|
Choosing by weight only | Poor fit, discomfort | Measure chest and neck |
Twisted or rotated harness | Chafing, weak restraint | Flatten and re-route straps |
Tether too long | Dog reaches front seat | Shorten tether |
Chewing on straps | Damage, escape risk | Change setup, add toy |
Common cause table
Common Cause | What It Leads To | What to Do Next |
|---|---|---|
Loose harness straps | Dog slips out | Tighten using two finger rule |
Incorrect seat belt routing | Harness detaches | Follow install instructions |
Ignoring fit checks | Discomfort, escape risk | Test fit before each trip |
You can solve most harness problems with quick checks and small changes. These steps help your dog travel safely and comfortably.
Retail and wholesale notes for safety claims
Safer product page language
You want people to trust your product pages. Use simple words to show how each harness helps keep dogs safe. Explain that the harness stops dogs from moving around too much. Do not say it will protect dogs in a crash. Instead, talk about features that meet safety rules. Point out straps you can adjust, strong places to attach, and designs made for comfort. Give tips on how to fit and install the harness the right way.
Tip: Try saying “Made to help keep your dog safe and comfy during travel” or “Meets important safety rules for restraint and fit.”
Spec checklist for suppliers
Suppliers must follow strict rules so every harness is safe. Check that each harness has the right strap width, tough materials, and strong places to attach. The table below lists what to look for:
Feature | Specification |
|---|---|
Strap Width | 0.6 in (15 mm) |
Material | Polypropylene |
Breaking Strength | approx 440 lb (200 kg) |
Adjustable Features | Adjustment points at neck, chest, and belly |
Dual Attachment Points | Back and front for flexible use |
Showing these standards on your product pages helps buyers feel sure about their choice.
Reducing returns: compatibility and fit test
You can get fewer returns if you help buyers check the fit. Ask them to measure their dog’s chest and neck before buying. Suggest a test where the dog sits, stands, turns, and lies down in the harness. Remind buyers to look for twisted straps and make sure the harness attaches to the seat belt the right way. Give easy install steps with each harness to help buyers set it up. These steps help buyers pick the right harness and keep dogs safer.
OEM and ODM explained
You might see OEM and ODM in catalogs. OEM stands for Original Equipment Manufacturer. This means harnesses are made just for your brand. ODM stands for Original Design Manufacturer. This means you pick from harnesses already designed to meet safety rules. Both choices let you sell harnesses that help keep dogs safe and follow safety standards.
Note: Always ask suppliers to prove harnesses meet safety rules before you sell them.
You play a key role in pet safety every time you prepare for a car trip. Always check the harness fit, body position, comfort, and seatbelt attachment before you travel. Make these steps a habit to help with keeping your pet safe. Small changes in harness fit can improve comfort and lower crash risks for your dog. You help pet safety grow with each safe car ride. Choose to put your pet first every time you travel.
FAQ
How do you know if the harness fits your dog correctly?
You should use the two finger rule at all contact points. Straps must sit behind the front legs. The chest area should stay centered. Your dog should not slip out during gentle backward pressure.
Can you use a collar instead of a harness for car travel?
No. You should always attach the restraint to a harness, not a collar. This helps reduce neck injury risk and keeps your dog safer during sudden stops.
What is the best seat for your dog in the car?
You should place your dog in the back seat. This lowers injury risk from airbags and keeps your pet away from driver distractions.
How often should you check the harness fit?
You should check the harness fit before every trip. Adjust straps if your dog grows, changes weight, or shows signs of discomfort.
What should you do if your dog chews on the harness straps?
You should change your setup or training routine. Give your dog a chew-safe toy. Do not rely on stronger materials alone.