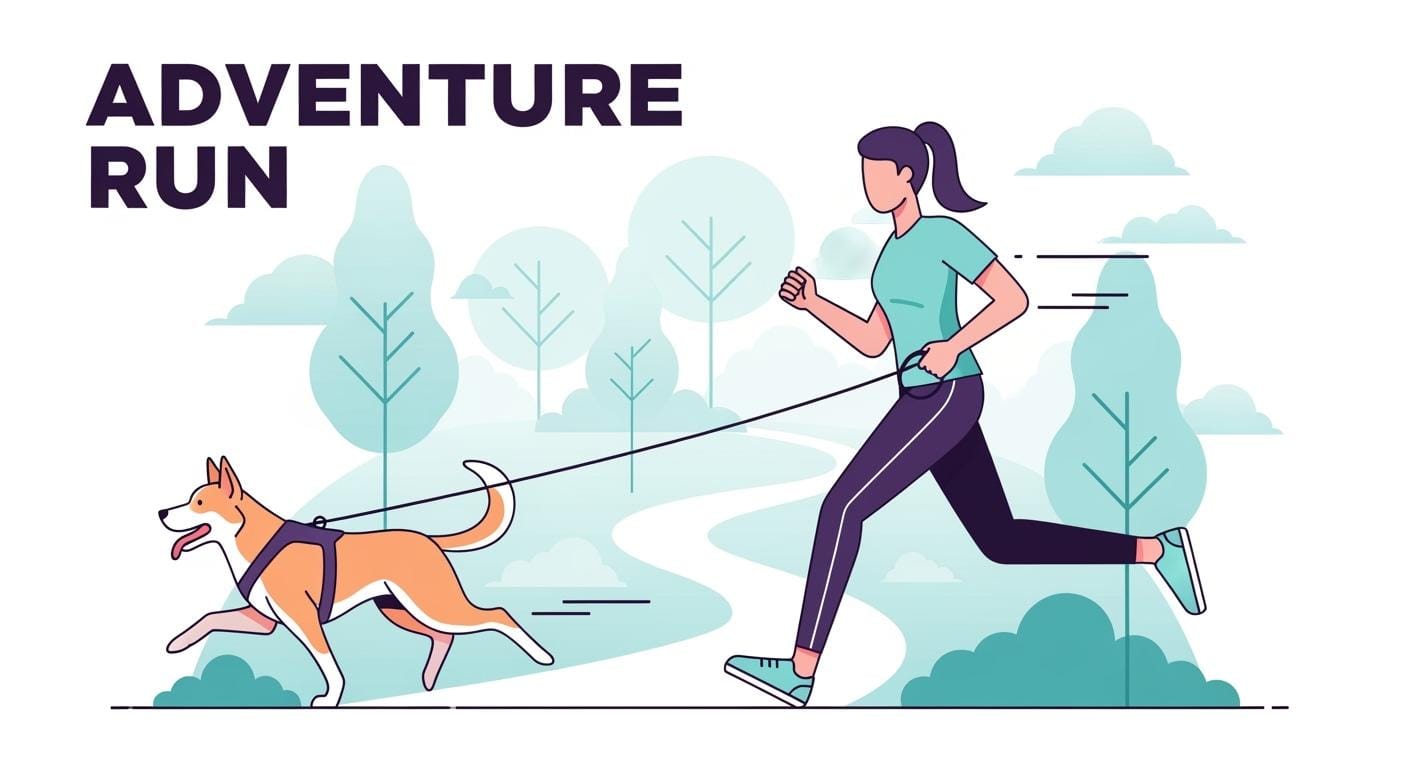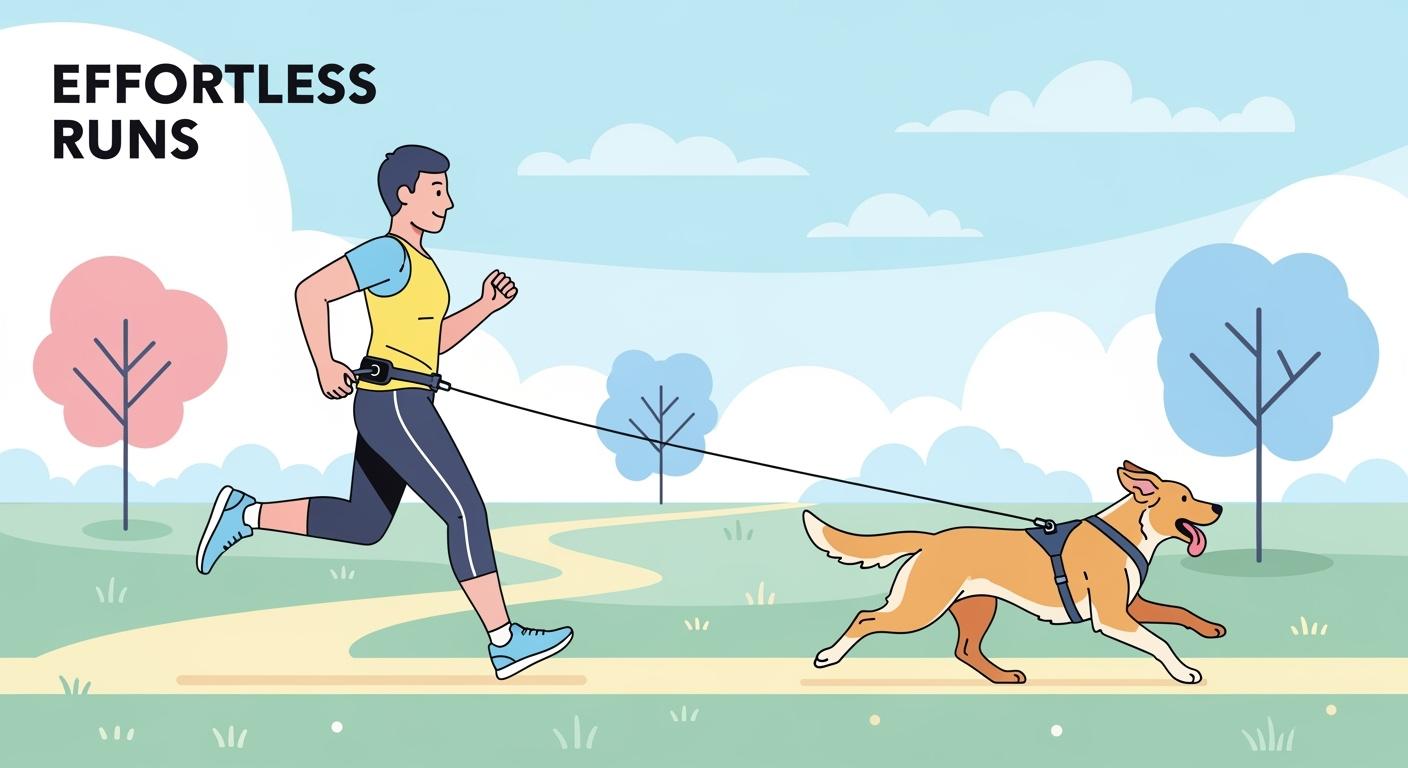
You want to have fun exercising with your dog and stay safe. Pick the right gear for you and your dog. A runners leash for dog lets you run without using your hands. This makes running long distances safer and more fun. Make sure your gear fits your dog’s size. Your gear should help your dog do well. Always use a harness, not a collar. You can use hydration packs for you and your dog. Before you start, ask your vet if your dog can run. This guide does not give medical advice. Local rules or venue policies may be different.
Key Takeaways
Always check with your veterinarian to ensure your dog is ready for running. Most dogs should be at least 12 months old before starting.
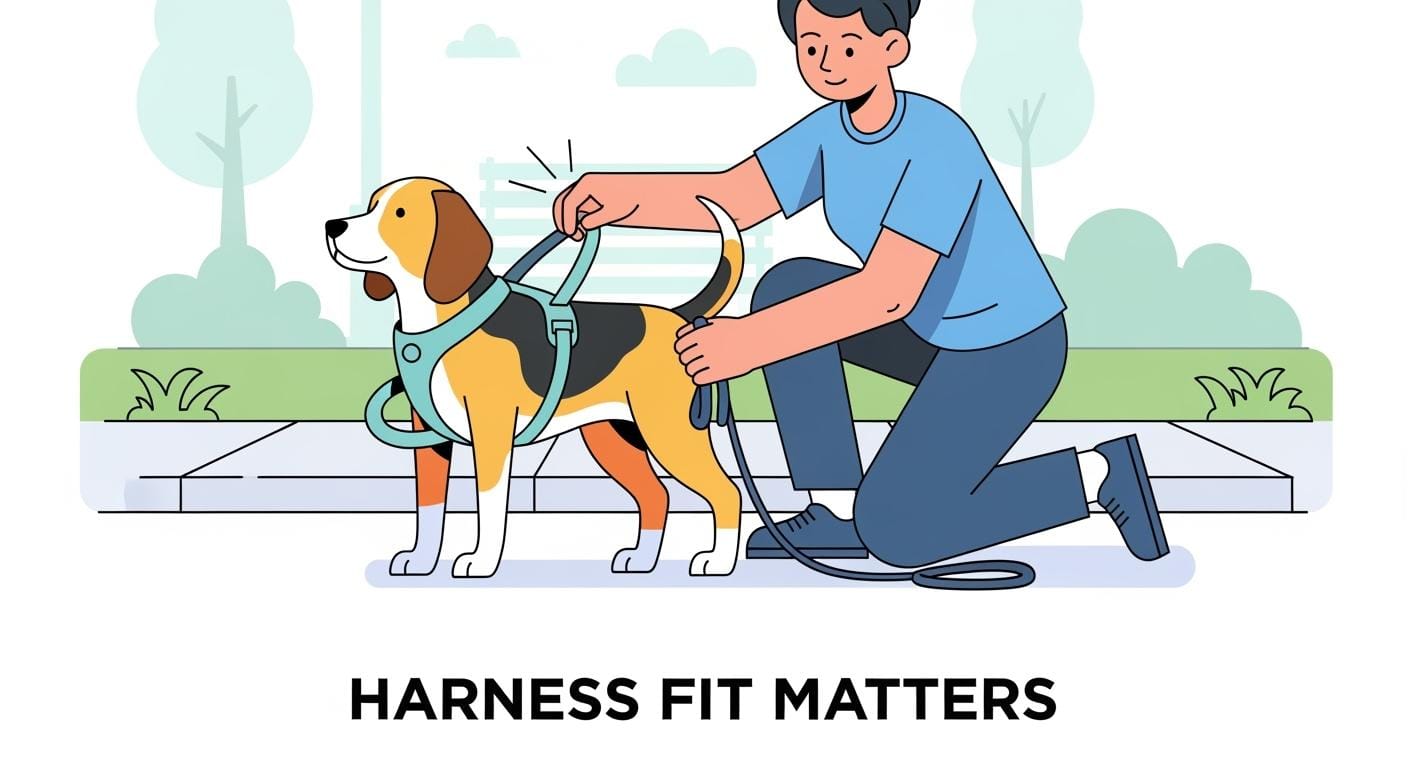
Use a harness instead of a collar for hands-free running. A harness prevents neck strain and allows your dog to move comfortably.
Choose the right leash length based on your environment. Use a 5 ft leash in crowded areas and up to 9 ft in open spaces for better control.
Inspect your gear before each run. Look for wear and tear on the harness, belt, and leash to keep both you and your dog safe.
Practice basic commands with your dog before running. Commands like ‘left,’ ‘right,’ and ‘slow’ help prevent tangles and improve safety.
Key Takeaways for Hands-Free Running
When Hands-Free Running Is Safe
Safety Disclaimer: This guide does not give medical advice. Always check with your veterinarian before starting a running program with your dog. Rules and venue policies may differ. Training and handling drive safety outcomes.
Step 1: Confirm Readiness
You need to make sure your dog is ready for hands-free running. Dogs should reach skeletal maturity before running long distances. For small dogs (≤20 lb / ≤9.1 kg), medium dogs (20-50 lb / 9.1-22.7 kg), and large dogs (>50 lb / >22.7 kg), the reference range for skeletal maturity is 7-20 months. Most canicross competitions require dogs to be at least 12 months old. If your dog is younger, choose low-impact activities.
Setup Choices for Control and Comfort
Step 2: Build a Safer Hands-Free System
Pick gear that fits both you and your dog. Use a running-appropriate harness, not a collar, to avoid neck strain. Choose a belt that sits snugly on your hips. Select a leash line length between 5 ft (1.5 m) and 9 ft (2.7 m) based on your running environment. Shorter lines work better in crowded areas. Longer lines help if your dog is tall or drifts. Make sure your gear has quick-release hardware for emergencies.
Common Mistakes and Risks
You can reduce risks by avoiding common mistakes:
Do not wrap the leash around your hand or body.
Always inspect gear before each run.
Train your dog to respond to side and turn cues.
Watch for sudden pulls that may cause falls or tangles.
Choosing Line Length
Environment | Recommended Line Length (ft / m) |
|---|---|
Crowded/Many Turns | 5 ft / 1.5 m |
Open/Straight Paths | Up to 9 ft / 2.7 m |
You should match the line length to your route and your dog’s habits. This helps you maintain control and improve performance.
Fit Checks and Care Habits
Step 3: Validate on Real Runs
Before each run, check that your gear fits well. The harness should not rub or pinch. The belt must stay secure. Inspect all hardware for wear. After your run, clean and dry your gear. Reward your dog for good behavior. Log any issues to improve your next outing.
Tip: Hands-free leash systems work best when you combine good gear, training, and regular checks.
Hands-Free Leash Systems: Setup Essentials
Belt Fit and Position
You need to start with the belt. The belt should sit low on your hips, not your waist. This position helps you stay balanced and reduces strain. Adjust the belt so it feels snug but not tight. You should be able to move and breathe easily. Before each run, check the belt for wear or damage. Make sure the buckle and straps work well. If the belt slips or twists, you may lose control. Always test the fit by walking and jogging a few steps. If you feel discomfort, adjust the belt or try a different size.
Tip: Never wrap the leash line around your hands or body. This can cause injury if your canine pulls suddenly.
Harness Connection Safety
You must use a harness designed for running. Do not attach the leash to your dog’s collar. Collars can cause neck strain and injury during running. Supportive harnesses spread force across your dog’s chest and shoulders. This helps your dog move naturally and protects their neck. Choose a harness that fits your dog’s size band:
Small: 20 lb (9.1 kg) or less
Medium: 20-50 lb (9.1-22.7 kg)
Large: Over 50 lb (22.7 kg)
Check the harness for rubbing or pinching. The straps should not dig into your dog’s skin. You should be able to fit two fingers under each strap. Before each run, inspect the harness for fraying or broken clips. If you see damage, replace the gear before your next outing.
Safety Reminder: Always use a harness, not a collar, for hands-free running. Ask your veterinarian if you have questions about your dog’s health or readiness.
Bungee vs Static Line
You can choose between a bungee line or a static line for your runners leash for dog. A bungee line stretches when your dog pulls. This reduces shock and helps you stay balanced. A static line does not stretch. It gives you more direct control but may increase the risk of sudden pulls. For most runners, a bungee line works best for comfort and safety. Choose a line length between 5 ft (1.5 m) and 9 ft (2.7 m). Use a shorter line in crowded areas. Use a longer line if your dog is tall or likes to drift.
Line Type | Best For | Risk to Manage |
|---|---|---|
Bungee | Comfort, shock absorption | Sudden surges, tangling |
Static | Direct control | Increased pull force |
Note: Always match the line length to your environment and your dog’s habits. Test the line by walking and running before you go on longer runs.
Hardware and Quick-Release Features
You need strong hardware for safety. Look for metal clips and quick-release features. Quick-release hardware lets you disconnect fast in emergencies. Test the clips before each run. Make sure they open and close smoothly. Avoid plastic clips for running. Metal hardware lasts longer and handles force better. Check all connections for rust or cracks. Replace any damaged gear right away.
Actionable Advice: After each run, inspect your gear. Clean and dry the hardware if it gets wet. Log any problems so you can fix them before your next outing.
Fit Test Steps for Reducing Returns:
Put the belt on and adjust for comfort.
Fit the harness to your dog and check for rubbing.
Attach the leash and test the quick-release.
Walk and jog to check for slipping or discomfort.
Inspect all gear after each run.
Environment-Based Selection Table:
Environment | Recommended Line Length (ft / m) | Harness Fit Priority |
|---|---|---|
Crowded/Many Turns | 5 ft / 1.5 m | Snug, no slack |
Open/Straight Paths | Up to 9 ft / 2.7 m | Secure, allows movement |
Reminder: Never skip fit checks. Always use clear instructions for setup and care. This helps you avoid returns and keeps your dog safe.
Choosing a Runners Leash for Dog
Comfort and Fit for Dog and Handler
You want your workout gear to help you and your dog. Comfort is important, especially for long runs. Pick a harness with padding and breathable material. Make sure it fits your dog’s size, whether small, medium, or large. A waist belt that sits low helps you stay steady and keeps it from slipping. Gear with two anchor points gives you more control and less strain. Quick-release buckles let you unclip fast if you need to.
Tip: Always check that your gear does not rub or pinch. You should feel safe, and your dog should move easily.
Feature | Description |
|---|---|
Shock-absorbing bungee core | Gives steady feedback and spreads force away from you. |
Low-profile waist belt | Keeps you comfortable and steady, so it does not slip. |
Dual anchor points | Helps you control your dog and lowers strain on both of you. |
Quick-release buckles | Strong buckles keep you safe and let you disconnect quickly. |
Padded, breathable harness | Makes your dog more comfortable, especially if they need extra support. |
Two attachment points | Lets you control your dog when speeding up or walking slowly, making runs better. |
Material and Durability
Your workout gear should last for many runs. Pick strong materials that can handle rough use and bad weather. Tungsten carbide spikes are much tougher than steel. Thermoplastic elastomer harnesses stay stretchy even in very cold weather. Dual-compound TPU traction plates make the gear last longer and help dogs grip better.
Material Type | Description |
|---|---|
Tungsten Carbide Spikes | Much tougher than steel, so they last longer on hard ground. |
Thermoplastic Elastomer Harness | Stays stretchy in cold down to -22°F and has strong eyelets. |
Dual-compound TPU Traction Plate | Makes the gear stronger and helps with grip. |
Note: Check your gear after every run. Replace anything that is worn out or broken to keep your dog safe.
Adjustability and Sizing
Adjustable gear lets you set it up for your dog and your running style. Straps that adjust and light designs fit all dog sizes. You can set the safe zone from twenty feet to over three thousand feet. This works for small yards or big open spaces. Memory functions save your settings, so you do not have to reset them each time.
You can set the safe zone from 20 ft to 3,000 ft.
Flexible sizing works for small yards and big spaces.
Light design and adjustable straps keep every dog comfortable.
Memory function saves your favorite settings for next time.
Tip: Always check the size before your first run. Good fit makes running safer and more comfortable for you and your dog.
Setup Guide: Step by Step
Safety Disclaimer: This guide does not provide medical advice. Always check with your veterinarian before starting a running program with your dog. Rules and venue policies may differ. Training and handling drive safety outcomes.
Adjusting the Belt
You start by putting on your belt. Place it low on your hips, not your waist. This position helps you stay balanced and reduces strain. Adjust the belt until it feels snug but not tight. You should move and breathe easily. Test the belt by walking and jogging a few steps. If the belt slips or twists, adjust the straps or try a different size.
What to avoid:
Do not wear the belt too high.
Do not ignore discomfort or slipping.
How to reduce returns:
Always check the belt for wear before each run.
Make sure the buckle and straps work well.
Scenario A:
You plan to run in a crowded park. You choose a belt that fits snugly on your hips. You select a leash line length of 5 ft (1.5 m) for better control. You check the quick-release hardware and confirm it works smoothly.
Attaching the Leash
Attach the leash to the belt’s D-ring. Use a sturdy metal clip for reliability. Make sure the leash is between 5 ft (1.5 m) and 9 ft (2.7 m) when fully extended. Shorter lines help in busy areas. Longer lines suit open spaces or taller dogs. Test the quick-release feature before each run.
What to avoid:
Do not use plastic clips for running.
Do not wrap the leash around your hand or body.
How to reduce returns:
Inspect the leash for fraying or damage after every run.
Clean and dry the hardware if it gets wet.
Scenario B:
You run on open trails with your tall canine. You select a leash line length of 9 ft (2.7 m) for more freedom. You attach the leash to the belt and check the quick-release. You confirm the leash does not tangle or twist during a short walk.
Fitting the Harness
You need to fit the harness properly for safety and comfort. Follow these steps:
Gather a soft tape measure. Record your dog’s neck and chest measurements.
Compare your numbers to the harness sizing chart. If your dog is between sizes, pick the larger and adjust down.
Select a harness style that matches your dog’s build and activity. Y-front designs suit active dogs. Step-in styles help nervous dogs.
Check strap width for comfort and durability. Wide straps help large dogs. Narrow straps suit small breeds.
Adjust the harness for a snug, secure fit. Use the two-finger check at all contact points.
Confirm the harness sits centered and does not twist or rotate during a short walk.
Untwist any straps and check for smooth edges and breathable materials.
Tip: Always use a harness, not a collar, for hands-free running. The harness should never rub or pinch your dog’s skin.
What to avoid:
Do not use a collar for running.
Do not leave straps twisted or too loose.
How to reduce returns:
Check the harness for fraying or broken clips before each run.
Make sure the harness fits your dog’s size band:
Small: ≤20 lb (≤9.1 kg)
Medium: 20-50 lb (9.1-22.7 kg)
Large: >50 lb (>22.7 kg)
Safety Checks Before Running
Before you start your run, perform these safety checks:
Parameter | Target range or option | Why it matters |
|---|---|---|
Neck measurement | where collar sits | Prevents wrong sizing |
Fit check | 2 finger check, adjust for tiny dogs | Reduces choking and slip risk |
Adjustability | 2-4 in (5-10 cm) buffer | Fit tuning and seasonal changes |
Collar width | 0.4-1.0 in (1.0-2.5 cm) | Comfort and stability |
Collar style | buckle or martingale style | Slip risk control for narrow necks |
D-ring placement | centered or stable designs | Reduces rotation and poor leash angle |
Primary leash length | 4-6 ft (1.2-1.8 m) | Everyday control and safer handling |
Short control | about 4 ft (1.2 m) or traffic handle | Quick control in busy moments |
Leash width | 0.4-1.0 in (1.0-2.5 cm) | Grip comfort and strength feel |
Hardware | sturdy clip, smooth swivel optional | Attachment reliability and less twisting |
Note: Always inspect your gear before and after each run. Clean and dry all hardware. Log any problems to improve your next outing.
How to reduce returns:
Replace any damaged gear right away.
Keep a record of issues and solutions after each run.
Step-by-Step Summary:
Step 1: Confirm readiness. Check your dog’s age and health. Use only numbers and ranges from the Unified Data Pool.
Step 2: Build a safer hands-free system. Choose the right runners leash for dog, harness, and gear for your environment and your canine.
Step 3: Validate on real runs. Inspect all gear, fit the harness, and perform safety checks before every run.
Training for Hands-Free Running
Basic Running Commands
You help your dog succeed by teaching clear commands before you start running together. Start with simple words like “let’s go,” “slow,” “left,” and “right.” Use these commands during walks first. Practice in a quiet area so your canine can focus. Give treats and praise when your dog responds well. Training with your dog builds trust and helps prevent sudden pulls or tangles. Repeat each command until your dog follows it every time.
Tip: Use the same words and tone for each command. Consistency helps your dog learn faster.
Pacing and Positioning
You set the pace for safe hands-free running. Begin at a slow jog and watch your dog’s movement. Keep your dog on one side, usually your left. This habit lowers the risk of tangling the leash. Use your gear to guide your dog’s position. If your dog speeds up or lags behind, use your commands to adjust. Training with your dog in this way supports canine fitness and keeps both of you safe.
Position | Benefit |
|---|---|
Left side | Easier control, less tangling |
Consistent pace | Reduces sudden pulls |
Note: Always check your gear before each run. A secure fit helps you keep control.
Gradual Practice
You build confidence by starting slow. Begin with short runs, such as 5-10 minutes. Watch for signs of fatigue or stress in your dog. Increase distance and speed over several weeks. This gradual approach helps your dog’s body adjust and keeps running fun. Training with your dog in short sessions lets you spot problems early. Always inspect your gear after each outing to make sure it stays safe and comfortable.
Start with short, easy runs.
Increase time and distance slowly.
Check your dog’s harness and leash for wear.
Reward your dog after each session.
Remember: Patience and steady progress help your dog enjoy running and improve safety for both of you.
Preventing Falls and Tangles
Avoiding Common Mistakes
You can prevent most falls and tangles by following a few simple habits. Always check your gear before each run. Look for frayed straps, loose buckles, or worn clips. Make sure the harness fits your canine without rubbing or twisting. Never wrap the leash around your hand or body. This keeps you safe if your dog pulls or changes direction. Practice basic commands like “left,” “right,” and “slow” during walks. These commands help your dog understand what you want and reduce confusion on the trail.
Tip: Start every run with a short walk to test your gear and your dog’s focus.
Managing Sudden Pulls
Sudden pulls can cause you to lose balance or fall. You can manage these moments by choosing the right harness and using good technique. Some harnesses help guide your dog and give you more control. The table below shows different harness types and their features:
Harness Type | Purpose | Key Features |
|---|---|---|
Front-clip harness | Helps guide dogs and discourage pulling, especially in busy areas. | Attaches at the chest, turns dog back when pulling. |
Multi-handle harness | Provides extra grip on rough terrain for better control. | Multiple handles for quick grabs. |
Lightweight hiking vest | Keeps dogs agile on long walks while providing comfort. | Lightweight design for ease of movement. |
Waterproof vest | Adds comfort in wet weather conditions. | Protects against rain and mud. |
Dual-clip harness | Offers flexibility for different environments (front for busy, back for quiet). | Switches between front and back clips for control. |
You should keep your hands near the quick-release clip when running in new places. If your dog starts to surge, use your voice command and step to the side. This action helps absorb the force and keeps you upright. Always practice these skills in a safe area before running longer distances.
Route and Environment Planning
You can lower risks by planning your route before each run. Choose paths with even surfaces and fewer distractions. Avoid crowded trails or areas with many sharp turns if you are new to hands-free running. Use a shorter leash line (5 ft / 1.5 m) in busy places and a longer line (up to 9 ft / 2.7 m) in open spaces. Check the weather and surface conditions before you leave. Wet or icy paths can make falls more likely. Bring water for both you and your dog, and stop for breaks if needed. Good planning and the right gear help you enjoy every run safely.
Troubleshooting Table
You may face some common issues when running hands-free with your dog. Use this table to quickly find solutions and keep your runs safe and enjoyable. Always check your gear and your canine before each outing.
Problem | Possible Cause | Solution |
|---|---|---|
Leash tangles around legs | Line too long for environment, poor side cues | Use a shorter line (5 ft / 1.5 m). Practice side and turn commands. |
Sudden pulls cause loss of balance | Dog not trained, static line, loose belt | Use a bungee line (5-9 ft / 1.5-2.7 m). Tighten belt. Train “slow” and “wait” commands. |
Harness rubs or pinches | Wrong size, twisted straps, poor adjustment | Measure chest and neck. Adjust straps for a snug fit. Use two-finger check. |
Belt slips or twists | Belt too loose, worn straps | Adjust for a snug fit on hips. Inspect for wear. Replace if needed. |
Quick-release hard to use | Dirt, rust, or unfamiliar hardware | Clean hardware after each run. Practice using quick-release before running. |
Dog resists harness | Poor fit, discomfort, not used to harness | Try a different style. Let your dog wear harness at home first. |
Frequent stops or distractions | Overstimulation, new environment | Choose quieter routes. Use treats to reward focus. |
Gear shows wear or damage | Regular use, exposure to weather | Inspect after every run. Replace damaged parts right away. |
Tip: If you notice repeated problems, review your setup and training. Always consult your veterinarian before starting a new running program with your dog.
You can prevent most issues by checking your gear, practicing commands, and choosing the right line length for your route. Remember to use only harnesses for running, never collars, to protect your dog’s neck and keep your hands free for balance.
Specs Table: Unified Data Pool Parameters
Safety Disclaimer: This guide does not give medical advice. Always talk to your veterinarian before you start running with your dog. Rules and policies may be different in some places. How you train and handle your dog affects safety.
You should know the main specs before setting up your hands-free running system. The table below lists the most important numbers from the Unified Data Pool. These numbers help you pick the right gear and keep your dog safe.
Parameter | Value | Why It Matters |
|---|---|---|
Canicross-style line length, fully extended | 5-9 ft (1.5-2.7 m) | Helps you stay in control and lowers tangling risk |
Dog minimum age for canicross competition | 12 months | Keeps young dogs’ bones and joints safe |
Skeletal maturity reference | 7-20 months | Makes sure all dog sizes can run safely |
Small dog band | ≤20 lb (≤9.1 kg) | Helps you choose the right harness and belt size |
Medium dog band | 20-50 lb (9.1-22.7 kg) | Matches gear to your dog’s build and strength |
Large dog band | >50 lb (>22.7 kg) | Needs stronger hardware for bigger dogs |
Attachment method principle | Use harness, avoid collar | Stops neck strain and keeps your dog safe |
Primary risk to manage | Tangling, sudden pulls, falls | Helps you train and pick the best gear |
Quick Tips for Using the Specs Table:
Always check your dog’s weight in pounds and kilograms.
Pick a leash line length that fits your route and your dog’s habits.
Use a harness every time you run, not a collar.
Make sure your dog is old enough before you start hands-free running.
🐕 These specs help you with Step 1 (readiness), Step 2 (building a safer system), and Step 3 (validation on real runs). Use these numbers to make good choices and keep every run safe and fun.
Decision Table: Setup Choices
Safety Disclaimer: This guide does not provide medical advice. Always check with your veterinarian before starting a running program with your dog. Rules and venue policies may differ. Training and handling drive safety outcomes.
You want to set up your hands-free running system for safety and comfort. Use this decision table to match your choices to your dog’s needs and your running environment. Follow the three main steps for every run.
Step 1: Confirm Readiness
Check your dog’s age. For canicross-style running, your dog should be at least 12 months old.
Review your dog’s size band:
Small: ≤20 lb (≤9.1 kg)
Medium: 20-50 lb (9.1-22.7 kg)
Large: >50 lb (>22.7 kg)
Ask your veterinarian if your dog is ready for running.
Step 2: Build a Safer Hands-Free System
Choose a harness, not a collar. This prevents neck strain.
Select a belt that fits snugly on your hips.
Pick a leash line length based on your route:
Crowded or twisty paths: 5 ft (1.5 m)
Open or straight paths: up to 9 ft (2.7 m)
Use quick-release hardware for emergencies.
Step 3: Validate on Real Runs
Inspect all gear before each run.
Check harness fit using the two-finger rule.
Test the quick-release feature.
Walk and jog a few steps to confirm comfort and control.
Situation | Dog Size Band | Line Length (ft / m) | Harness Type | Belt Fit | Quick-Release Needed? | Training Focus |
|---|---|---|---|---|---|---|
Crowded park | Small/Medium/Large | 5 ft / 1.5 m | Running harness | Snug on hips | Yes | Side/turn cues |
Open trail | Medium/Large | 9 ft / 2.7 m | Running harness | Snug on hips | Yes | Tangling prevention |
Dog surges unpredictably | Any | 5-9 ft / 1.5-2.7 m | Running harness | Snug on hips | Yes | Slow/wait commands |
Handler needs fast control | Any | 5 ft / 1.5 m | Running harness | Snug on hips | Yes | Quick-grab technique |
🐾 Tip: Always match your setup to your dog’s habits and your route. Check your gear before every run to keep both you and your dog safe.
Type Comparison Table
Safety Disclaimer: This section does not provide medical advice. Always check with your veterinarian before starting a running program with your dog. Rules and venue policies may differ. Training and handling drive safety outcomes.
You want to choose the best hands-free leash system for running with your dog. You see many types available. Each type offers different features for control, comfort, and safety. Use this table to compare the main types and decide which fits your needs.
Leash System Type | Best For | Line Length Range (ft / m) | Dog Size Band | Control Level | Comfort Level | Quick-Release Feature |
|---|---|---|---|---|---|---|
Bungee Line | Shock absorption, comfort | 5-9 ft / 1.5-2.7 m | Small, Medium, Large | Moderate | High | Yes |
Static Line | Direct control, training | 5-9 ft / 1.5-2.7 m | Small, Medium, Large | High | Moderate | Yes |
Dual-Clip Harness | Flexible control, busy areas | 5-9 ft / 1.5-2.7 m | Medium, Large | High | High | Yes |
Multi-Handle Harness | Quick grabs, rough terrain | 5-9 ft / 1.5-2.7 m | Medium, Large | Very High | Moderate | Yes |
Lightweight Vest | Everyday comfort, agility | 5-9 ft / 1.5-2.7 m | Small, Medium | Moderate | High | Yes |
Step 1: Confirm Readiness
Check your dog’s age and size. Dogs should reach at least 12 months before hands-free running. Use the size bands: Small (≤20 lb / ≤9.1 kg), Medium (20-50 lb / 9.1-22.7 kg), Large (>50 lb / >22.7 kg).
Step 2: Build a Safer Hands-Free System
Pick a leash system that matches your route and your dog’s habits. For crowded paths, use a shorter line (5 ft / 1.5 m). For open trails, use a longer line (up to 9 ft / 2.7 m). Always use a harness, not a collar.
Step 3: Validate on Real Runs
Test your gear before each run. Check the quick-release feature. Make sure the harness fits well and does not rub. Walk and jog a few steps to confirm comfort.
🐕 Tip: Choose a system that gives you control and keeps your dog comfortable. Always inspect your gear before and after every run.
Running With Your Dog: Checklist
Before the Run
You set yourself and your canine up for success by preparing before every outing. Follow this checklist:
Check your belt fit and position. The belt should sit low on your hips and feel snug.
Inspect the harness fit. Make sure it does not rub or pinch and fits your dog’s size band.
Confirm the leash length matches your environment. Use a line between 5 ft (1.5 m) and 9 ft (2.7 m).
Test the quick-release hardware. Make sure it works smoothly.
Pack water for both you and your dog. Bring a portable bowl for easy hydration.
Plan your route to avoid distractions and crowded areas.
Check the weather and surface conditions. Avoid icy or very hot paths.
Practice basic commands like “left,” “right,” and “slow.”
Warm up with a short walk before you start running with your dog.
Tip: Good preparation lowers the risk of falls and tangles. Always bring extra hydration for longer runs.
During the Run
You keep your run safe and enjoyable by staying alert:
Keep your dog on one side, usually your left, to prevent tangling.
Monitor leash tension and your dog’s pace.
Watch for signs of fatigue or overheating. Pause for hydration breaks often.
Offer water at regular intervals. Hydration keeps both you and your canine healthy.
Never wrap the leash around your hand or body.
Checkpoint | What to Do |
|---|---|
Leash tension | Adjust as needed |
Hydration | Stop for water every 15-20 min |
Dog’s behavior | Slow down if your dog tires |
Note: Frequent hydration breaks help prevent overheating, especially in warm weather.
After the Run
You finish strong by caring for your gear and your dog:
Inspect all gear for wear or damage. Look at the belt, harness, and leash.
Rinse and dry hardware if it got wet during the run.
Give your dog water and praise for a job well done.
Log any issues or notes for improvement next time.
Remember: Clean, dry gear lasts longer and keeps every run safe. Hydration after exercise helps your dog recover.
You keep your canine safe when you follow each step for hands-free running. Step 1 asks you to confirm readiness. Step 2 helps you build a safer system with the right runners leash for dog and gear. Step 3 guides you to validate your setup on real runs. Always check your gear before and after each outing. Use the checklist and tables to prevent falls and tangles. Remember, this guide does not give medical advice. Enjoy every run and make active time with your dog rewarding.
FAQ
How do I know if my dog is ready for hands-free running?
You should check your dog’s age and health. Most dogs need to be at least 12 months old for running. Always ask your veterinarian before starting. Watch for signs of fatigue or discomfort during early runs.
What is the best line length for my running environment?
Choose a leash line between 5 ft (1.5 m) and 9 ft (2.7 m). Use a shorter line in crowded areas. Pick a longer line for open spaces or if your dog is tall. Adjust your gear to match your route.
Why should I use a harness instead of a collar?
A harness protects your canine’s neck and spreads force across the chest and shoulders. Collars can cause neck strain during running. Always attach your gear to a running-appropriate harness for safety.
How often should I inspect my running gear?
Inspect your gear before and after every run. Look for frayed straps, worn buckles, or damaged clips. Replace any broken parts right away. Clean and dry your gear to keep it working well.
What should I do if my leash keeps tangling?
Try using a shorter line and practice side and turn commands with your dog. Make sure your gear fits well and does not twist. Training and the right setup help prevent tangles.