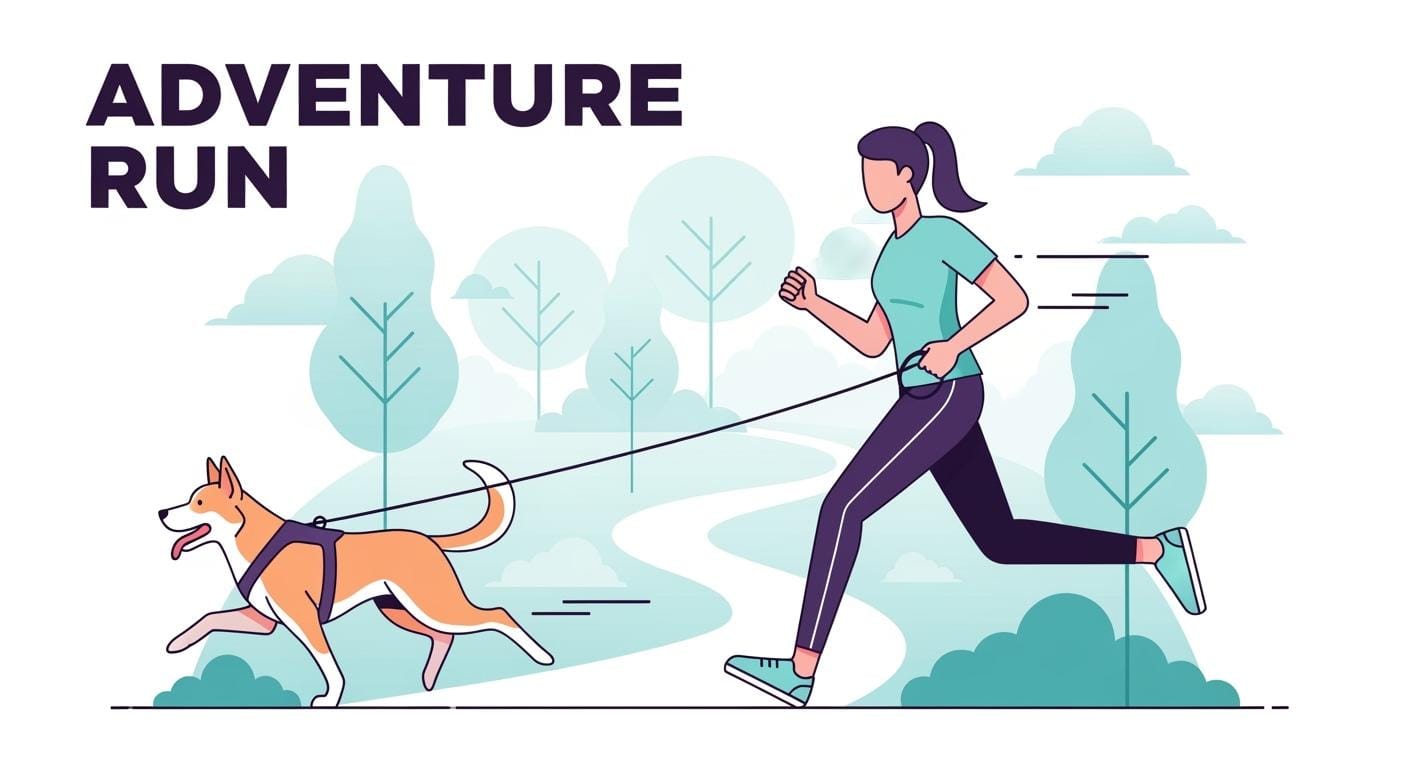
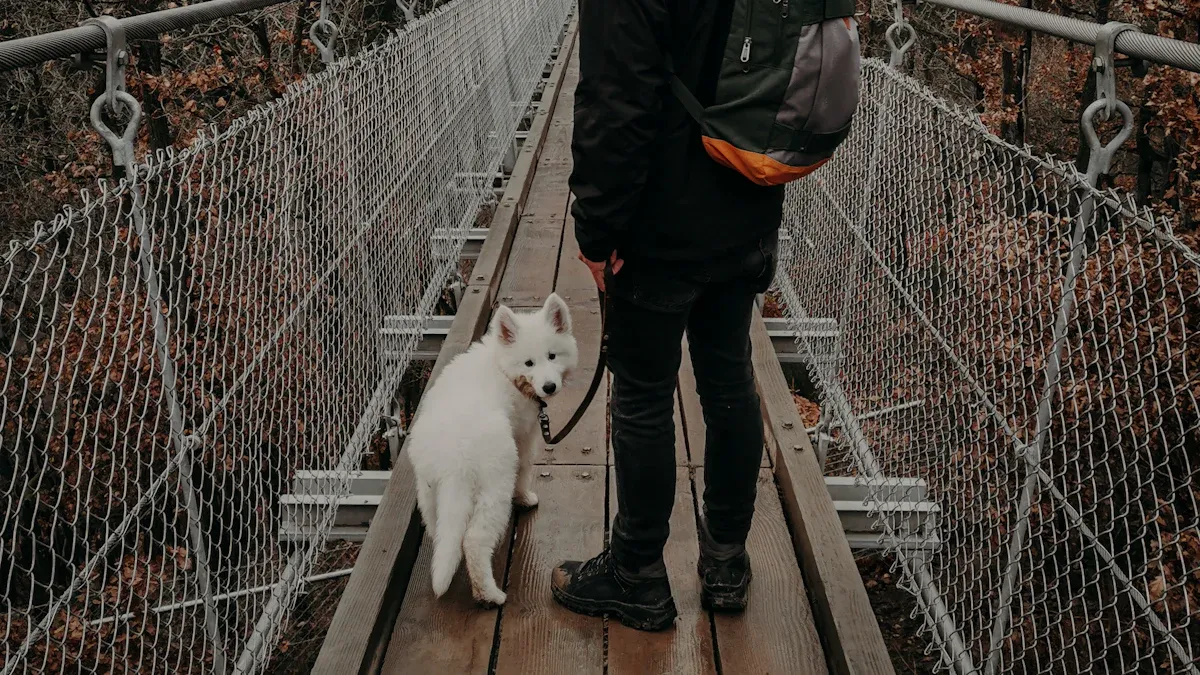
Running with your dog should feel free and easy, but going hands-free can bring surprises. You might face pulling, tangles, or sudden stops. The right runners leash dog setup helps you stay comfortable and in control. Training and practice matter for safety. Hands-free systems require your dog to stay calm under pressure. If your dog lunges or reacts strongly, speak to a qualified trainer first. Check with your veterinarian before starting a new routine.
Key Takeaways:
Look for a secure belt, good leash length, and strong attachments.
Comfort and control help you enjoy every run.
Safety comes first for you and your dog.
Key Takeaways
Pick a belt that is safe and can be adjusted. Make sure it fits close to your body. This will help you feel comfortable and steady when you run.
Get a leash that has shock absorption. This helps keep you and your dog safe from quick pulls.
Use a harness, not a collar. A harness gives you more control. It also helps stop your dog from getting hurt.
Teach your dog to walk on a loose leash. Practice basic commands before you try hands-free running.
Always look at your gear before each run. Make sure it is safe and fits well. This helps stop accidents.
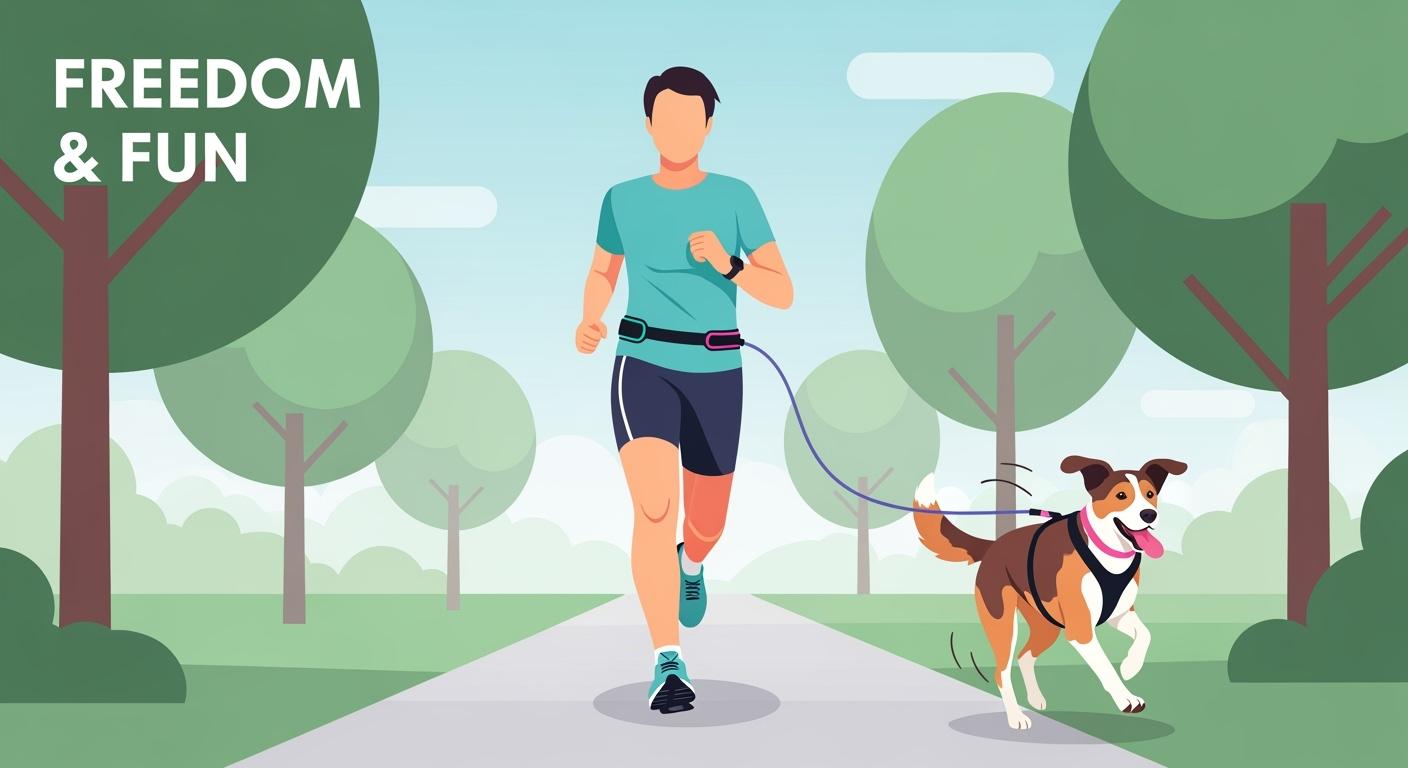
Going Hands-Free: What Makes a Good Runners Leash Dog
Belt, Line, and Attachment: Why Each Part Matters
When you select a runners leash dog system, you need to understand how each part works together for safety and comfort. The belt, line, and attachment all play a role in your running experience.
The belt wraps around your waist and should fit snugly but comfortably. Look for adjustable belts that fit a wide range of sizes. Padding around the hips and back helps prevent rubbing during long runs. Some belts include pockets for small essentials, but avoid overloading them.
The line connects you to your dog. A good line absorbs shock and reduces sudden pulls. Many lines use bungee sections to stretch and soften the impact if your dog changes pace. Standard lines are usually 1 inch (2.5 cm) wide and adjust from 4 to 6 feet (1.2 to 1.8 m). For smaller dogs, a 3/4 inch (1.9 cm) wide line works well.
The attachment point matters for control and safety. Most runners leash dog setups use a harness instead of a collar. A harness spreads pressure across your dog’s chest and back, which helps prevent injuries. Look for sturdy clips with smooth action and no sharp edges. Swivel-mounted carabiners allow your dog to move naturally without twisting the line.
Tip: Choose a belt with a built-in traffic handle for quick control at crossings or crowded areas. Reflective details can help with visibility during early morning or evening runs.
Here is a quick look at recommended sizing for belts and lines:
Size | Adjustable Length (inches) | Adjustable Length (cm) |
|---|---|---|
SMALL | 25 to 40 | 64 to 102 |
MEDIUM | 30 to 50 | 76 to 127 |
LARGE | 35 to 60 | 89 to 152 |
For lines, choose:
4-6 ft (1.2-1.8 m) for most runs
5-8 ft (1.5-2.4 m) for more space on trails
If your waist size falls between two categories, pick the larger size for comfort.
When Hands-Free Works Best
A runners leash dog system shines in active situations. You get the most benefit when you jog, hike, or need your hands free for other tasks. The belt spreads the force across your body, which reduces strain on your arms and shoulders. This setup works well if you push a stroller or carry water. You also gain better control if your dog tends to pull, since the force does not focus on your wrist.
Hands-free running makes walks smoother and more enjoyable. You can move naturally, and your dog learns to match your pace. This system suits energetic dogs that love to run but need guidance to stay close.
Note: Hands-free systems require training. If your dog lunges or reacts to distractions, consult a qualified trainer before using a runners leash dog setup. Always check with your veterinarian before starting a new running routine.
Common Mistakes to Avoid
Many owners make simple mistakes when using a runners leash dog system. These errors can lead to accidents or injuries. Here is a table of common mistakes and what can happen:
Common Mistakes | Potential Consequences |
|---|---|
Lack of Control | Hard to restrain your dog in emergencies, which can cause accidents. |
Tangling Hazards | Entanglement can lead to falls or injuries for both you and your dog. |
Risk of Injuries | Sudden movements or tangles can cause lacerations or sprains. |
Malfunctioning Mechanisms | Faulty clips or buckles can fail, making the system unsafe. |
Limited Training Opportunities | Poor leash habits can affect obedience and safety during runs. |
You can avoid these problems by checking your gear before each run and practicing loose-leash skills with your dog. Make sure all clips and buckles work smoothly. Start with short runs and watch for signs of fatigue or discomfort.
Step-by-Step: Setting Up for Success
Confirm readiness: Make sure your dog knows basic cues and can walk on a loose leash. Plan for distractions you might meet on your route.
Fit the belt: Adjust the belt to sit low on your hips. Use the sizing table above to find your best fit.
Choose line length and stretch: Pick a line length between 4-6 ft (1.2-1.8 m) for most runs. Look for a bungee section with 12-24 in (30-61 cm) stretch to absorb shocks.
Select attachment and hardware: Use a harness for your dog. Check that all clips and swivels move freely. Test the setup in a safe area and adjust as needed.
Run routine: Start with easy runs. Watch your dog for signs of fatigue. Take breaks and finish with a cool-down walk.
Safety Reminder: Not all dogs suit hands-free running. If you feel unsafe or your dog pulls hard, seek help from a professional trainer.
A runners leash dog system can make your runs more enjoyable and safe when you choose the right features and train your dog well.
Jogging With Your Dog: Safety Readiness
Loose-Leash Skills and Simple Cues
Jogging starts with teaching your dog to walk on a loose leash. You want your dog to stay close and not pull. Begin in a quiet area with few distractions. Use treats or praise to reward your dog for keeping the leash slack. Break the training into small steps. Reinforce every time your dog walks beside you without pulling. Let your dog decide what reward works best. Practice these skills before you try jogging on a busy route.
Planning for Distractions
You will meet many distractions during your jogging route. Dogs, people, bikes, and wildlife can appear suddenly. Prepare your dog by teaching simple commands. Use “Left” and “Right” to guide your dog around obstacles. The “Heel” command keeps your dog close when passing others. Teach “Follow” for crowded or narrow parts of your route. “Leave It” helps your dog ignore tempting items or hazards. Practice these commands on your regular jogging route so your dog learns what to expect.
Tip: Always scan your route ahead for possible distractions. Give your dog cues before you reach them.
Heat, Hydration, and Paw Safety
Jogging with your dog means watching for signs of heat stress. Choose cooler times of day for your route. Bring water and offer it during breaks. Collapsible bowls make it easy to keep your dog hydrated. Check the ground with the seven-second rule. If you cannot hold your hand on the surface for seven seconds, it is too hot for your dog’s paws. Use dog boots or paw wax for extra protection. Pick grass or shaded paths when possible. Stop often to check your dog’s paws for cuts or soreness. Always plan your jogging route with your dog’s comfort and safety in mind.
Safety Reminder: Hands-free jogging systems need training. They may not suit reactive dogs or sudden lungers. Speak to a veterinarian before starting a new jogging routine. Consult a qualified trainer if you feel unsafe.
Belt Fit and Body Mechanics
Belt Placement for Stability
You want your running belt to stay secure and comfortable during every run. Place the belt low and close to your hips. This position helps reduce bounce and keeps your movement natural. A belt that hugs your body distributes weight evenly. You will notice less shifting and more stability. If your belt has an expandable pocket, keep heavier items centered. Use inner organizers for small essentials. This setup helps you avoid distractions and keeps your focus on the run.
Choose a belt with a no-bounce design.
Adjust the strap so it fits snug but does not pinch.
Position the belt low on your hips for best support.
Padding and Bounce Control
Padding makes a big difference in comfort. Look for a belt with light to wide padding. This feature protects your hips and back from rubbing. Some belts include optional leg straps. These straps add extra stability and help control bounce, especially on uneven terrain. You want padding that feels soft and does not trap moisture. Moisture-wicking materials keep you dry and prevent irritation. Test the belt with your running gear before heading out for a long jog.
Tip: Try your belt with and without leg straps to see which feels best for your body and running style.
Storage Without Overload
You need space for keys, snacks, or cash, but too much storage can cause problems. Pick a belt with a small, secure pocket. Lightweight and minimalist designs work best. Avoid bulky belts that shift or sag. Soft materials and adjustable straps help you stay comfortable. Place only essentials in the pocket. Overloading the belt can lead to discomfort and poor running form.
Look for moisture-wicking fabric.
Choose a belt with just enough space for your needs.
Common Cause – Leads To – What To Do Table
Common Cause | Leads To | What To Do |
|---|---|---|
Belt sits too high | Increased bounce, discomfort | Lower belt to hips, adjust snugness |
Overloaded pocket | Belt shifts, poor posture | Carry only essentials, center items |
No padding | Rubbing, skin irritation | Choose padded, moisture-wicking belt |
No leg straps | Belt moves on uneven terrain | Add leg straps if needed |
Loose fit | Unstable belt, loss of control | Tighten strap, check fit each run |
Safety Reminder: Hands-free systems need training. They may not suit reactive dogs or sudden lungers. Speak to a veterinarian before starting a new running routine. Consult a qualified trainer if you feel unsafe.
Line Length and Shock Control: Using the Right Equipment
Length, Slack, and Steering
Choosing the right line length helps you control your dog and enjoy running with a dog in different places. Hands-free leashes often have adjustable lengths. You can use a shorter line, about 4-6 ft (1.2-1.8 m), for city sidewalks or crowded parks. This keeps your dog close and reduces trip risks. For open trails or larger dogs, a longer line, up to 8 ft (2.4 m), gives more freedom. Adjust the slack so your dog can move but does not wander too far. You steer your dog by changing your pace and using gentle cues. The right line length makes running with a dog smoother and safer.
Shock Absorption: What It Helps and What It Doesn’t
A bungee lead adds shock absorption to your setup. This feature helps when your dog pulls or changes speed. The bungee lead stretches and softens the force, which protects both you and your dog from sudden jerks. Here is how shock absorption helps:
Absorbs shocks if your dog lunges or stops suddenly.
Reduces the risk of injury for both you and your dog.
Works best for well-trained dogs that do not pull hard.
Shock absorption does not replace training. Strong pullers or reactive dogs may still cause problems. Always check your equipment before each run.
Traffic Handles and Quick Control
A traffic handle gives you fast control when you need it most. You can grab the handle to keep your dog close at busy crossings or around other dogs. This feature is helpful for running with a dog in crowded areas. Look for a handle that sits near your dog’s harness. It should feel comfortable in your hand and not add bulk to the line. Quick control features make using the right equipment easier and safer.
Comparison Table: Options, Pros, Cons, Best For
Option | Pros | Cons | Best For |
|---|---|---|---|
Standard Line | Simple, easy to control, less tangle | Less shock absorption | City runs, small dogs |
Bungee Lead | Reduces shock, protects joints | May feel less direct control | Medium to large dogs, trail runs |
Long Line | More freedom, good for open spaces | More slack can cause tangles | Open trails, experienced runners |
Traffic Handle | Quick control in busy areas | Adds weight if too bulky | Crossings, crowded environments |
Safety Reminder: Hands-free systems need training. They may not suit reactive dogs or sudden lungers. Speak to a veterinarian before starting a new running routine. Consult a qualified trainer if you feel unsafe.
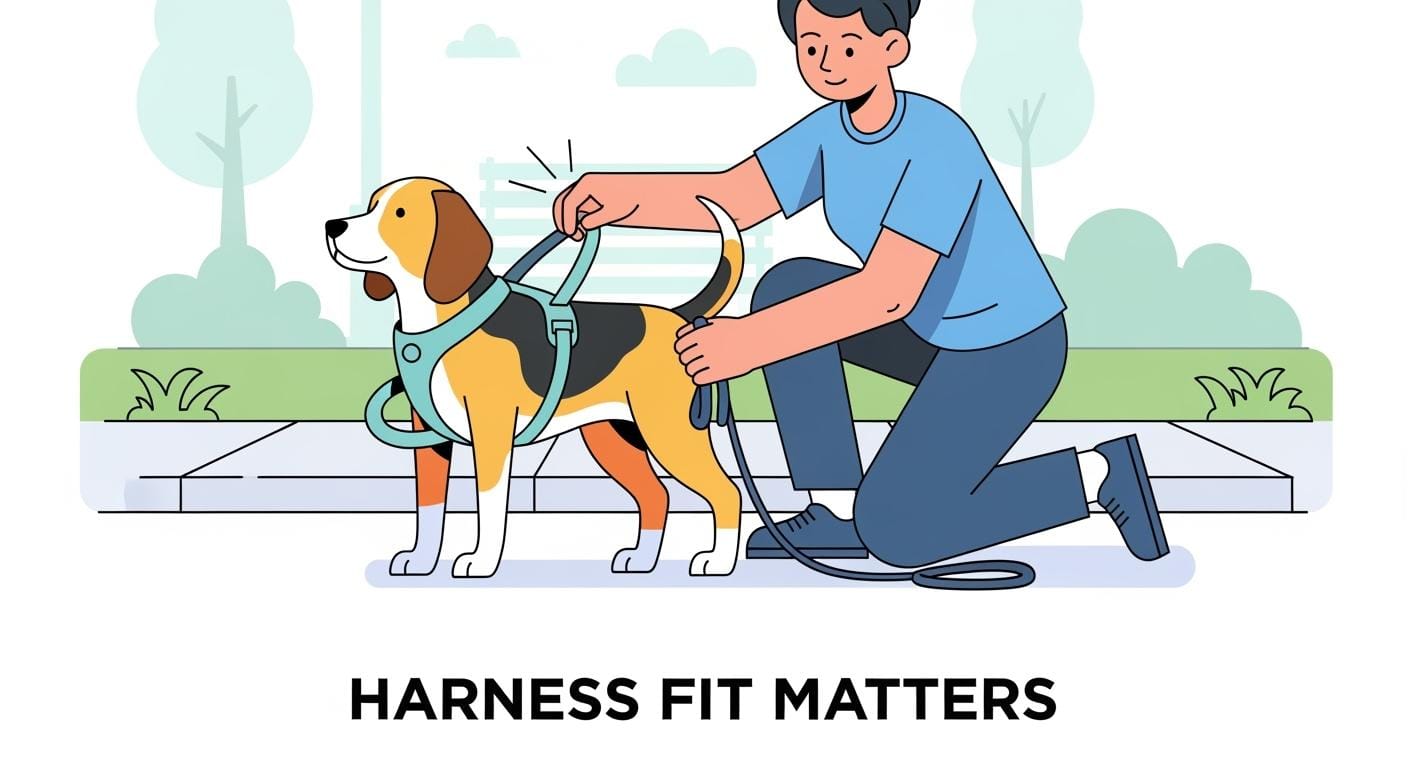
Attachment Choices: Harness vs Collar
Safer Attachment for Running Forces
When you run with your dog, the way you attach the leash matters for safety. You want to protect your dog from injury and keep control during your run. Many runners choose a dog harness because it spreads pressure across the chest and shoulders. This design lowers the risk of neck injuries. Collars can put force on the neck, which may cause problems for dogs with breathing issues. A well-fitted harness helps prevent choking and gives you better control.
Harnesses distribute pressure across the chest and shoulders.
Collars can focus pressure on the neck, which is risky for some dogs.
A harness can prevent choking and improve control.
Tip: Choose a harness that fits your dog’s body shape and running style.
Clip Styles and Quick-Release
The clip that connects your leash to the harness or collar must be strong and easy to use. You want a clip that works smoothly and keeps your dog secure. Here is a table showing common clip styles and their features:
Clip Style | Pros | Cons |
|---|---|---|
Trigger Snaps | Easy one-hand use, Secure | Can get dirty, Bulkier |
Bolt Snaps | Compact, Quick attach | Spring wears out, Accidental opens |
Carabiners | Very strong, Lockable | Heavy, Less swivel |
Look for a clip that matches your running needs. Trigger snaps work well for quick changes. Carabiners offer extra strength for strong pullers. Always check the clip before each run.
Fit Checks to Prevent Rubbing and Escapes
You want your dog to feel comfortable and safe during every run. A poor fit can cause rubbing or let your dog slip out. Use these checks before you start:
Check the fit around shoulders, chest, and armpits for chafing or discomfort.
Use the two-finger test to make sure the harness is snug but not tight.
Make sure your dog can move legs freely, especially behind the front legs.
Watch for signs of discomfort, like chafing marks or refusal to walk.
Safety Reminder: Hands-free running systems need training. They may not suit reactive dogs or sudden lungers. Speak to a veterinarian before starting a new running routine. Consult a qualified trainer if you feel unsafe.
Decision Guide: Real Running Situations
Neighborhood Jogging Side-by-Side
Neighborhood runs often bring curb cuts, driveways, and distractions like other dogs or people. You want your belt to sit low on your hips for stability. Adjust the leash so there is enough slack for comfort, but not so much that your dog can dart into the street. Use the traffic handle when you approach busy crossings or need quick control. Practice in a calm area before moving to busier sidewalks. Stay alert to your dog’s behavior and surroundings. This routine helps you reduce risk and keep your run smooth.
Adjust the belt for comfort and stability.
Keep some slack, but not too much.
Use the traffic handle at crossings.
Practice in quiet areas first.
Trail Runs and Uneven Terrain
Trail running brings new challenges. Uneven ground, roots, and rocks require extra attention. Start on soft, even paths before moving to rougher trails. A harness works better than a collar for these runs. Choose a leash system with a bungee section to absorb sudden pulls when your dog sniffs or speeds up. Adjust your pace and footing as the terrain changes. Make sure the leash is long enough for freedom but short enough for control. Always check your dog’s comfort and safety.
Begin on even surfaces.
Prepare for obstacles and changes in pace.
Use a harness and bungee leash for comfort.
Strong Pullers and Extra Control
If your dog pulls hard, you need extra control. Look for a durable leash made from tough materials. Choose a padded, adjustable harness that fits well and distributes pressure. Front-clip or dual-clip harnesses help redirect pulling and give you more control. Combine this gear with training to reinforce good behavior. A secure handle on the leash lets you manage your dog in busy areas. No-pull harnesses can make your runs safer and more enjoyable.
Decision Table: Dog/Context – Best Features – What to Avoid
Dog/Context | Best System Features | What to Avoid |
|---|---|---|
Neighborhood jog | Low hip belt, traffic handle, short leash | Loose fit, long slack |
Trail run | Harness, bungee leash, adjustable length | Collar, non-stretch leash |
Strong puller | Front-clip harness, tough leash, secure handle | Thin collar, weak hardware |
Safety Reminder: Hands-free systems require training and may not suit reactive dogs or sudden lungers. Consult your veterinarian before starting a new running routine. Speak to a qualified trainer if you feel unsafe.
Feature Checklist for Buyers
Specs to Standardize for Fewer Returns
You want to choose a runners leash dog system that fits well and lasts. Standardized specs help you avoid returns and make sure your gear works for both you and your dog. Look for adjustable waist belts that fit a wide range of sizes. Choose leash lines with the right length and stretch for your running style. Check for padding and bounce control features. These details help you run comfortably and keep your dog safe.
Tip: Try the belt and leash with your running clothes before your first long run. This helps you spot any fit or comfort issues early.
What to Request: Belt, Line, Hardware, Stitching
When you shop for a hands-free running leash, ask for these key features:
Padded waist belt with lumbar support and easy adjustability. This prevents sliding and chafing during your run.
Heavy-duty nylon or ballistic fabric for both the belt and leash line. These materials last longer and resist wear.
Sturdy metal clips with smooth action. Avoid clips with sharp edges.
Reinforced stitching at all stress points. This adds strength and helps the system hold up over time.
Bungee section in the leash line for shock absorption.
Traffic handle for quick control in busy areas.
Swivel attachment to reduce twisting and tangles.
Minimal storage pocket for essentials, but not so much that it causes bounce.
You can use this checklist when you compare different products. It helps you focus on what matters most for safety and comfort.
Parameter and Value Table
Here is a quick reference table for sizing and features:
Parameter | Target range or option | Why it matters |
|---|---|---|
Waist belt range | 26-48 in (66-122 cm) | Fit and stability while running |
Primary line length | 4-6 ft (1.2-1.8 m) | Control, slack management, and trip risk |
Stretch allowance | 12-24 in (30-61 cm) | Reduces jerk during pace changes |
Extended running line | 5-8 ft (1.5-2.4 m) | More distance for certain running setups |
Belt placement | lower hip position | Less bounce and better control |
Traffic handle | yes or no | Quick control at crossings |
Swivel | yes or no | Less twisting and tangles |
Attachment point | harness preferred for running forces | Pressure distribution and control |
Padding | light to wide padded belt | Comfort under load |
Storage | minimal pocket optional | Carry essentials without bounce |
Safety Reminder: Hands-free running systems require training. They may not suit reactive dogs or sudden lungers. Always consult your veterinarian before starting a new running routine. Speak to a qualified trainer if you feel unsafe.
Choosing the right hands-free runners leash dog system helps you run safely and comfortably with your dog. Start by matching the leash type to your main activity. Measure your waist or hips for a secure belt fit. Think about your dog’s behavior and pick features that match their needs. Check the leash’s weight capacity and look for emergency release clips. Make sure the system prevents tangles and adjusts easily. Review return policies before you buy.
Match leash to activity.
Measure for belt fit.
Consider your dog’s behavior.
Check weight support.
Look for safety clips.
Choose tangle-free design.
Test adjustability.
Review return options.
Safety reminder: Hands-free systems need training. They may not suit reactive dogs or sudden lungers. Always talk to your veterinarian before you start a new running routine. Ask a qualified trainer if you feel unsure.
FAQ
How do you choose the right size for a hands-free running belt?
Measure your waist or hips where the belt will sit. Look for adjustable belts that fit your measurement. Most belts cover 26-48 in (66-122 cm). Try the belt on before your first run to check comfort and fit.
What is the best leash length for running with your dog?
A 4-6 ft (1.2-1.8 m) leash works for most runs. Use a shorter leash for crowded areas. Choose a longer line, up to 8 ft (2.4 m), for open trails. Adjust the length based on your dog’s size and running style.
Should you use a harness or collar for hands-free running?
You should use a harness. A harness spreads pressure across your dog’s chest and shoulders. This helps prevent neck injuries and gives you better control. Always check the fit before each run.
What features help prevent tangles and sudden pulls?
Look for a leash with a swivel attachment and a bungee section. The swivel reduces twisting. The bungee absorbs shock if your dog changes speed. A traffic handle gives you quick control in busy spots.
Is hands-free running safe for every dog?
Not every dog suits hands-free running. Dogs that pull hard or react to distractions may need more training. Always consult your veterinarian before starting. Speak to a qualified trainer if you feel unsure.
Safety Reminder: Hands-free systems require training. They may not suit reactive dogs or sudden lungers. Always check with your veterinarian before starting a new running routine.