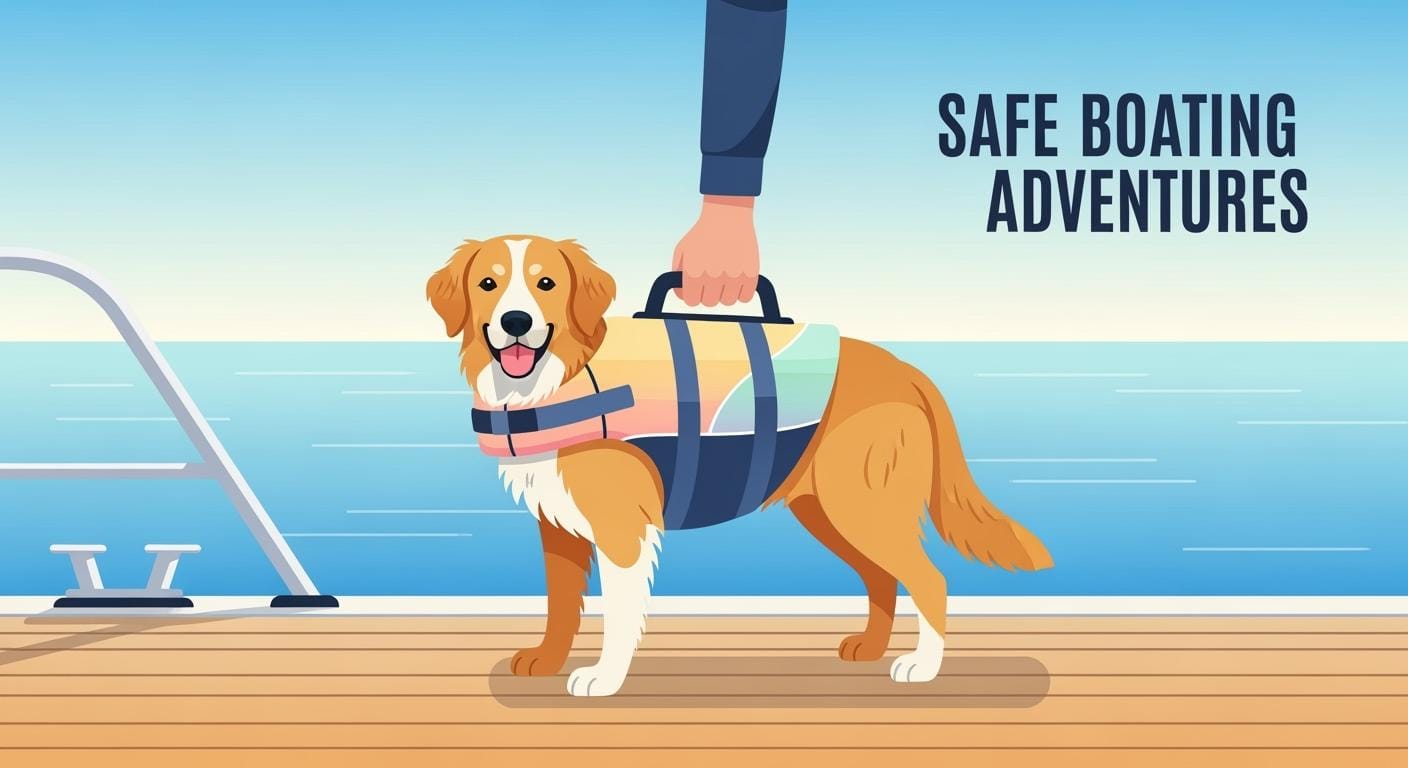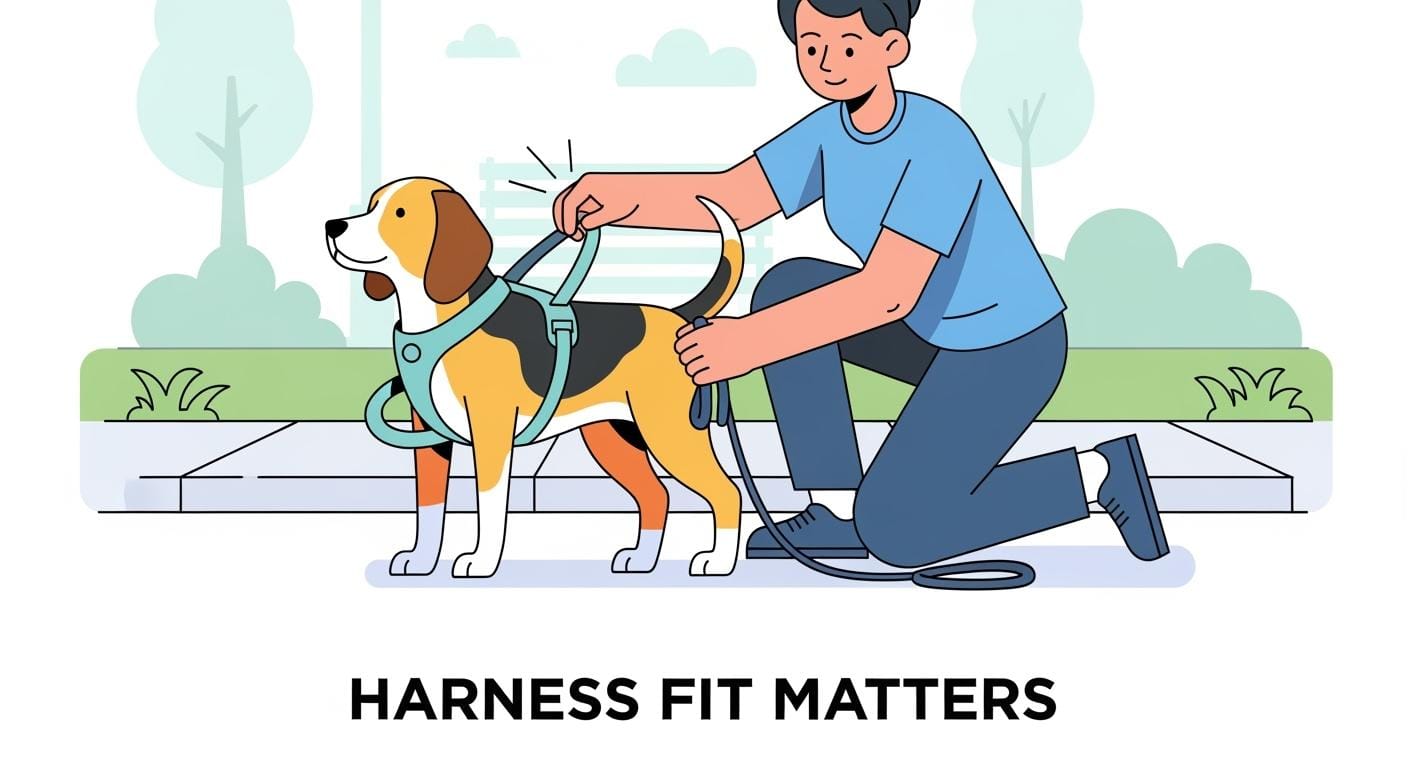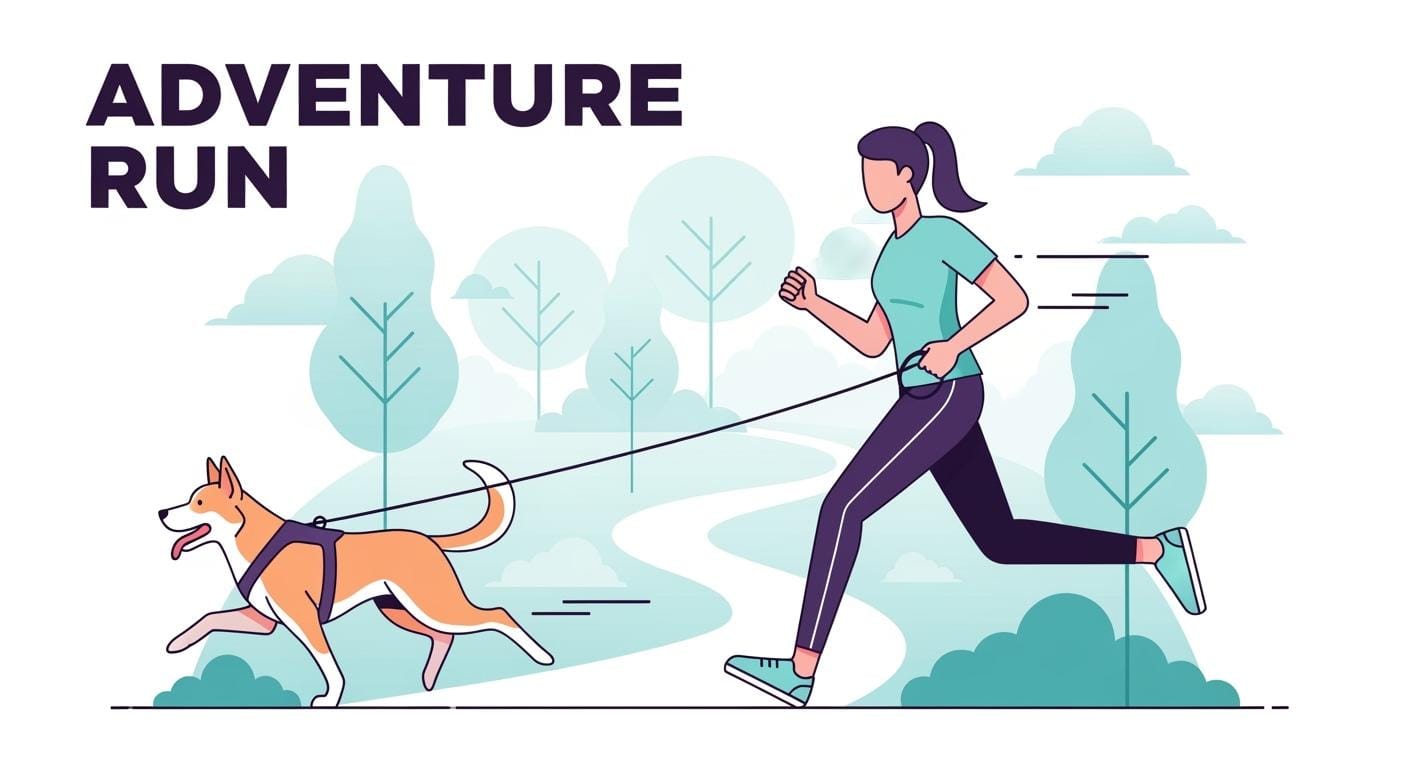
Active walks make fit problems show up fast. A no-pull harness that feels fine for a few minutes indoors can start rubbing once your dog is climbing, turning, sniffing, and pulling into motion. The goal is not to tighten every strap until the harness stops moving. The goal is to keep the harness centered, stable, and comfortable while your dog moves normally.
If you are still comparing styles before you adjust anything, start with a dog harness category page that shows different structures and clip layouts. Once the harness is on your dog, movement matters more than labels like no-pull, padded, or outdoor-ready.
This guide stays focused on one practical question: how do you stop a no-pull harness from rubbing during active outings without changing the topic or overcomplicating the setup?
Why chafing happens faster on active outings
Rubbing usually comes from a combination of movement, moisture, and strap position rather than one single mistake. When your dog powers forward, turns sharply, or keeps steady tension on the leash, the harness can shift into the armpit zone, creep up toward the throat, or rotate off center. Even soft materials can start to irritate skin if they sit in the wrong place for long enough.
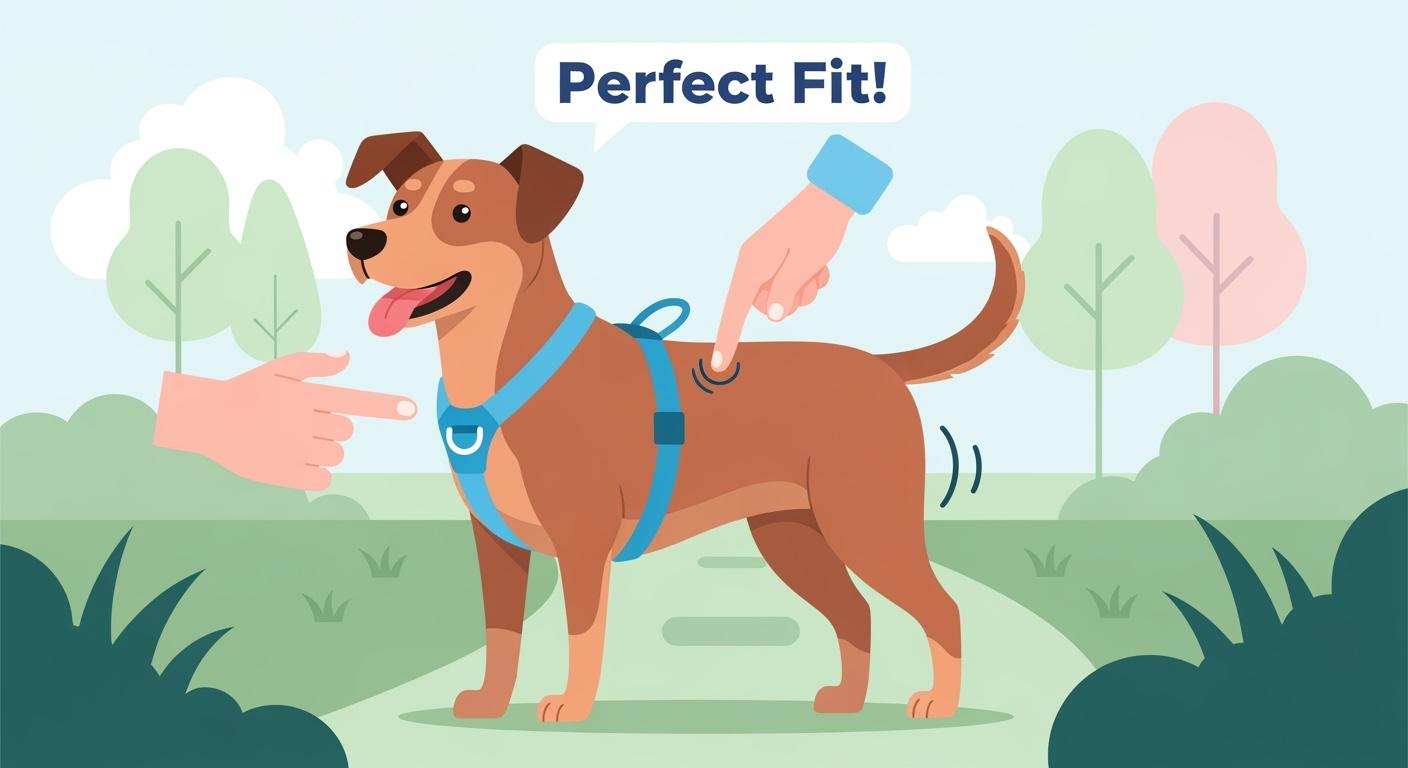
A secure fit should look calm and balanced. The chest panel stays low on the chest, the neckline stays off the throat, the side straps sit behind the front legs, and your dog can extend the shoulders without the harness dragging backward. A restrictive fit looks different: shortened stride, head lowering, repeated scratching, rubbing behind the elbows, or a harness that twists when leash pressure changes.
No-pull designs can help redirect a dog that leans into the leash, but they also make poor fit more obvious. Front attachment points can encourage rotation if the harness is loose or if the chest panel is too narrow for the dog’s shape. If you want a broader sizing and structure baseline before adjusting this one, the best dog harness guide gives a useful overview of chest position, strap layout, and everyday comfort cues.
Measure first, then leave room for adjustment
Start with the two measurements that matter most: chest girth at the widest part of the ribcage and neck measurement at the base of the neck where the harness sits. Measure while your dog is standing, not sitting or curled up. If your dog falls between sizes, go with the size that gives you adjustment room rather than the one that starts already maxed out.
A good working fit usually sits somewhere in the middle of the adjustment range. That gives you room to fine-tune for coat thickness, seasonal layers, small weight changes, or drying shrinkage after cleaning. If the harness only fits when every strap is fully tightened or nearly fully loosened, that is often a sign that the size is wrong even before you walk outside.
Padding can help, but it does not fix poor placement. Thick padding may actually trap heat or add bulk if the base harness shape is already off. Smooth edges, stable hardware, and strap placement matter more than the promise of extra cushioning.
Check fit during movement, not only while standing still
After the harness is adjusted, do a short indoor movement check before your first real outing. Watch your dog walk forward, turn both directions, sit, and lower into a down position. The harness should stay centered through all of these motions. If it drifts toward one armpit, slides upward on the chest, or shifts when the leash angle changes, stop and adjust before you go farther.
The familiar two-finger rule is still useful, but treat it as a starting point rather than the whole answer. Wide straps on a large dog will feel different from narrow straps on a small dog. What matters is that the harness feels snug enough to stay stable, while still leaving the shoulders free and the chest open for comfortable breathing.
Then do a short real-world test walk. Five to ten minutes is enough to reveal many problems. Recheck the fit right away and inspect the common hot spots: behind the elbows, across the sternum, under buckles, and anywhere grit or damp fur can collect. If you are adjusting both the harness and leash together, this dog harness and leash set guide helps you tell whether the issue comes from the harness itself, the leash angle, or both.
Simple ways to reduce rubbing before it becomes a bigger problem
Clean and dry the harness after muddy, wet, or dusty outings. Sand, dried sweat, and trapped moisture increase friction quickly, especially on short-haired dogs or dogs with sensitive skin. A harness that fits acceptably when dry may start rubbing once the fabric gets damp and heavy.
Recheck fit after grooming, seasonal coat changes, or periods of rapid growth. Thick fur can hide looseness until the coat is trimmed, while a shorter coat can suddenly make edge finish and seam placement much more noticeable. If your dog starts moving differently after a haircut or a growth spurt, do not assume behavior changed first. Refit the harness.
Replace the harness if you see repeated rubbing that adjustment does not solve, stretched webbing that will not hold tension, cracked hardware, rough seams, or a chest panel that no longer stays flat. Chafing that repeats in the same place is usually feedback that something in the design, size, or condition is no longer right for your dog.
FAQ
Should a no-pull harness be tighter than a regular harness?
No. It should be secure enough to stay centered during movement, but not tighter just because it is labeled no-pull. Over-tightening often causes rubbing faster on active outings.
Where does chafing usually show up first?
The most common spots are behind the front legs, across the chest, under buckles, and anywhere the harness twists off center during walking.
Can padding alone stop rubbing?
Not reliably. Padding may feel softer, but it cannot fix a wrong size, poor strap placement, or a harness that rotates under leash pressure.
What is the fastest field check before a longer walk?
Do a short movement test, then inspect the hot spots after five to ten minutes. If you see redness, hair breakage, damp grit buildup, or shifting, stop and adjust before continuing.