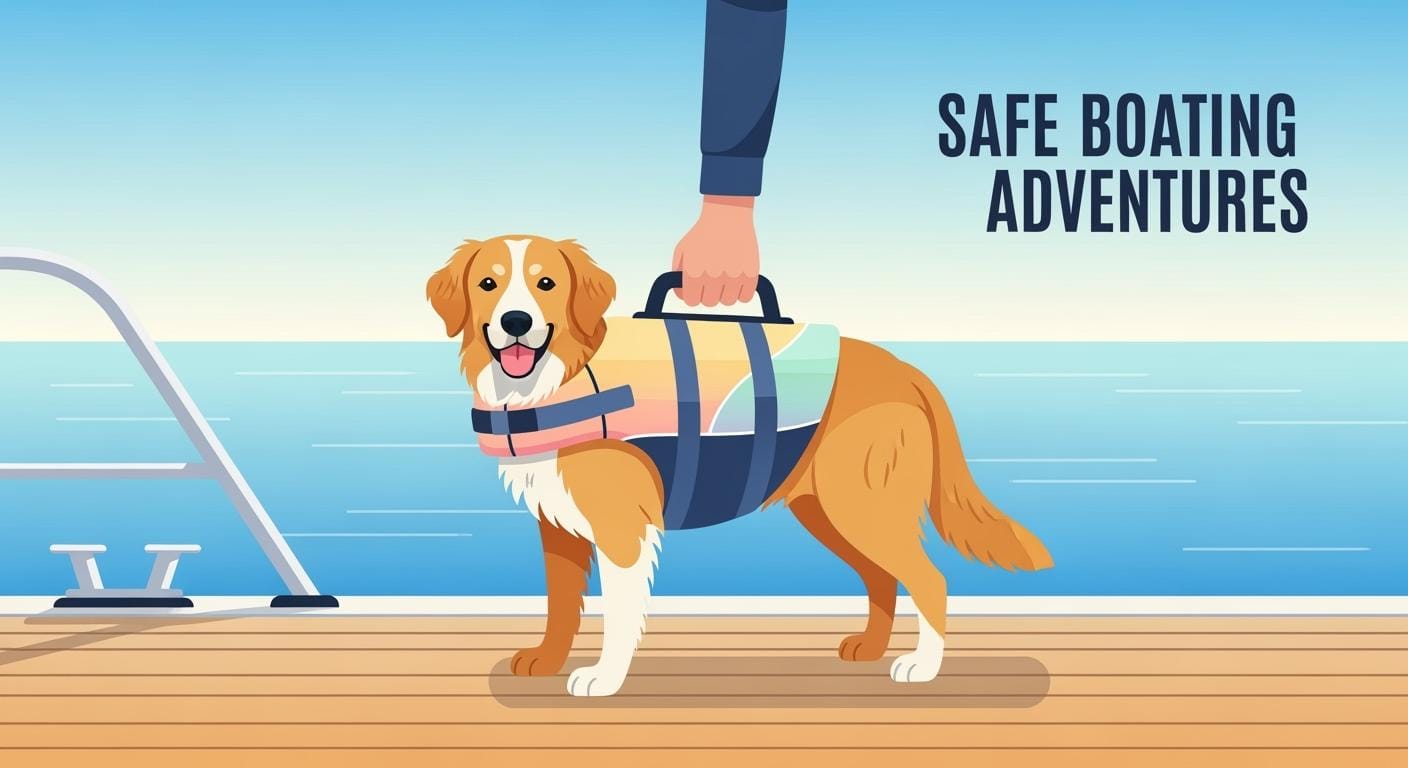
You know it is annoying when blurry collars for dogs photos confuse buyers and cause returns. In the pet collar and leash business, clear platform-safe hero images and macro proof shots help show every detail buyers want. If you want your online store to grow and your marketing to get better, you need good pictures of stylish collars for dogs and custom pet accessories. Many teams get custom dog collars using OEM or ODM. OEM means the factory makes collars for dogs with your brand’s design and logo. ODM gives you a basic design you can change and make your own. With the right pictures, your pet collar and leash business can get more attention online and have fewer complaints.
Key Takeaways
Clear photos of dog collars help buyers understand better and complain less. Use sharp pictures to show the width, buckles, and other details.
Follow safe image rules for the platform. Use a plain white background. Make sure the product fills most of the picture for a neat look.
Add something to show size in width photos. Put a ruler next to the collar. This helps buyers trust the size and return less.
Use close-up shots to show important parts. Show buckles, D-rings, and stitching clearly. This makes buyers feel sure about what they buy.
Keep the same good photo quality for all collar types. This helps buyers pick the right collar for their dog easily.
Photo Issues That Drive Returns in Collars for Dogs
Common Complaints Linked to Photo Gaps
When you list collars for dogs online, buyers want to see every detail before they buy. If your photos do not show the collar width or the buckle clearly, buyers often feel unsure about what they will get. Many buyers complain that the collar looks thinner or wider than expected. Some say the buckle does not match the product description. Others worry about how the D-ring or adjuster works. These gaps in your photos can make buyers think twice about keeping the product.
Tip: Always include a physical scale cue, like a ruler, in your width proof shot. This helps buyers trust what they see.
You may also hear from buyers who say the collar does not fit their dog as shown in the listing. Some buyers cannot see the stitching or hardware details, so they worry about safety. If you sell personalized pet accessories, unclear photos can lead to even more confusion about custom features.
Impact on Dog Collar Business Operations
Photo issues do not just frustrate buyers. They also create extra work for your dog collar business. When buyers return collars for dogs because of unclear images, your team must process returns and answer support tickets. You may need to relist products or update listings, which takes time away from growing your business.
A high number of complaints can slow down your operations. Your catalog team may spend more time checking listings for errors. Your support team may need to explain product details that clear photos could show. If you want your dog collar business to run smoothly, you need to reduce these issues at the source.
A strong photo set helps you avoid these problems. You show buyers exactly what they will get, and you help your team focus on new products and better service.
Platform-Safe Hero Image Standards for Collars for Dogs
Background, Framing, and Fill Rules
You want your hero image to stand out and meet marketplace rules. The main image for collars for dogs must use a pure white background. The standard for this is AMAZON_MAIN_BG_RGB, which means the background color should be 255,255,255. This helps your product look clean and professional. You should fill about 85 percent of the frame with the product. This follows the AMAZON_MAIN_PRODUCT_FILL_TARGET. Your image needs to be sharp and clear. The long side should reach at least the minimum pixel requirement for zoom, which is AMAZON_ZOOM_MIN_LONG_SIDE_PX. If you want your image to look great on every platform, aim for the CROSS_PLATFORM_TARGET_LONG_SIDE_PX.
You should use JPEG or PNG formats. These work best for most ecommerce sites. Make sure your image file size and resolution stay within the limits set by GMC_MAX_FILE_SIZE and GMC_MAX_IMAGE_RESOLUTION. If you follow these rules, your hero image will pass most catalog checks.
Note: A platform-safe hero image helps buyers see your product clearly and reduces confusion.
Here is a quick checklist for your hero image:
Use a pure white background (AMAZON_MAIN_BG_RGB).
Fill about 85 percent of the frame with the product (AMAZON_MAIN_PRODUCT_FILL_TARGET).
Use JPEG or PNG format.
Make sure the image is sharp and meets the minimum pixel requirements.
Avoid shadows, props, or extra objects in the frame.
What to Avoid in Main Images
You need to avoid common mistakes that cause listing rejections. If you use a colored or patterned background, your image may get rejected. If your product does not fill enough of the frame, buyers may not see details. Do not add text, logos, or watermarks to your main image. These break platform rules and confuse buyers.
You should not use digital overlays to show measurements. Always use physical scale cues in your proof shots, not in the hero image. Do not include packaging, hands, pets, or extra items in the main image. These distract from the product and can cause confusion.
Here is a table to help you check your main image before you publish:
Acceptance Criteria | Pass/Fail Check |
|---|---|
Pure white background | Pass if RGB is 255,255,255 |
Product fills 85% of frame | Pass if meets fill target |
No props, text, or overlays | Pass if product only |
JPEG or PNG format | Pass if file type correct |
Meets pixel and file size limits | Pass if within standards |
Tip: Always review your hero image using a publish gate checklist. This helps you catch mistakes before your listing goes live.
If you follow these standards, you help buyers see exactly what they will get. You also make it easier for your catalog team to approve listings. Clear hero images reduce support tickets and returns. You set your dog collar business up for success.
Showing Collar Width with Physical Scale Cues
Top-Down and Width Proof Shots
You need to show buyers exactly how wide and long each collar is. The best way to do this is with two types of photos: a top-down shot and a width proof shot. These images help your team answer the most common questions about fit and sizing for every dog.
SHOT_TOP_DOWN_FULL_LENGTH: Lay the collar flat on a plain surface. Take a photo from directly above. Make sure the entire collar is visible from end to end. This shot shows the full length and adjustment range. Buyers can see how the collar will fit their dog.
SHOT_WIDTH_PROOF_WITH_SCALE: Place a ruler or caliper next to the collar webbing. Take a close-up photo that shows the width of the material. The scale must be physical and in the same plane as the collar. Do not use digital overlays or add text to the image. This method gives buyers a clear, honest view of the collar’s width.
Tip: Always use a physical ruler or caliper in your width proof shot. This builds trust and meets platform-safe standards.
A clear top-down shot and a width proof shot help your catalog team reduce support tickets. You also help buyers choose the right size for their dog the first time.
Measuring and Photographing for Clarity
You want every photo to give buyers confidence. Start by choosing a clean, neutral background. Place the collar flat and smooth out any folds. For the width proof shot, line up the ruler or caliper so the numbers are easy to read. Make sure the camera lens is level with the collar and scale. This prevents distortion and keeps the measurement accurate.
Follow these steps for best results:
Lay the collar flat on a white or light background.
Place a physical ruler or caliper next to the collar webbing.
Take a close-up photo with the scale in clear focus.
Check that the numbers on the ruler are easy to read.
Save the image in JPEG or PNG format.
Note: Never add digital lines, arrows, or text to show measurements. Only use physical scale cues in your photos.
A clear width proof shot helps buyers see the real size of the collar. This reduces confusion and helps your team avoid returns for sizing issues. You also support your catalog team by meeting platform-safe image standards.
Video: How to Shoot Width and Buckle Proof Shots
You can watch a step-by-step video on the StridePaw site. The video shows how to set up and photograph SHOT_WIDTH_PROOF_WITH_SCALE and SHOT_BUCKLE_CLOSED_PROOF. This resource helps your team follow the same process every time.
StridePaw Video: How to Photograph Collar Width and Buckle Proof Shots
A consistent photo process helps your team create listings that pass catalog checks. You show buyers exactly what they will get. This builds trust and helps your collars for dogs stand out in the market.
Macro Proof Shots for Buckle and Hardware
Buckle Closed-State and Release Mechanism
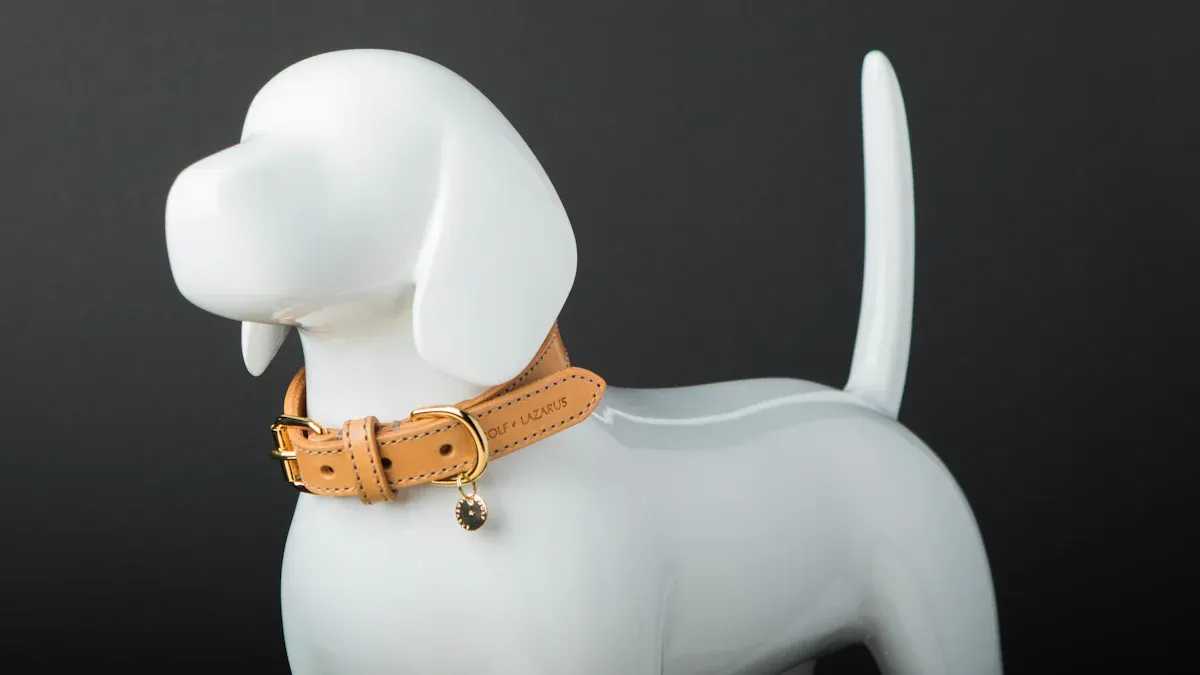
You need to show buyers how the buckle works on your collars for dogs. A clear macro proof shot of the buckle in the closed position, called SHOT_BUCKLE_CLOSED_PROOF, gives buyers confidence. This photo shows the buckle fully latched and facing the right way. You help buyers see that the collar will stay secure on their dog. If you show the release mechanism up close, buyers can understand how to open and close the collar. This step reduces questions about how the buckle works and helps your dog collar business avoid complaints like “it slips open.”
Tip: Take this photo in good light and make sure the buckle is in sharp focus. Buyers want to see every detail.
When you use high-quality materials, a close-up shot also shows the strength and finish of the hardware. Buyers trust your dog collar business more when they see proof of high-quality products.
D-Ring, Stitching, and Adjuster Details
You also need to show the D-ring, stitching, and adjuster hardware. Use SHOT_D_RING_AND_STITCHING to highlight the leash attachment point and the quality of the stitching. Buyers want to know the D-ring is strong enough for their dog. A clear macro proof shot lets them see the build quality for themselves.
SHOT_ADJUSTER_AND_SLIP_PATH focuses on the adjuster hardware. This photo shows how the strap moves through the adjuster. Buyers can see that the collar will not slip or loosen easily. You help your dog collar business reduce support tickets and returns by making these details clear.
A table can help your team remember which shots to include:
Shot Type | What It Shows |
|---|---|
SHOT_BUCKLE_CLOSED_PROOF | Buckle closed and secure |
SHOT_D_RING_AND_STITCHING | D-ring and stitching quality |
SHOT_ADJUSTER_AND_SLIP_PATH | Adjuster hardware and strap routing |
Note: Macro proof shots help buyers see the real product. You build trust and show your focus on safety and quality for every dog.
Size, Fit, and Custom Pet Collar Variants
Consistent Size-Run and Variant Mapping
You must show every size and style of custom pet collar in your catalog. Buyers want to see the exact collar their dog will get. Use the same process for matching each variant to its photo. This is called variant-to-image mapping. For each size, color, or feature, upload the correct picture. If you have a reflective option, add SHOT_REFLECTIVE_DETAIL_IF_APPLICABLE. This photo shows the shiny part of the custom pet collar when light hits it. You help buyers see what makes each variant special.
A simple table can help your pet collar and leash business stay neat:
Variant Name | Required Image Type | Special Detail Shown |
|---|---|---|
Small | SHOT_TOP_DOWN_FULL_LENGTH | Size and adjustment range |
Medium | SHOT_WIDTH_PROOF_WITH_SCALE | Webbing width with ruler |
Reflective Large | SHOT_REFLECTIVE_DETAIL_IF_APPLICABLE | Reflective strip under light |
Tip: Always check your variant-to-image mapping before you publish. This step helps stop confusion and support tickets.
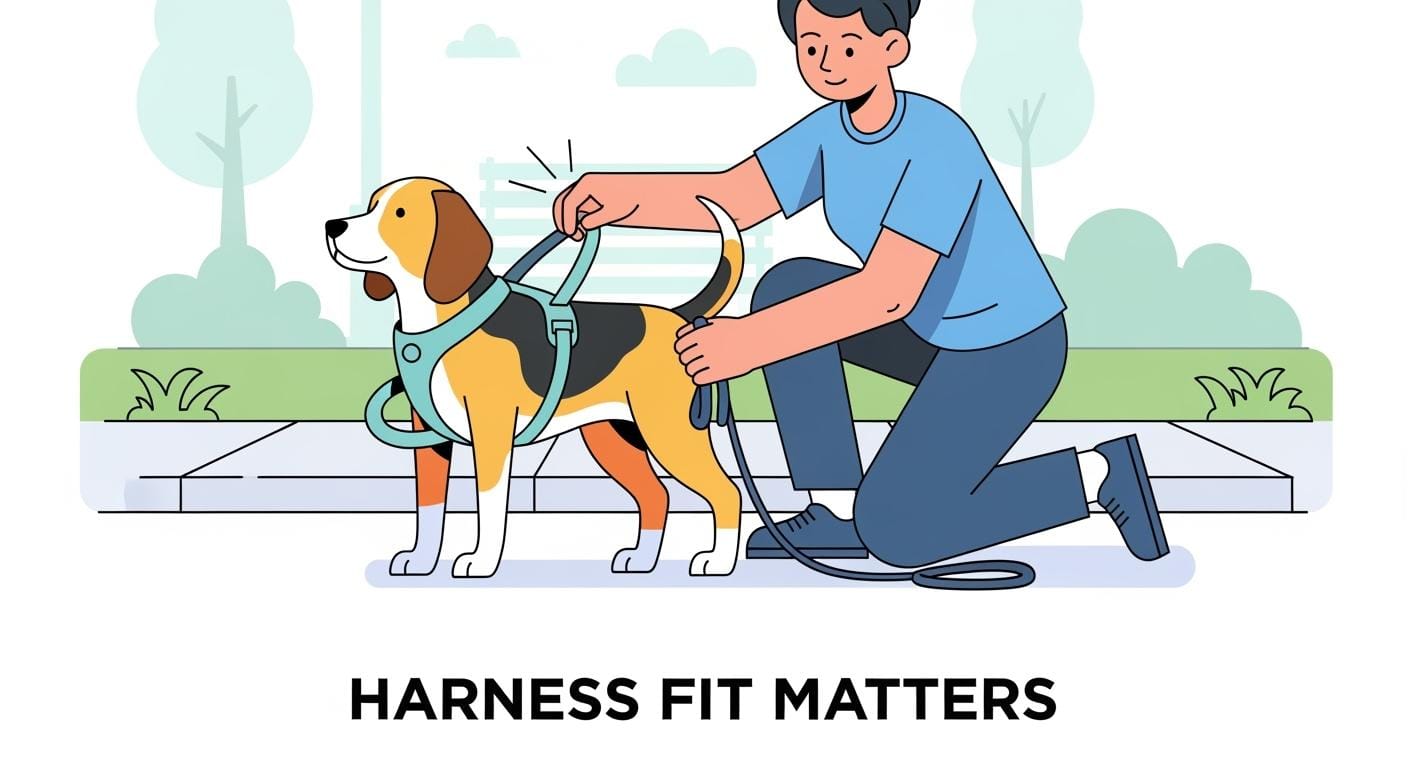
When to Show Fit Diagrams
Use fit diagrams when buyers need more help picking the right custom pet collar for their dog. Fit diagrams are best for listings with many sizes or adjustable features. Show a simple drawing or photo that tells where to measure your dog’s neck. This helps buyers choose the right size the first time.
If your pet collar and leash business has custom pet collar choices, keep your catalog the same. Use the same kind of pictures and diagrams for every listing. This makes your catalog easy to look through and helps buyers trust you.
Note: Using the same images and clear fit diagrams helps your team avoid mistakes. You make it easier for buyers to pick the right custom pet collar for their dog.
Catalog and Feed Consistency for Pet Collar and Leash Business
File Naming and Variant Mapping
You make your pet collar and leash business work better with clear file names. Each photo should go with the right custom pet collar variant. For example, name your images with the size, color, and feature. This helps your catalog team find the right photo for each dog collar. You stop mistakes when you keep your naming system simple and always the same.
Tip: Use a name like “collar-medium-blue-reflective.jpg” for each custom pet collar. This makes it easy for your team to match images to product variants.
When you upload images, check that every variant has a matching photo. If you add a new size or color, update your image set. You keep your pet collar and leash business neat and ready for new listings.
Publish Gate Checklist for Catalog Teams
Your catalog team needs a checklist before you post listings. This checklist helps you find mistakes and keep your feed tidy. You check that every custom pet collar variant has the right image. You look at file names, image quality, and mapping. You look for missing photos, wrong backgrounds, or mismatched variants.
Here is a simple checklist for your team:
Match each dog collar variant to its image
Check file names for clear and same style
Confirm platform-safe hero image rules
Review close-up shots for buckle, D-ring, and adjuster
Make sure rulers are in width photos
Check image formats and pixel size
Look for missing or double images
Common Listing Error | How to Fix |
|---|---|
Wrong image for variant | Change mapping and file name |
Missing close-up shot | Add needed hardware photo |
No ruler in width photo | Take new width shot with ruler |
Wrong background color | Use pure white as the rule says |
Note: Use your checklist every time you update your pet collar and leash business catalog. This step helps you stop support tickets and listing problems.
You keep your catalog strong and your dog collar listings clear when you follow these steps. Your team builds trust with buyers and keeps your pet collar and leash business ready to grow.
QC, Support, and SOP for Dog Collar Business Teams
Receiving Checks and Lab Testing
You want every custom pet collar to meet your standards before it reaches buyers. Start with a clear receiving check process. When you receive a shipment, open each box and inspect a sample of collars. Look for clean stitching, secure buckles, and correct D-ring placement. Check that the width matches your listing photos. Use a physical ruler to confirm the size. If you see reflective details, shine a light to test visibility. For lab testing, follow your internal safety checklist. Make sure each custom pet collar passes pull tests and hardware checks. Record your results and keep photos for your records.
Tip: Use the same process for every shipment. This helps your dog collar business catch problems early.
Photo-Based Troubleshooting for Support
Support teams can solve many issues with clear photos. When a buyer contacts you about a problem, ask for a photo of the collar on their dog. Compare their photo to your listing images. Check the buckle, D-ring, and adjuster. Look for signs of wear or incorrect fit. Use your macro proof shots as a reference.
Here is a simple troubleshooting script:
Ask the buyer for a photo of the collar on their dog.
Review the photo for fit, width, and hardware details.
Compare the buyer’s photo to your catalog images.
Identify if the issue matches a known failure mode.
Buyer Symptom | Likely Cause | Photo or Process Fix |
|---|---|---|
Collar too loose | Wrong size chosen | Review width proof and fit diagram |
Buckle opens unexpectedly | Buckle not latched fully | Send SHOT_BUCKLE_CLOSED_PROOF |
D-ring bends or twists | Heavy pull or wrong use | Show SHOT_D_RING_AND_STITCHING |
You help your dog collar business reduce returns by using these steps. You also build trust with buyers when you respond quickly and clearly. Always update your SOP when you find new issues. This keeps your custom pet collar listings strong and your support team ready.
Next Steps for Buyers and OEM/ODM Execution
Internal Links and Resource Plan
You can take action now to improve your listings and reduce complaints. Start by reviewing your current catalog on the StridePaw platform. Check your dog collar product pages for clear hero images and macro proof shots. Use the shot list and publish gate checklist from this guide. These tools help you spot missing details and fix them before buyers see your listings.
You can also read related blogs on StridePaw. These articles cover topics like catalog consistency, photo standards, and support troubleshooting. If you need help, visit the StridePaw contact form. The support team can answer questions about image requirements or catalog mapping.
Tip: Bookmark the StridePaw resource center. This makes it easy to find guides and checklists when you update your dog collar catalog.
Here is a quick resource plan for your team:
Review your dog collar product pages for image quality
Use the shot list and publish gate checklist
Read related StridePaw blog articles for best practices
Contact support with questions about catalog or images
B2B CTAs: Request Quote or Samples
You can move forward with confidence. If you want to see the quality of a dog collar before you buy, request a sample from StridePaw. Samples help your team check hardware, stitching, and fit in person. If you need a quote for a bulk order or custom design, use the StridePaw quote request form. The team will guide you through the OEM or ODM process and answer your questions.
Note: Fast action helps you secure the best options for your next dog collar launch.
Next steps for your team:
Request a sample to check quality and fit
Ask for a quote for your next order or custom project
Schedule a call with StridePaw to discuss OEM or ODM needs
You can build a stronger catalog and reduce support tickets by following these steps. StridePaw supports your team with resources, clear standards, and expert help at every stage.
Marketplace-Safe Shot List Table
You want every dog collar listing to pass checks the first time. A clear shot list helps your team show buyers all the details they need. Use this table to guide your photo process. Each image type shows an important feature. The pass-fail checks help you see if your photo meets platform rules.
Image Type | What It Proves | Pass-Fail Checks |
|---|---|---|
SHOT_HERO_WHITE_BG | Main look of the dog collar on pure white | Background is AMAZON_MAIN_BG_RGB; fills 85% of frame; no props or overlays |
SHOT_TOP_DOWN_FULL_LENGTH | Full length and adjustment range | Collar laid flat; shows entire length; sharp focus |
SHOT_WIDTH_PROOF_WITH_SCALE | Webbing width with physical scale cue | Ruler or caliper in frame; no digital overlays; numbers clear |
SHOT_BUCKLE_CLOSED_PROOF | Buckle closed and secure | Buckle latched; hardware in focus; no hands or pets |
SHOT_D_RING_AND_STITCHING | D-ring strength and stitching quality | D-ring visible; stitch lines clear; no blur |
SHOT_ADJUSTER_AND_SLIP_PATH | Adjuster hardware and strap routing | Adjuster shown; strap path visible; no extra items |
SHOT_REFLECTIVE_DETAIL_IF_APPLICABLE | Reflective feature under light | Reflective area shown; light source visible; no claims |
SHOT_PACKAGING_LABEL_UPC_OPTIONAL | Packaging and barcode (if shown) | Barcode flat and clear; no warping or obstruction |
Tip: Look at each photo with your team before uploading. Use the pass-fail checks as your checklist before posting.
When you show every detail, buyers can pick the right dog collar. This also makes your catalog better and cuts down on support tickets. A clear shot list keeps your dog collar business ready to grow.
Failure Mode Table
You want to fix problems before buyers see them. A failure mode table helps your team find common problems with collars for dogs and fix them quickly. Use this table to match buyer feedback to the right photo or process change. This keeps your listings clear and helps your support team get ready.
Buyer Symptom | Likely Cause | Photo Fix or Process Fix |
|---|---|---|
Collar looks too thin | Width not shown with scale | Add SHOT_WIDTH_PROOF_WITH_SCALE with ruler or caliper |
Buckle feels weak or opens | Buckle not shown closed | Add SHOT_BUCKLE_CLOSED_PROOF in sharp focus |
D-ring bends or twists | D-ring detail missing | Add SHOT_D_RING_AND_STITCHING macro proof shot |
Collar does not fit dog | Size or adjustment unclear | Add SHOT_TOP_DOWN_FULL_LENGTH and fit diagram |
Strap slips through adjuster | Adjuster path not visible | Add SHOT_ADJUSTER_AND_SLIP_PATH close-up |
Reflective strip not visible | Reflective detail not shown | Add SHOT_REFLECTIVE_DETAIL_IF_APPLICABLE under light |
Wrong collar sent | Variant-to-image mapping error | Review file names and update publish gate checklist |
Barcode unreadable | Packaging photo warped or blocked | Retake SHOT_PACKAGING_LABEL_UPC_OPTIONAL flat and clear |
Tip: Go over this table with your team after every support case. You can add new photos or change your process to help buyers. This makes your dog collar listings safe and simple to understand.
A clear failure mode table gives your catalog team a quick way to check for missing details. You can use it as part of your normal work steps. When you fix these problems, buyers trust your dog collar business more and complain less.
Optional Feed Field Table
You want your catalog to work well on every site. Feed fields help you sort your dog collar listings and keep your product info clear. Each field needs the right photo to go with it. If you match the photos to the fields, you make fewer mistakes. This also makes your listings easy to check.
Here is a table that shows common feed fields, which photo goes with each field, and mistakes you might see:
Feed Field | Supporting Image Type | Common Listing Error |
|---|---|---|
Product Title | SHOT_HERO_WHITE_BG | Title does not match main image |
Size | SHOT_TOP_DOWN_FULL_LENGTH | Size not shown or unclear |
Width | SHOT_WIDTH_PROOF_WITH_SCALE | No ruler or scale in width photo |
Color | SHOT_HERO_WHITE_BG | Color in photo does not match field |
Buckle Type | SHOT_BUCKLE_CLOSED_PROOF | Buckle not visible or wrong type shown |
D-Ring Material | SHOT_D_RING_AND_STITCHING | D-ring not shown or unclear |
Adjuster Type | SHOT_ADJUSTER_AND_SLIP_PATH | Adjuster not visible in photo |
Reflective Feature | SHOT_REFLECTIVE_DETAIL_IF_APPLICABLE | Reflective area missing or not shown |
Packaging UPC | SHOT_PACKAGING_LABEL_UPC_OPTIONAL | Barcode blocked or warped |
Tip: Always check your feed fields and photos before you post. This step helps you find mistakes and keeps your dog collar catalog safe.
You can use this table as a checklist for your team. If you see something that does not match, fix your photo or field before you post. This helps you get fewer support tickets and returns. You show buyers all the details they need to pick the right dog collar.
If you want more help, go to the StridePaw resource center. You will find guides and checklists for catalog mapping and photo rules. Your team can use these tools to keep your listings strong and clear.
You help your dog collar business do well by using platform-safe hero images and macro proof shots. These photos let buyers see all the details of collars for dogs and help them trust you. Your pet collar and leash business can get fewer complaints if you follow the rules and steps in this guide. Look at your current listings and use the shot list and checklists to make your process better.
Your brand is a promise to your customer. It means you offer quality, reliability, and value. In online shopping, buyers cannot touch the product before buying. They count on the item that arrives to match what they saw online.
Keep working on quality and clear photos. Your pet collar and leash business will have fewer returns and a better catalog. Every dog should have a collar that fits and looks good.
FAQ
How do I make sure my dog collar photos meet platform-safe standards?
You should use a pure white background, fill 85 percent of the frame, and save images as JPEG or PNG. Always check your images with the publish gate checklist before uploading.
Why do I need a physical scale cue in width photos?
A physical scale cue, like a ruler, shows the real width of the collar. This helps buyers trust your listing and reduces confusion about sizing.
What is variant-to-image mapping?
Variant-to-image mapping means you match each product variant, such as size or color, to the correct photo. This step helps buyers see the exact collar they will receive.
How can macro proof shots help my support team?
Macro proof shots show details like buckles, D-rings, and stitching. Your support team can use these images to answer buyer questions and solve issues faster.
What should I do if a listing gets rejected for image issues?
Check your image against the publish gate checklist. Look for background color, fill, and missing scale cues. Fix any problems, then upload the corrected photo to your listing.