A canine pulling harness takes more stress than a harness used only for calm, loose-leash walks. Hard lunges, repeated tension, wet weather, dirt, and daily friction all speed up wear in the same few places. That is why a harness can still look usable from a distance but already be unsafe at the leash connection point, the adjusters, or the webbing folds that take most of the load.
If you are comparing baseline construction first, start with the broader dog harness category so you can see how pulling-focused builds differ from lighter everyday styles. The goal is not to find the most rugged-looking harness. It is to find one that stays stable on the dog, spreads force well, and gives you a clear warning before wear turns into failure.
Why pulling harnesses wear faster than normal walking harnesses
When a dog surges forward, force travels from the leash attachment point through the hardware, stitching, folded webbing, and body panels. That route is where problems usually begin. A harness used for pulling does not just experience one strong tug. It often handles repeated cycles of tension, sudden stops, twisting, and rubbing from the dog’s movement.
That repeated loading makes a few areas far more important than they seem in product photos. The ring area can loosen or distort, thread can start to separate near the attachment zone, webbing can thin where it folds back through adjusters, and friction points under the front legs can fray long before the rest of the harness looks old.
A harness can also fail functionally before it fails structurally. If it starts twisting, riding into the throat, sliding sideways, or loosening during a walk, the dog may become harder to guide even before anything breaks. That kind of instability is an early warning, not a small cosmetic issue.
Wear points to check before and after walks
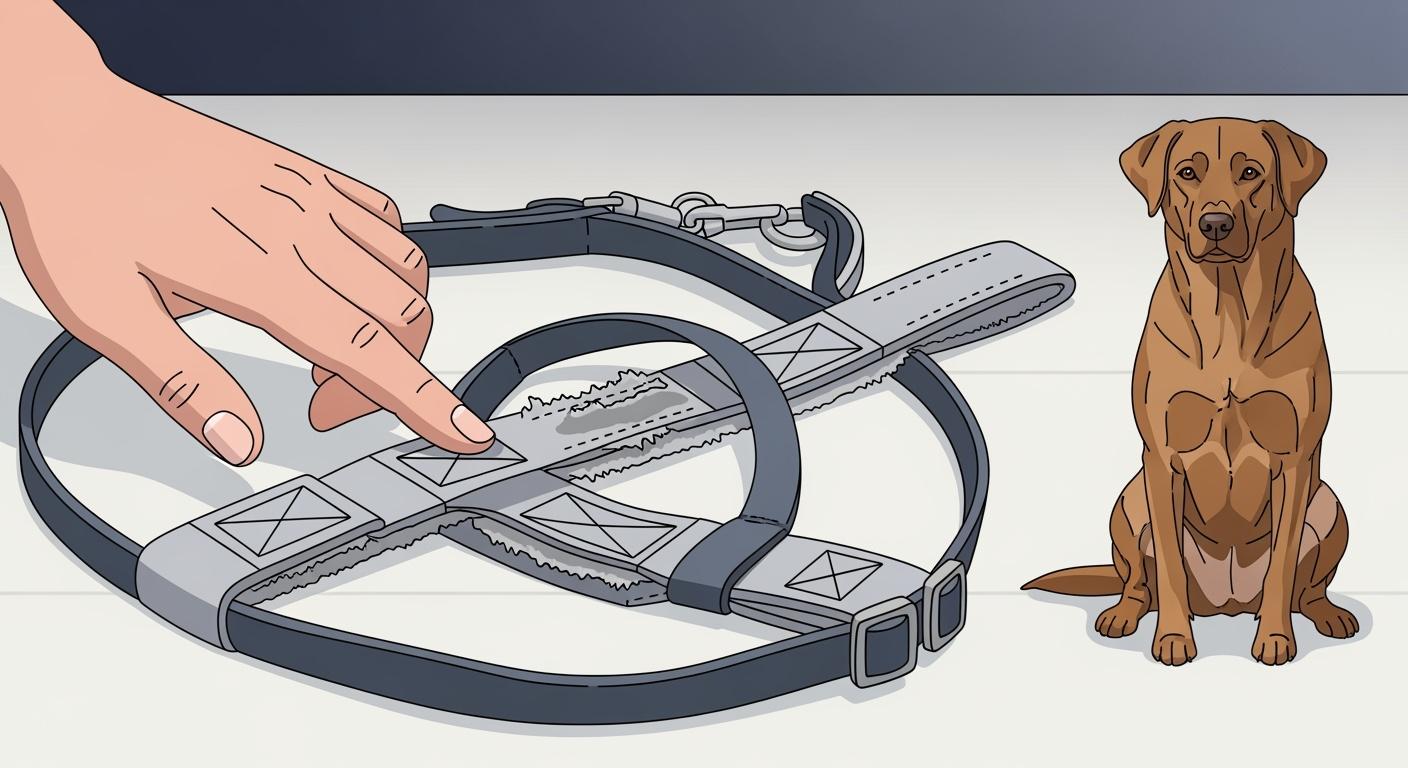
Start with the leash attachment point. Look for loose stitching, stretched seam lines, metal edges that feel rough, or a ring that no longer sits straight. This zone handles the most direct force, so even a small problem here matters more than a scuff on a low-stress panel.
Next, check the folded webbing near adjusters. Pulling harnesses often wear where straps loop back through hardware. If the webbing looks thinned, whitened, cut at the edge, or permanently creased, it may no longer handle force the way it did when new.
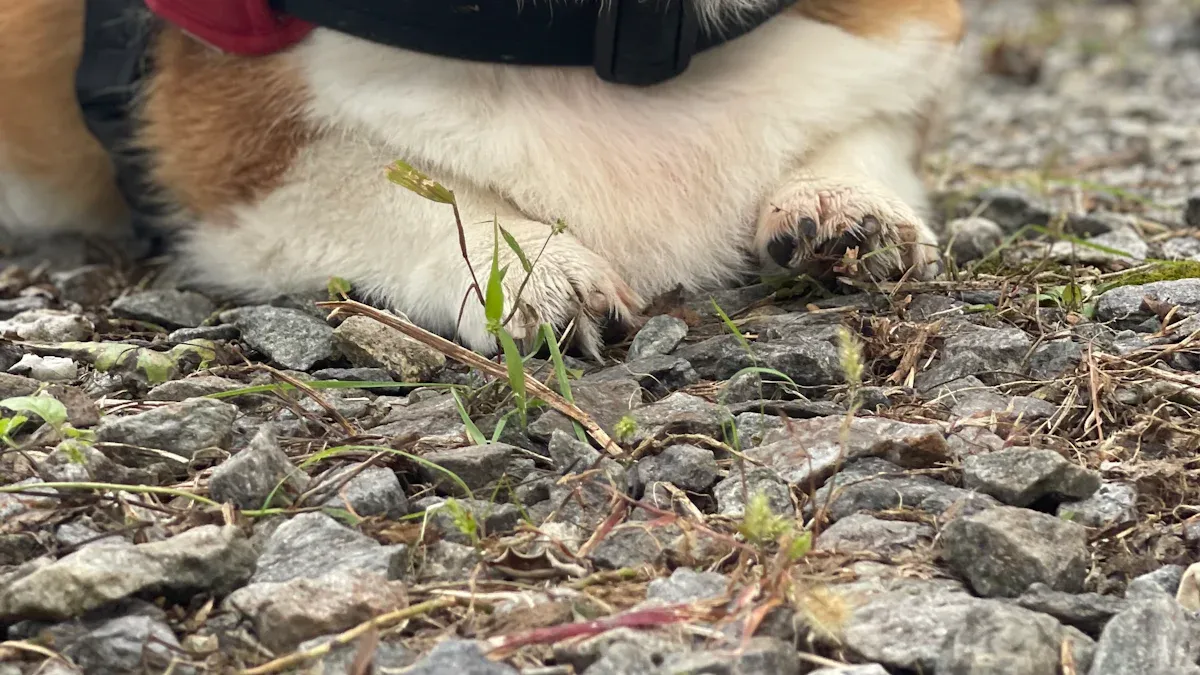
Then check the friction zones. Look behind the front legs, across the lower chest, and anywhere binding or padded edges touch the body. Fraying, stiff trim, exposed inner layers, and flattened fur can all show that the harness is rubbing more than it should.
Do not ignore the buckle and adjusters. A buckle that closes but feels inconsistent is not trustworthy. An adjuster that slips after a short walk can turn a safe fit into an escape risk. If your dog pulls often, it also helps to review overall control setup with a front-clip harness training guide so the harness and walking method work together instead of adding more strain.
Retire-now signs that should not be ignored
Some signs mean the harness should be removed from use immediately. Broken or visibly stretched stitching at the leash connection point is one of them. So are cracked buckles, bent metal hardware, deep webbing cuts, and any rough metal edge that could keep cutting deeper into the strap during the next pull.
A harness should also be retired after any major shock event, such as catching a hard lunge on a long line, stopping a sudden fall, or taking a strong jerk while the dog is moving at speed. Even if the outside still looks acceptable, hidden damage can remain in the stitch path or folded webbing.
If the harness has only minor surface fuzzing on a non-load-bearing edge, you can monitor it closely. But if the damage sits anywhere along the main force path, treat it as a safety issue. Pulling use leaves much less room for guessing than casual walking.
How to choose a pulling harness that stays stable longer
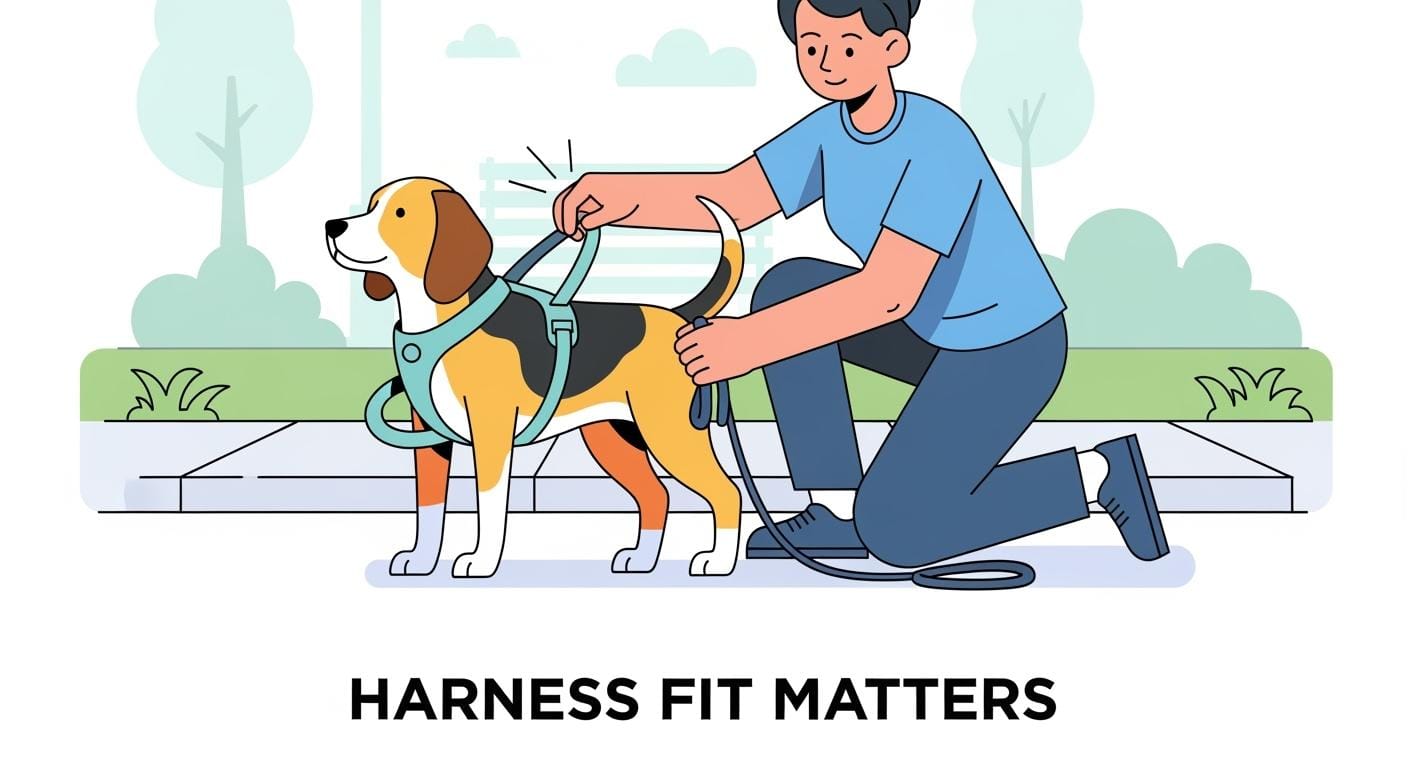
Durability starts with fit. A pulling harness that shifts, rotates, or rides up creates extra friction and uneven stress, which speeds up wear. The chest section should stay low enough to avoid the throat while still sitting flat. The body should stay centered across the back instead of drifting left or right when tension comes on the leash.
Construction matters too. Smooth hardware, strong stitching at connection points, edge finishing that does not fray easily, and webbing that holds its shape after repeated adjustment all help the harness stay reliable longer. If you want a broader side-by-side view of structure, material, and fit before choosing one, this best dog harness guide is a useful comparison point.
It also helps to match the harness to the dog’s real pulling pattern. Some dogs need a more stable chest-guiding structure. Others do better in a harness that allows freer shoulder motion but still keeps the leash point secure. The best option is not the heaviest one. It is the one that stays balanced on the dog and keeps control predictable during real walks.

Common problems and what to do next
If the harness loosens during walks, re-check whether the webbing is slipping through the adjusters or whether the size is simply too large for the dog’s body shape. Re-tightening the same worn harness every day does not solve the root problem.
If you see rubbing near the elbows or lower chest, stop using the harness before the skin becomes irritated. Look for rough seam placement, front coverage that sits too low into the leg path, or a fit that shifts sideways under tension. Rubbing often means the harness is moving too much, not just that the dog has sensitive skin.
If the dog still pulls hard enough to lunge into the end of the leash on every walk, the harness may be handling more force than necessary because the walking setup is not improving. A better harness helps, but a safer result usually comes from combining stable fit, the right clip position, and consistent walking practice.
FAQ
How often should I inspect a canine pulling harness?
Do a quick check before each walk and a closer check after any hard pulling, sudden lunge, or visible rubbing issue. Pulling harnesses should be inspected more often than low-stress everyday harnesses.
What part usually wears out first?
The first problems often appear at the leash attachment zone, folded webbing near adjusters, and friction areas under the front legs. Those points should be checked before the rest of the harness.
Can I keep using a harness with a little fraying?
Only if the fraying is truly minor and not on the main load path. If the damage is near the ring, buckle, stitch junction, or strap fold that handles pulling force, it is safer to retire the harness.
Does thicker material always mean a safer pulling harness?
No. A heavier harness can still twist, rub, or fit poorly. Stable fit, smooth hardware, good stitch placement, and predictable adjustment matter more than thickness alone.
What is the biggest mistake people make with a pulling harness?
Waiting too long after the first warning signs. Small stitch changes, hardware roughness, and slipping adjusters often show up before a true failure. Catching those early is the safest approach.