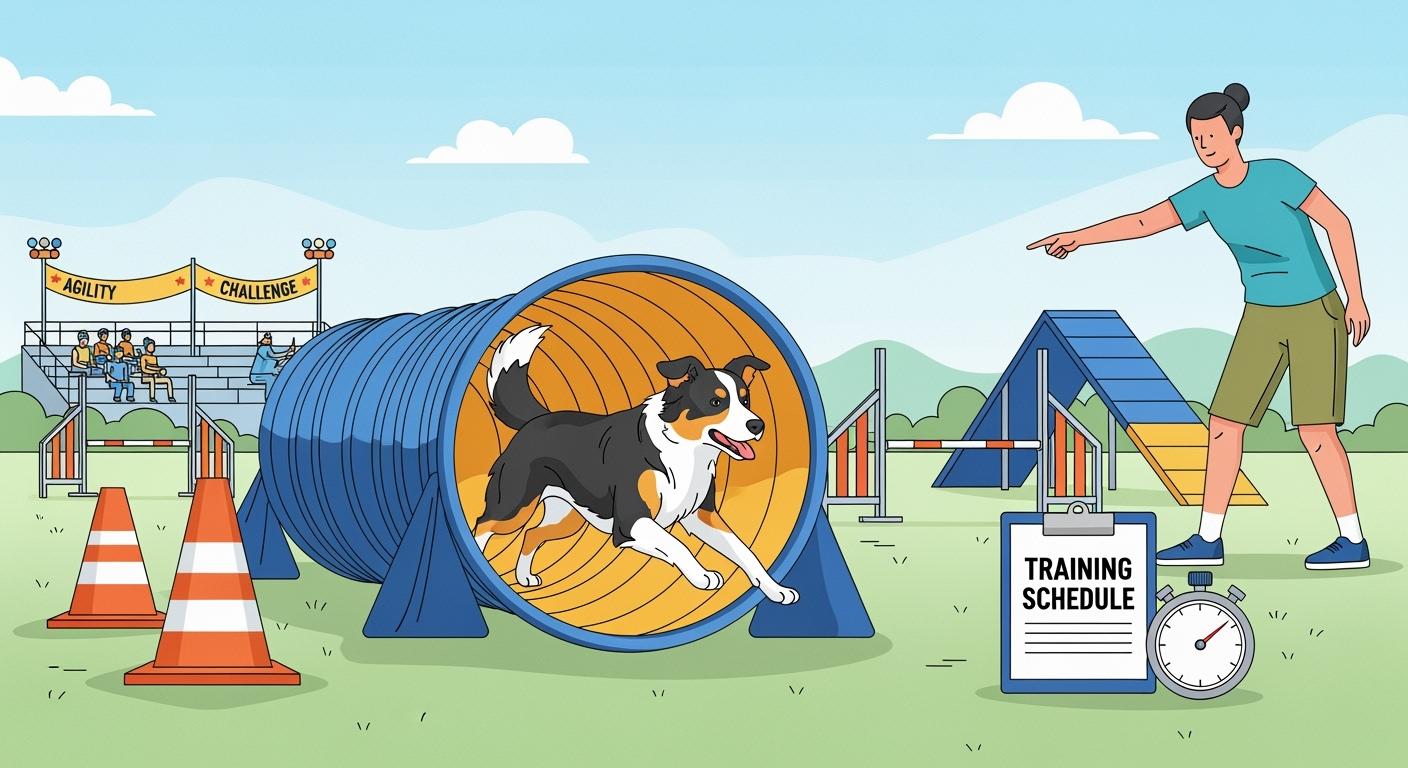
A dog agility tunnel can build speed and confidence, but only when the tunnel matches your dog, stays stable on the ground, and is introduced in a calm way. Many tunnel problems start before the first repetition: the tunnel is too noisy, the curve is too sharp, the setup slides, or the dog is pushed too fast before they understand the job.
If you are still comparing supporting gear for practice routines, browse pet training and activity gear first. Then use the checks below to choose a tunnel, set it up safely, and build confident entries before you ask for speed or trial-style handling.
Choose a tunnel that fits your dog and training stage
Start with the tunnel type, not the marketing label. A lighter tunnel can work for home practice and short beginner sessions, but it usually needs more attention to anchoring and noise control. A heavier competition-style tunnel often holds its shape better, but that does not make it the right first choice for every dog.
Before buying or setting one up, check four things:
- Diameter and usable space: your dog should be able to move through without crouching awkwardly or brushing the sides so much that they lose confidence.
- Length: shorter straight setups are better for first entries; full-length tunnels are more useful later, once the dog understands the obstacle.
- Noise and fabric feel: rattly rings and loud fabric can turn a simple tunnel into a fear trigger.
- Ground surface and location: indoor floors, damp grass, and mixed outdoor surfaces change how stable the tunnel feels.
Do not start with a tunnel if your dog is already worried by movement, enclosed spaces, or sudden noise. In that case, confidence games around the tunnel should come before any send-through work.
Set up and anchor it safely before the first repetition
A tunnel that shifts, flattens, or makes a sharp rattling sound teaches the wrong lesson fast. Before training, place it on flat ground with a clear entry and exit path. Keep the first setup straight and easy to read. Save tighter curves and more difficult approaches for later sessions.
For early sessions, think about safe setup in the same way you would plan an outdoor and adventure setup: stable footing, enough open space, and equipment that still works when the environment changes. That matters even more if you train in a yard, club field, or mixed indoor-outdoor setting.
- Anchor both ends: the tunnel should not creep forward when the dog commits to the entry.
- Check curves carefully: a curved tunnel needs extra stability because movement at the bend often causes refusals.
- Watch for slick surfaces: if the tunnel slides when nudged by hand, fix that before you ask the dog to run it.
- Inspect before every session: loose threads, bent rings, torn seams, and noisy hardware all change how safe the obstacle feels.
If the tunnel looks fine when empty but shifts once the dog enters, it is not ready yet. Reset it before repeating the exercise.
Build confident tunnel entries step by step
Confidence should come before speed. Start with a short, straight setup and make the exit easy to see. Reward curiosity first, then reward full commitment through the tunnel. Early sessions should feel predictable, not dramatic.
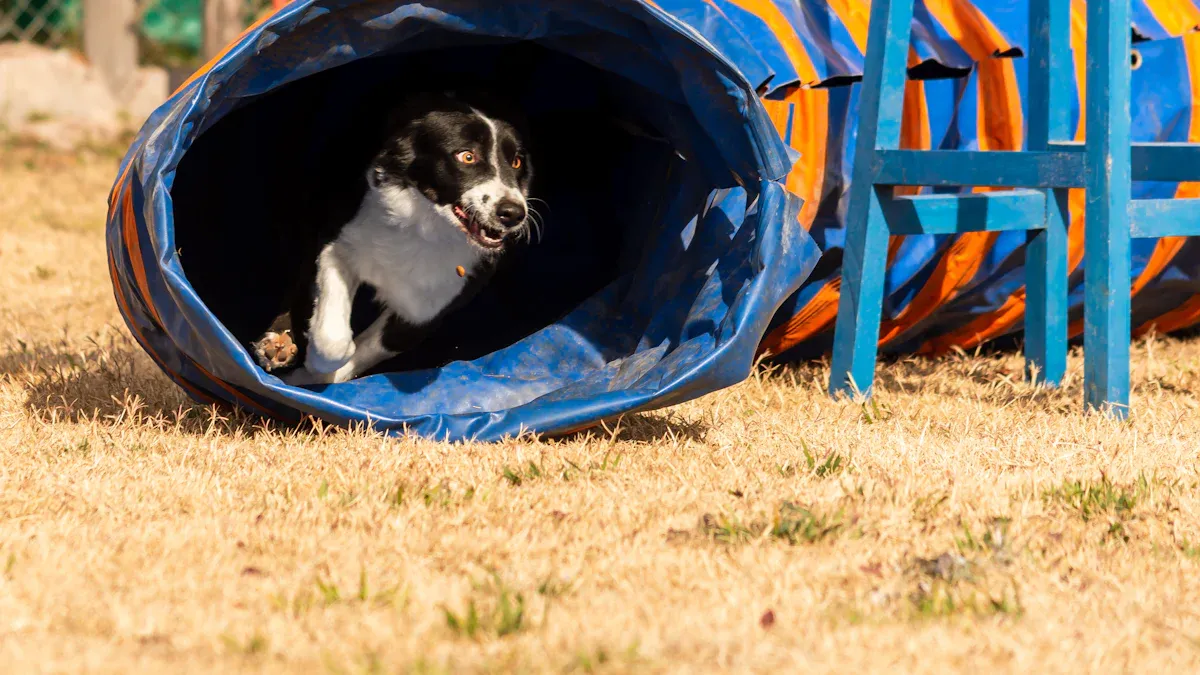
- Step 1: Let the dog inspect the tunnel. Reward looking, sniffing, and calm movement near the entrance.
- Step 2: Make the first sends easy. Keep the tunnel short or opened up, stand close to the exit, and reward the dog immediately after they come through.
- Step 3: Repeat before you increase difficulty. Ask for several easy wins before adding distance, speed, or a slight curve.
- Step 4: Change only one variable at a time. Do not add length, distance, handler motion, and a new location all in the same session.
Signs that you can progress are simple: the dog enters without stalling, exits without spinning back, and stays engaged for the next cue. If entries get sticky, go back one step rather than pushing for a cleaner run by repeating the same hard version.
Fix refusals, fear, and crooked exits before adding speed or competition pressure
Most tunnel problems have a practical cause. A refusal often means the picture is unclear, the tunnel moved, or the dog lost confidence. A slow entry often points to noise, a poor approach line, or too much handler pressure. Crooked exits and turning back usually mean the dog was advanced faster than their understanding or comfort allowed.
- If the dog refuses the entrance: shorten the tunnel, simplify the approach, and reward a straight, calm commitment.
- If the dog startles at noise: inspect the fabric, rings, and anchoring first. Then lower the difficulty until the dog relaxes again.
- If the dog exits and immediately disconnects: rebuild value at the exit with rewards, a clearer next cue, and less distance.
- If trial-style setups fall apart: add new locations, longer sends, and fuller tunnel shapes only after your easy versions stay reliable.
Competition prep should look like a cleaner version of basic training, not a different game. The dog should already understand the entry, the line, and the handler cue before you add trial-style pressure.
If the bigger issue is leash pressure, arousal control, or body handling outside the tunnel itself, work on those first with a dog training harness guide before expecting the tunnel to solve a broader handling problem.
FAQ
What kind of dog agility tunnel is best for beginners?
A quieter, easy-to-anchor tunnel is usually a better beginner choice than the lightest or longest option. The first goal is confident understanding, not maximum speed.
How do I know if the tunnel setup is unsafe?
If it shifts, collapses, rattles sharply, or changes shape when the dog enters, stop and reset it. A tunnel that feels unstable can create refusals and fear very quickly.
Should I start with a straight tunnel or a curved one?
Start straight. Straight entries are easier for the dog to read and easier for you to reward. Add gentle curves only after the dog is confidently driving through the basic setup.
Why does my dog enter the tunnel slowly even with treats?
Slow entries often come from uncertainty rather than lack of food motivation. Check for noise, movement, poor footing, or a training jump that was too large.
When is a dog ready for competition-style tunnel work?
A dog is ready when they can handle different tunnel lengths, simple curves, new locations, and clear handler cues without losing confidence or accuracy.