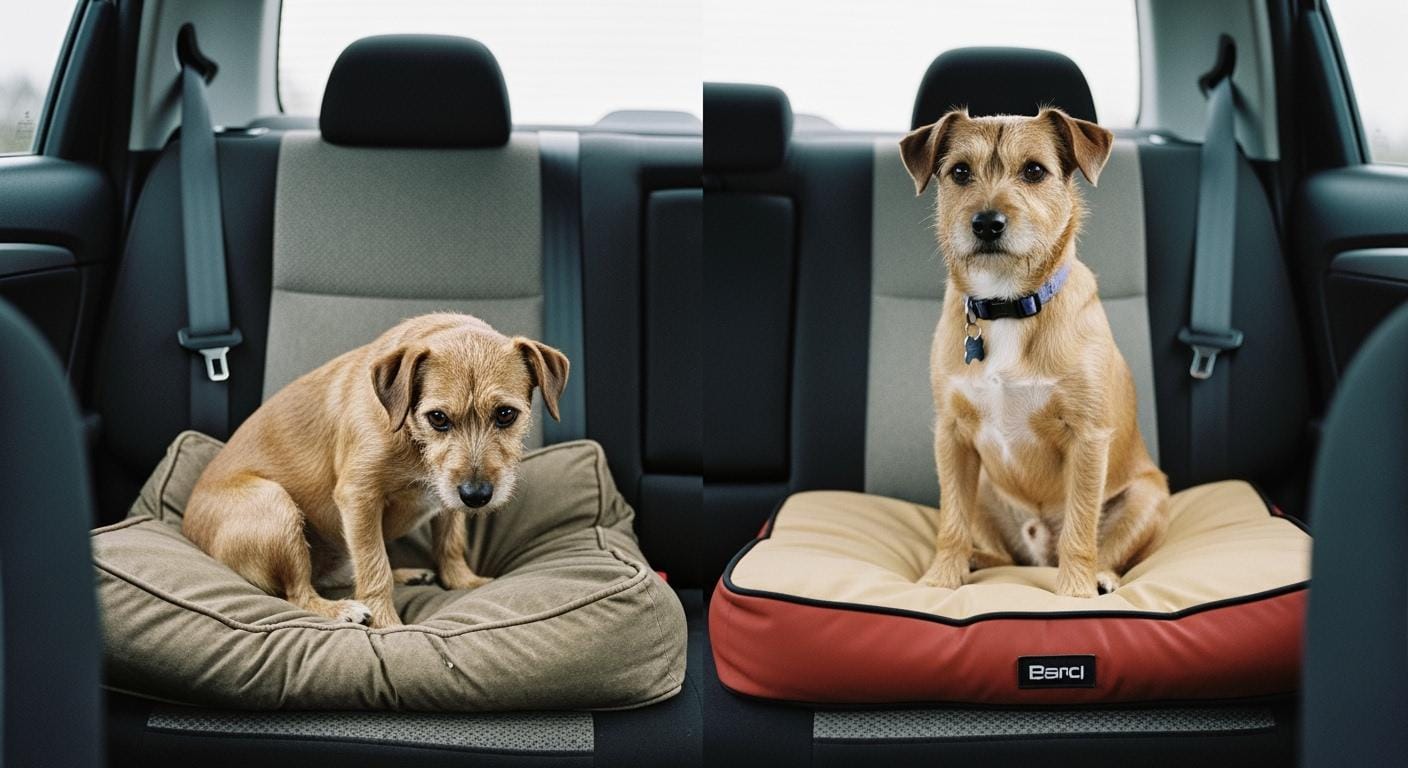
You want to keep your dog secure every time you travel. There is no one-size-fits-all tether length for a harness for car for dog. The safest approach uses the shortest possible tether that lets your dog sit and lie down comfortably. This setup protects your safety and your dog’s safety by stopping your dog from reaching the front seat or door area. Always check that the tether has minimal slack to prevent tangling. Remember, equipment helps but does not replace safe driving or supervision.
Key Takeaways
Pick the shortest tether that lets your dog sit and lie down easily. This keeps your dog safe and helps you focus on driving.
Always check if your dog can sit and lie down before each trip. Make sure the tether does not pull tight when your dog moves.
Look for tangles or extra slack in the tether. A good tether stops your dog from getting to the front seat and helps prevent injuries.
If your dog seems stressed or not comfortable, change the tether length or try other safety ways. Your dog’s comfort is very important for safe trips.
Check the harness and tether often for damage or wear. Safety gear helps, but you still need to watch your dog and drive safely.
Purpose of Harness for Car for Dog
Limiting Forward Reach for Safety
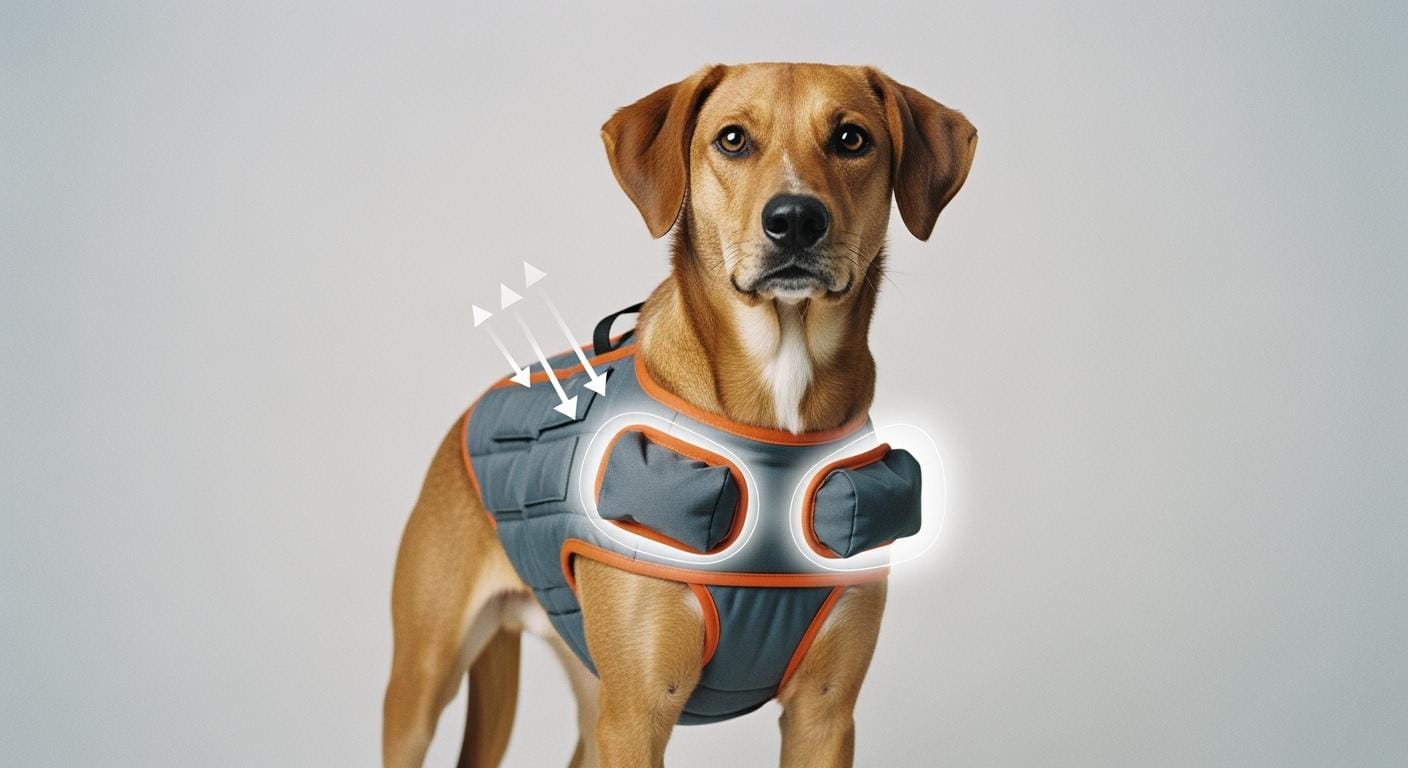
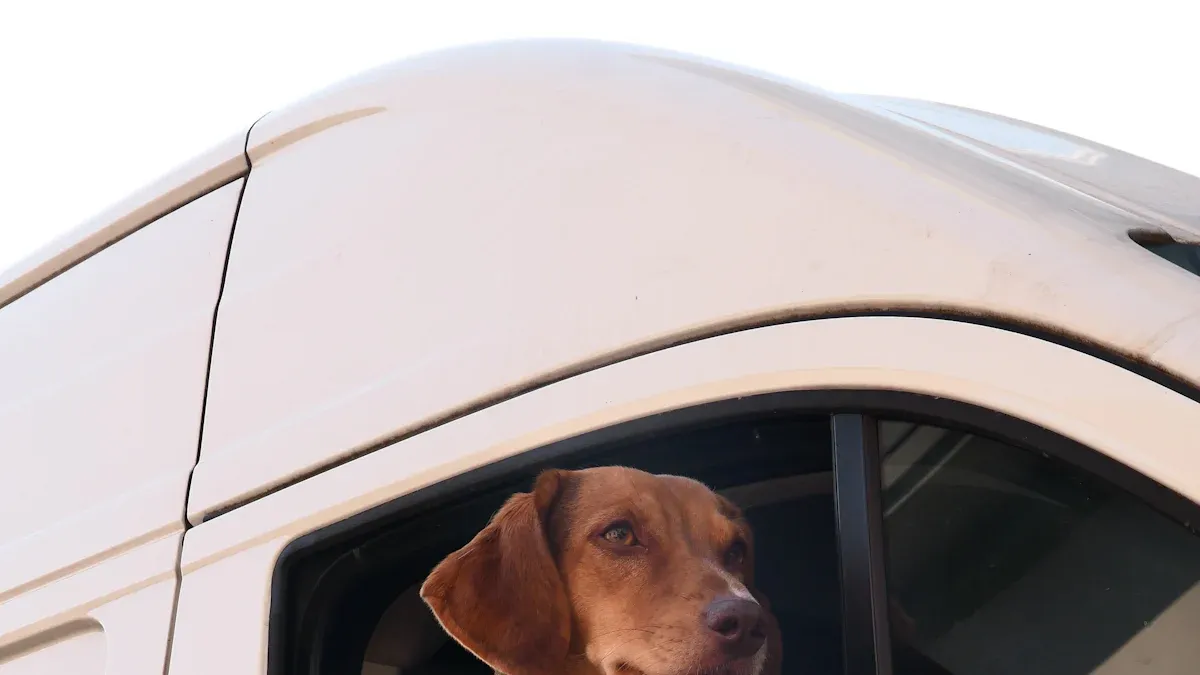
You want your dog to stay safe every time you travel. The main goal of a harness for car for dog is to limit your dog’s forward reach and keep the ride calm. When you use a harness for car for dog, you help prevent your dog from moving into the front seat or climbing around the cabin. This reduces the risk of distraction and keeps everyone safer.
Here is how a harness for car for dog compares to other restraint methods:
Feature | Harnesses | Other Restraints (e.g., Collars) |
|---|---|---|
Force Distribution | Distributes force across the body | Concentrates force on the neck |
Crash Test Certification | Yes, rigorously tested | Often not tested |
Movement Control | Reduces forward and side-to-side movement | Limited control |
Safety During Collisions | Maintains structural integrity | Higher risk of injury |
A harness for car for dog helps you control your dog’s movement and keeps your focus on the road.
Tip: Making safety part of your routine protects your dog and everyone in the vehicle.
Why Shorter Tether Is Better
You might think a longer tether gives your dog more comfort, but that is not always true. A harness for car for dog works best when you use the shortest possible tether that still lets your dog sit and lie down. Shorter tethers help limit your dog’s reach and reduce the chance of tangling.
Dogs can distract the driver by climbing into the front seat or moving around.
Unrestrained dogs can be injured or killed during a sudden stop or collision.
Allowing pets to move around can wreak havoc and even cause accidents.
A harness for car for dog with a short tether helps you avoid these risks. Always check that your dog cannot reach the front seat or door area.
When Not to Use a Tether
Sometimes, a harness for car for dog may not be the right choice. If your dog becomes very anxious or tries to chew through the harness, you may need to try a different approach. For very short trips or when your dog is not feeling well, you might want to keep your dog at home. Always watch your dog for signs of stress. Remember, equipment does not replace safe driving, supervision, or training.
Defining Safe Tether Length
Finding the right tether length for your dog in the car is a key step for safety. You want to set the tether to the shortest possible length that still lets your dog sit and lie down comfortably. This helps you limit your dog’s reach, reduce the risk of tangling, and keep everyone safe.
Sit Test for Comfort
Start by having your dog sit in the car seat with the harness attached. The tether should not pull the harness sideways or force your dog to lean. Your dog should sit naturally and relax without shifting around. If the tether becomes tight or your dog cannot sit upright, you need to lengthen it by a small step.
Begin with a length of 12 inches (30 cm).
If your dog cannot sit comfortably, increase the length by 1-2 inches (3-5 cm) at a time.
The goal is to pass the sit test: your dog sits calmly, the tether does not pull, and your dog does not fidget.
Tip: Always check the sit position before every trip. This simple test helps you spot problems early and keeps your dog’s safety as your top priority.
Lie Down Test for Relaxation
Next, ask your dog to lie down. The tether should allow your dog to rest without pulling tight or twisting the harness. If your dog cannot lie down or the tether pulls across the body, add another small step in length.
The tether should not go fully tight when your dog lies down.
Your dog should be able to relax and change position without strain.
If the tether is too short, your dog may become anxious or try to escape.
Shorter tethers are generally safer, but you must always pass both the sit and lie tests. Never skip these checks, as comfort and safety go hand in hand.
Reach and Tangle Check
Now, check if your dog can reach the front seat or door area. The tether should stop your dog from moving forward or climbing into the front. This reach limit is critical for safety. You also want to minimize slack to prevent the tether from wrapping around your dog’s legs or seat hardware.
Adjustable tethers usually range from 15 to 22 inches (38 to 56 cm).
Fixed tethers often measure 10 to 12 inches (25 to 30 cm).
Always start at 12 inches (30 cm) and adjust in 1-2 inch (3-5 cm) steps.
Here is a quick scenario:
Scenario: You set the tether too long. Your dog climbs into the front seat and distracts you while driving. This puts everyone at risk. To fix this, use the reach check. Shorten the tether until your dog cannot reach the front seat. Then, repeat the sit and lie tests to make sure your dog can still move comfortably.
Use this table to guide your checks:
Check Item | What Good Looks Like | What Failure Looks Like | What to Do |
|---|---|---|---|
Tether length | Dog can sit, stand, turn, lie down | Dog hits seat, cannot move, or roams | Adjust tether, test movement |
Strap routing | Flat, untwisted, no tangles | Twisted, tangled, dog steps over | Reroute, use anti-tangle anchor |
Pre-trip test | Dog passes sit, stand, turn, gentle pull | Dog tangles, escapes, or panics | Re-test, adjust, try acclimation |
Posture and Adjustment Table
You can use the following table to check your dog’s posture and make quick adjustments. This helps you spot common problems and fix them before you drive.
Posture | What to Look For | Common Failure Sign | What to Change |
|---|---|---|---|
Sitting | Dog sits upright, harness stays centered | Harness pulls to side, dog fidgets | Lengthen by 1-2 in (3-5 cm) |
Lying Down | Dog lies flat, tether has slight slack | Tether pulls tight, dog cannot relax | Lengthen by 1-2 in (3-5 cm) |
Reaching | Dog cannot reach front seat or door area | Dog climbs forward or stands up | Shorten by 1-2 in (3-5 cm) |
Tangle Check | Tether stays flat, no wrap around legs or hardware | Tether wraps or twists | Shorten or reroute tether |
Here is a summary of the key parameters and values you should check:
Parameter | Target Range or Option | Why It Matters |
|---|---|---|
Anchor point | Seat belt buckle or dedicated anchor | Changes geometry |
Tether length | Shortest possible within target window | Controls reach and tangles |
Adjustment step | 1-2 in (3-5 cm) | Fine tuning without overshoot |
Sit test | Pass or fail | Confirms comfort in upright position |
Lie test | Pass or fail | Confirms comfort in resting position |
Reach check | Cannot reach front or doors | Reduces distraction risk |
Tangle check | No wrap risk | Prevents leg and hardware entanglement |
Recheck timing | After first short drive | Finds issues early |
Note: Equipment helps you manage risk, but it does not replace safe driving, supervision, or training. Always check your dog’s comfort and safety before every trip.
Measuring and Adjusting the Tether
Anchor Point to Harness
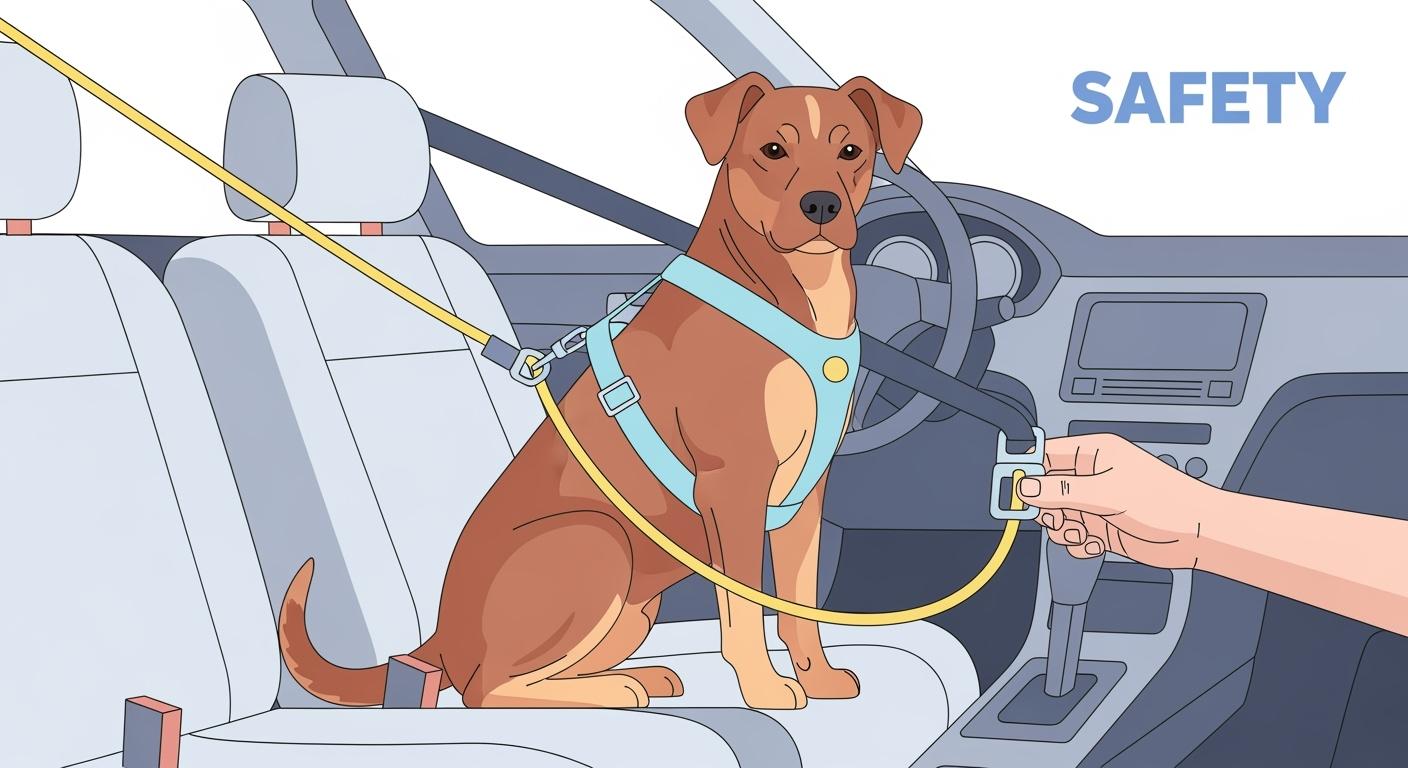
You need to connect the harness to a secure anchor point in your car. Use the seat belt buckle or a dedicated anchor for the best safety. Make sure the harness straps lie flat against your dog’s body. The chest plate should rest at the base of your dog’s neck, not across the throat. You can check the fit with the two-finger rule. Place two fingers between the harness and your dog’s chest. If you cannot fit two fingers, loosen the harness. If you can fit more than two, tighten it. Always thread the harness straps through the seatbelt system with the chest plate facing forward. This setup helps you keep your dog secure and comfortable.
Seat Location Effects
The seat location changes how the tether works. The back seat is the safest place for your dog. The anchor point position affects the angle and reach of the tether. If you use the middle seat, check that the tether does not pull sideways. Always measure from the anchor point to the harness attachment. Start with a tether length of 12 inches (30 cm). Increase by 1-2 inches (3-5 cm) if your dog cannot sit or lie down comfortably. Shorter tethers are generally safer, but you must pass both the sit and lie tests.
Preventing Entanglement
You want to prevent the tether from wrapping around your dog’s legs or the seat hardware. Use a harness system with broad, padded straps and a short tether attached at your dog’s back. Keep the tether as short as possible while allowing your dog to move naturally. If you use a crate, make sure it is sturdy, fits your dog, and is secured to the seat belt system. Place the crate lengthwise in the back seat. Avoid placing it in the crumple zone. Always check for tangles before every trip. This helps you maintain safety and comfort.
Scenario B: Your dog tries to lie down, but the tether is too short. The harness pulls tight, and your dog cannot relax. You measure from the anchor point to the harness and see the tether is only 10 inches (25 cm). You increase the length by 2 inches (5 cm), then check again. Now your dog can lie down without tension. You also check that the tether does not wrap around your dog’s legs. This adjustment improves safety and comfort.
Step-by-Step Adjustment Table
Follow these steps to measure and adjust the tether for maximum safety:
Step | Action | What to Check | Adjustment |
|---|---|---|---|
1 | Attach harness to anchor point | Harness fit (two-finger rule), chest plate position | Adjust harness straps |
2 | Set initial tether length | Start at 12 in (30 cm) | Increase by 1-2 in (3-5 cm) if needed |
3 | Sit test | Dog sits naturally, harness stays centered | Lengthen if tight, shorten if too loose |
4 | Lie test | Dog lies down without tension | Lengthen if tight |
5 | Reach check | Dog cannot reach front seat or door area | Shorten if needed |
6 | Tangle check | Tether stays flat, no wrap around legs | Reroute or shorten tether |
7 | Recheck after short drive | Comfort and safety maintained | Adjust as needed |
Here is a summary of the key parameters and values:
Parameter | Target Range or Option | Why It Matters |
|---|---|---|
Anchor point | Seat belt buckle or dedicated anchor | Changes geometry |
Tether length | Shortest possible within target window (12-22 in / 30-56 cm) | Controls reach and tangles |
Adjustment step | 1-2 in (3-5 cm) | Fine tuning without overshoot |
Sit test | Pass or fail | Confirms comfort in upright position |
Lie test | Pass or fail | Confirms comfort in resting position |
Reach check | Cannot reach front or doors | Reduces distraction risk |
Tangle check | No wrap risk | Prevents leg and hardware entanglement |
Recheck timing | After first short drive | Finds issues early |
Remember, equipment helps you manage risk, but it does not replace safe driving, supervision, or training. Always check your dog’s safety and comfort before every trip.
Installing Dog Car Seats and Harnesses
Safe Connection Points
You want to keep your dog secure every time you use dog car seats. Always connect the harness to a secure anchor point, not a collar. A harness spreads force across your dog’s body, which helps reduce injury risk during sudden stops. Collars can put pressure on your dog’s neck and may cause harm. For the best dog car seats, use these steps for safe connection:
Start with a crash-tested harness.
Attach the tether to the seat belt buckle or a dedicated anchor until it locks.
Clip the tether to the back D-ring of the harness.
Place the buckle through the back loop of the harness.
Pinch the seatbelt straps together and pull the safety strap tight.
These steps help you set up dog car seats for maximum safety.
Tip: Always double-check that the harness is secure before every trip.
Swivel vs Fixed Hardware
You can choose between swivel and fixed hardware for your dog car seats. Swivel clips let your dog turn and move more naturally. They help prevent the tether from twisting or tangling. Fixed hardware keeps the tether in one position, which can limit movement but may reduce the risk of hardware failure. For the best dog car seats, many people prefer swivel clips because they help keep the harness flat and comfortable.
Pre-Trip Gear Check
Before you drive, check your dog car seats and harness setup. Make sure everything is ready for safety and comfort. Use this quick list:
Dog seat belt or car harness: Keeps your dog secure.
Crash-tested crate or travel carrier: Adds safety for longer trips.
Car seat cover or barrier: Protects your seats and stops your dog from climbing forward.
Window shades: Keeps your dog cool during sunny drives.
Note: Equipment helps you manage risk, but it does not replace safe driving, supervision, or training.
Compatibility Checklist Table
Use this table to check if your harness and dog car seats work well together:
Check Item | Why It Matters | Quick Test |
|---|---|---|
Proper harness sizing | Ensures comfort and prevents escape | Harness fits snug, not tight |
Safety ratings | Shows the product meets safety standards | Look for trusted test results |
Installation instructions | Reduces risk of incorrect setup | Follow each step in the manual |
Tether length adjustment | Limits reach and prevents tangling | Pass sit and lie tests |
You want the best dog car seats for your pet. Always check that the harness fits well and passes all safety checks before every trip.
Acclimating Your Dog to Car Safety
Calm Home Introduction
You want your dog to feel safe before a car ride. Let your dog walk around the parked car. Put treats inside and let your dog go in slowly. Add a favorite blanket or toy to help your dog feel at home. Keep things quiet and peaceful. This helps your dog think of the car as a good place.
Practice Rides
Short practice rides help your dog get used to harnesses and tethers. Start with 5 to 10 minutes in a car that is not moving. Let your dog get in and out and give treats for calm actions. Sit with your dog while someone else drives to help your dog feel safe. Make rides longer as your dog gets more relaxed. Vets say dogs feel less stress when they feel safe and supported. This helps your dog get used to the harness and tether for future trips.
Begin with short times in the parked car.
Give treats for calm actions.
Make rides longer slowly.
Use favorite items for comfort.
Resetting When Stressed
If your dog seems stressed, stop and take a break. Put treats in the car and let your dog go in. If your dog does not want to enter, help gently and praise your dog. Let your dog eat meals in the car to make it a happy place. Turn on the engine while your dog eats. Try short rides and reward calmness. If your dog gets stressed, pause and change your plan.
Tip: Watch how your dog acts. Slow down if your dog looks worried.
Training Steps Table
Use this table to help your dog get used to the car:
Step | What to Do | Why It Matters |
|---|---|---|
1 | Let your dog explore the car with treats | Makes the car a happy place |
2 | Add favorite things and check temperature | Helps your dog feel safe |
3 | Practice short times in the parked car | Lowers fear of harness |
4 | Start short rides slowly | Teaches calm behavior |
5 | Give rewards after each ride | Builds good habits |
6 | Change plan if your dog gets stressed | Keeps safety and comfort |
Remember, always keep safety and comfort first. Equipment helps, but you still need to drive safely and watch your dog.
Troubleshooting Tether and Safety Issues
Dog Reaches Front Seat
If your dog can still reach the front seat, you need to check your setup. Dogs often try to move forward because they feel anxious or want to be near you. Sometimes, owners skip using a tether for convenience or because their dog is a service animal. You should always use the shortest possible tether that lets your dog sit and lie down. Start at 12 inches (30 cm) and increase in 1-2 inch (3-5 cm) steps only if your dog cannot pass the sit and lie tests. If your dog can reach the front seat, shorten the tether and check again.
Tip: Never let your dog ride in the front seat unless your vet says it is necessary for medical reasons.
Dog Cannot Lie Down
If your dog cannot lie down, check the tether length and harness fit. Make sure the tether is not too short. Do a quick audit of your setup. Look for signs of wear on the harness and tether. Confirm that you connect the tether to a secure anchor point, such as the seat belt buckle or headrest. Your dog should have enough space to sit and lie down without the tether pulling tight. If your dog still struggles, try short, positive training sessions to help your dog get used to the restraint.
Tether Tangles or Pulls Tight
Tether tangling or pulling tight can cause stress or discomfort. Use a harness with broad straps and a tether that connects to a stable anchor point. Swivel clips can help prevent twisting. Always check that the tether stays flat and does not wrap around your dog’s legs or seat hardware. A quality dog car seat cover with a hard bottom can also help keep your dog stable.
Note: If your dog shows pain, fear, breathing problems, vomiting, or struggles to escape, stop using the harness and consult your vet before your next trip.
Troubleshooting Table
Problem | Likely Cause | Quick Fix | Next Step |
|---|---|---|---|
Dog reaches front seat | Tether too long, anchor too far | Shorten tether by 1-2 in (3-5 cm) | Repeat sit and lie tests |
Dog cannot lie down | Tether too short, harness too tight | Lengthen tether by 1-2 in (3-5 cm) | Check harness fit and anchor |
Tether tangles or twists | Too much slack, fixed hardware | Shorten tether, use swivel clip if possible | Check for flat strap each trip |
Dog panics or struggles | Anxiety, poor fit, not acclimated | Pause trip, calm dog, check fit | Try short, positive sessions |
Harness pulls sideways | Anchor off-center, tether twisted | Reroute tether, check anchor position | Test with dog sitting naturally |
You should always prioritize safety and comfort. If you see any signs of distress, stop and seek advice from your vet. Equipment helps reduce risk, but it does not replace safe driving, supervision, or training.
Retail and OEM/ODM Notes
Clear Listing Copy for Tether Length
You want easy-to-read info when you shop for a dog car harness or tether. Product listings should show key facts in a simple table. This makes it easier to compare choices and know what you are buying. Look for these things in the listing:
Feature | Details |
|---|---|
Hook Material | Steel |
Hook Type | Carabiner |
Cable Material | Polypropylene |
Load Rating | 10 lb (4.5 kg) |
Relaxed Length | 32 in (81.3 cm) |
Stretched Length | 60 in (152.4 cm) |
Weight | 3.5 oz (100 g) |
Warnings | Check for damage before each use. Do not use for people. Maximum safe weight is 10 lbs. Never connect more than 5 lbs. to a person. Keep away from moving machines. Tether can stretch to 5 feet. Make sure cinch stays tight. Always clip carabiner to anchor. Do not attach tether to itself. Do not tie knots in the tether. |
You should also look for these product features:
Strong closures
Built-in tether spots
Tough materials
Extra pockets for storage
Bright colors for safety
Spec Checklist for Retailers
If you sell dog car harnesses or tethers, you need to check important specs before selling them. Use this table to help you review:
Specification Type | Details |
|---|---|
Construction Materials | Aircraft-grade aluminum buckles, strong nylon webbing |
Safety Certifications | Passes tough tests from trusted pet safety groups |
Size Coverage and Weight Limits | Fits dogs from 10 to 108 lb (4.5 to 49 kg) |
Energy Absorption Components | Has parts that soak up impact energy |
Attachment Engineering | Metal parts made for car use |
Comfort Features | Breathable fabrics, straps you can adjust |
Always make sure the product passes both the sit and lie tests before you recommend it.
Support Script for Customers
When customers ask about harnesses or tethers, you can use this script to help them pick the right one:
Ask about their dog’s size and weight.
Tell them the safest way is to use the shortest tether that lets the dog sit and lie down.
Remind them to check that the dog cannot reach the front seat or doors.
Suggest starting with a 12 in (30 cm) tether and changing by 1-2 in (3-5 cm) if needed.
Advise them to check the harness and tether for damage before every trip.
Remind them that gear helps lower risk but does not replace careful driving or watching their dog.
OEM and ODM Explainer
You may see OEM and ODM when you look for custom harness makers. OEM means Original Equipment Manufacturer. This company builds products using your own design and details. You get to pick the design and features. ODM means Original Design Manufacturer. This company has ready-made designs you can change with your brand. You get a faster answer with less work. Both choices help you sell new harnesses, but you should pick the one that fits your needs best.
You should always set the tether to the shortest possible length that lets your dog sit and lie down comfortably. Make sure your dog cannot reach the front seat or door area. Shorter tethers, usually 12-22 in (30-56 cm), are generally safer, but always check with the sit and lie tests.
Quick Checklist for Safe Tether Use:
Start at 12 in (30 cm), adjust in 1-2 in (3-5 cm) steps
Pass both sit and lie tests
Check for tangles and slack
Recheck after each trip
Remember, equipment helps reduce risk, but you must drive safely and supervise your dog.
FAQ
How do I know if my dog’s seatbelt is adjusted correctly?
You should check that your dog can sit and lie down in the seat without the seatbelt pulling tight. The restraint must pass both the sit and lie tests. Always recheck after each trip and before using dog car booster seats.
Why is a shorter seatbelt safer for my dog?
A shorter seatbelt keeps your dog from reaching the front seat. This reduces distraction and lowers risk. You must always use the shortest possible restraint that passes the sit and lie tests. Shorter tethers help prevent tangling and improve safety testing results.
Can I use a regular seatbelt for my dog?
You should not use a regular seatbelt for your dog. Use a harness designed for dogs with a tested restraint. This setup spreads force across your dog’s body and improves safety testing outcomes. Always check the seat and anchor point before each trip.
What should I do if my dog gets tangled in the seatbelt?
If your dog gets tangled, stop and check the seatbelt and restraint. Make sure the seatbelt is flat and not twisted. Use a swivel clip if possible. Always pass the sit and lie tests during testing. Supervise your dog during every trip.
How often should I check my dog’s seatbelt and restraint?
You should check your dog’s seatbelt, restraint, and seat before every trip. Look for wear or damage. Repeat the sit and lie tests as part of your safety testing routine. Equipment helps, but you must drive safely and supervise your dog at all times.