Most dogs push back against the carry dog bike setup when you rush or miss their signals. You can train your dog by using slow, positive steps that build trust. Watch for relaxed body language and reward calm behavior. “Go slow, watch your dog’s signals, and make every step rewarding.” Always use safe equipment and stop if your dog shows pain, fear, or heavy panting. If your dog strongly resists, go back to an easier step and never force the process.
Key Takeaways
Train your dog slowly and in a happy way. Give treats to help your dog trust you and look for calm body signs. Watch for stress in your dog. If your dog looks scared or upset, stop training and make things easier. Pick the right carrier for your dog’s size. Make sure it is steady and your dog can sit or lie down easily. Always use a safety harness, not a collar. The right fit keeps your dog safe and helps stop injuries. Practice for only 3-5 minutes at a time. Make things harder only when your dog stays calm.
What Acceptance Means in Carry Dog Bike Training
Tolerance vs Comfort vs Confidence
Your dog should feel safe in the carrier before riding. Tolerance means your dog stays inside but may feel nervous. Comfort is when your dog relaxes and settles down. Your dog recovers fast from small movements. Confidence is when your dog enters calmly and seems curious or happy. Acceptance means your dog goes in calmly, stays relaxed, and recovers quickly. Look for these signs before you move to the next step.
Common Triggers: Movement, Noise, Balance, Handling
Dogs can react to sudden movement or loud sounds. Unsteady balance can also bother them. Rough handling or quick changes can scare your dog. You might see freezing, shaking, frantic pawing, or escape tries. Hard staring or refusing treats are also stress signs. Stress sign cues show your dog feels worried. Stability cue means the carrier stays level and does not sway much. If you see stress signs, stop and check for noise or rough handling.
Tip: Change how you think. If your dog struggles, they feel overwhelmed, not stubborn. Help your dog like you would a worried friend. Speak softly and make things feel safe.
When to Pause and Simplify the Setup
You need to know when your dog is ready or needs a break. Use the progress rule: move forward after three calm tries in a row. If you see stress signs, go back one step next time. Act fast if your dog looks uncomfortable. If your dog freezes, stop and loosen the leash. Talk to your dog in a calm voice. Give your dog a break after stress. Stay away from busy places and pick quiet activities for a ‘cortisol holiday.’ Never force your dog if you see pain, fear, heavy panting, vomiting, skin problems, or refusal to move. Stop and ask a vet for help if needed.
Cue Type | What to Look For |
|---|---|
Acceptance Cue | Calm entry, relaxed posture, quick recovery |
Stress Sign Cue | Freezing, shaking, pawing, escape attempts, refusal |
Stability Cue | Carrier stays level, minimal sway during movement |
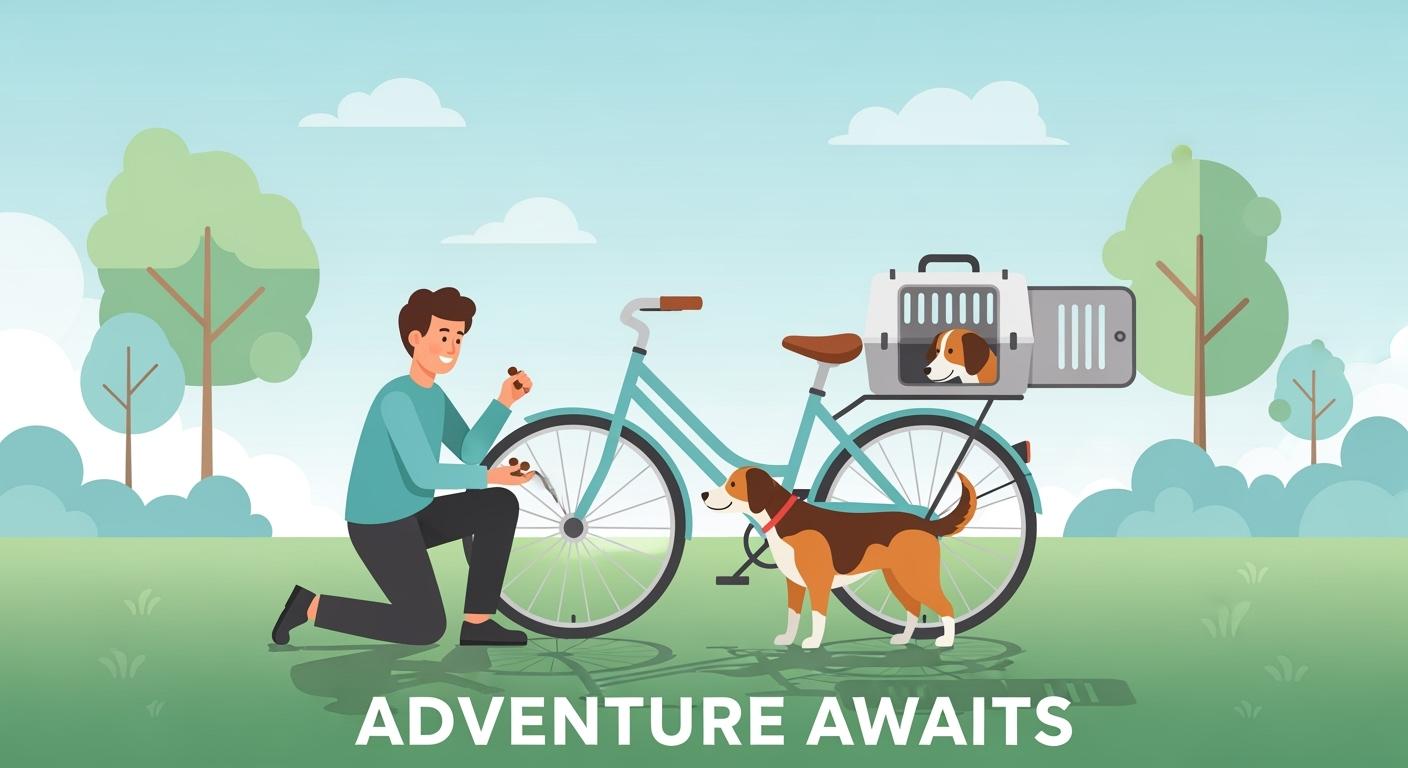
Choosing the Best Carry Style for Your Dog
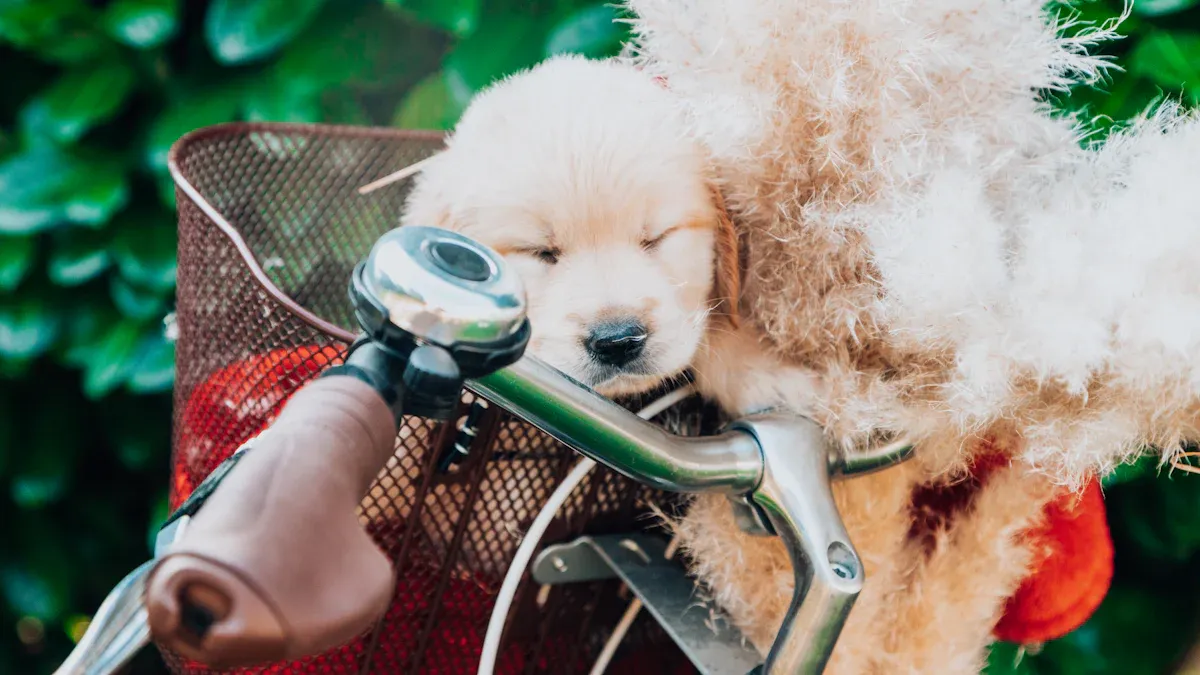
Basket, Backpack, and Trailer Styles
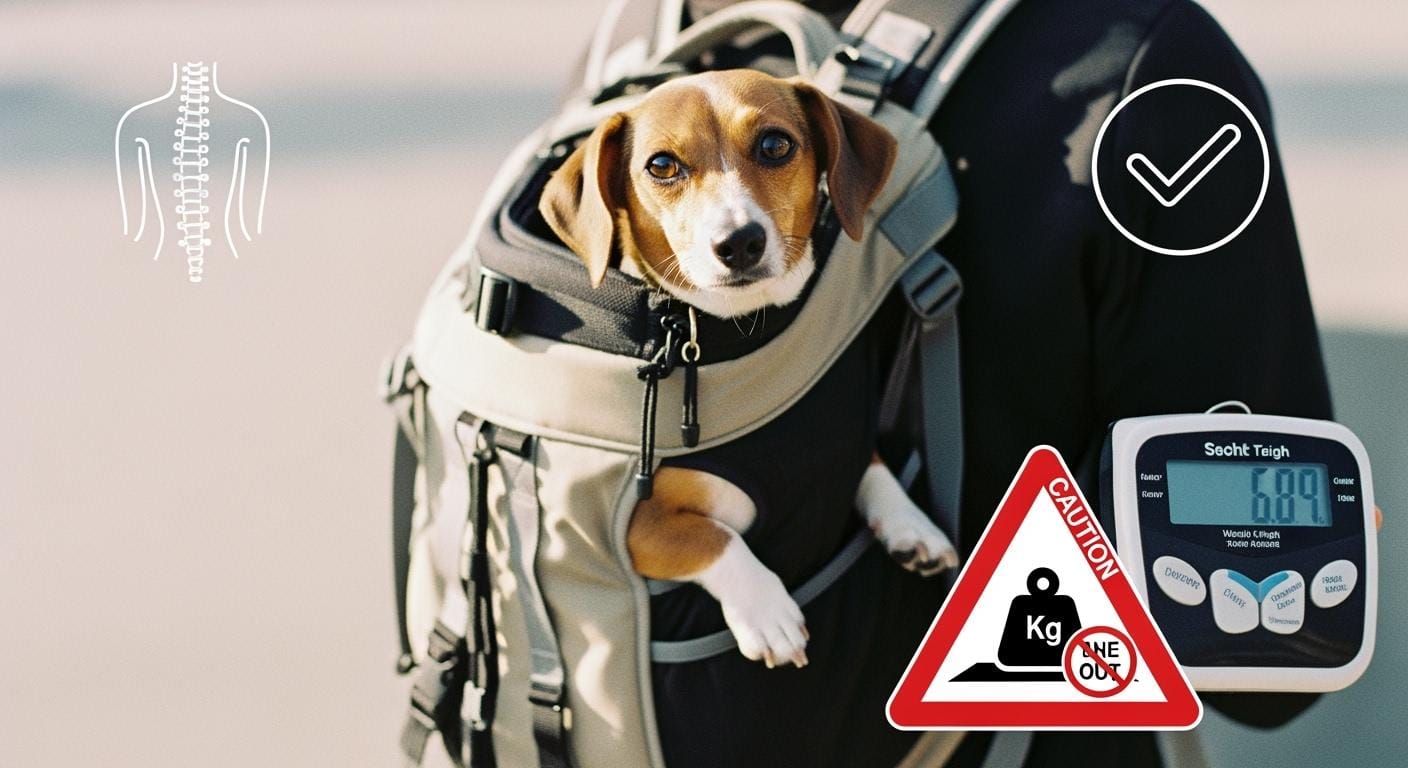
There are different ways to carry your dog on a bike. Basket carriers are good for small dogs under 20 lb (9 kg). Backpack carriers work for dogs under 15 lb (7 kg) and keep your dog close to you. Trailer carriers are best for bigger dogs up to 50 lb (23 kg). Trailers give your dog more room to move. Always check the weight and size limits before you buy. Make sure your dog can sit or lie down without feeling squished.
Safety tip: Stop right away if your dog looks scared, in pain, pants a lot, or will not move. Talk to a veterinarian if this happens. Never push your dog into a carrier.
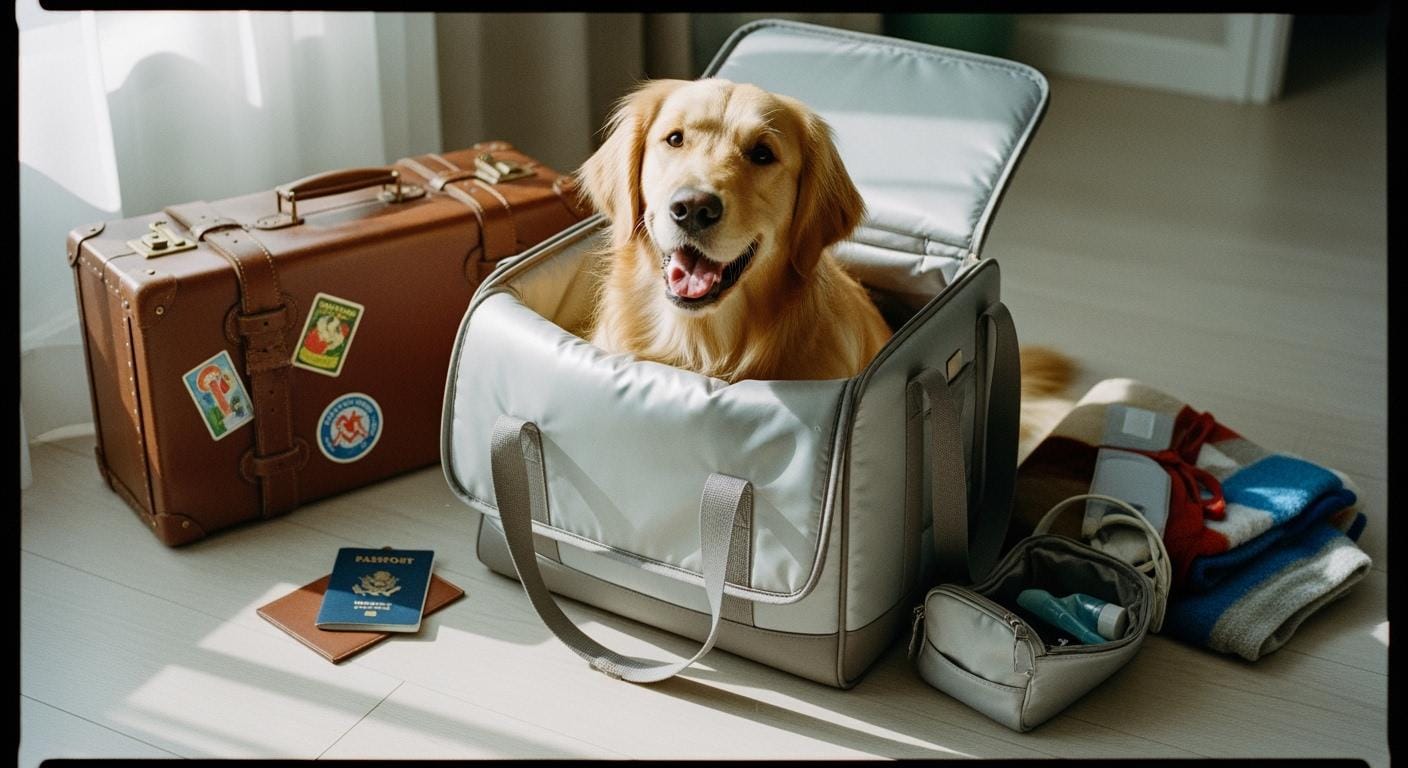
Structured vs Soft Carriers and Stability
Structured carriers are made from hard plastic. They give strong support and help stop escapes. These carriers feel safe but are heavier and block some views. Soft-sided carriers are light and easy to carry. They are good for short rides and calm dogs. Soft carriers can be wobbly and may not work for dogs who chew or scratch. Use the table below to see the good and bad sides:
Carrier Type | Pros | Cons |
|---|---|---|
Rigid Plastic Carrier | Very safe, hard to escape | Heavy, hard to see out |
Good privacy and keeps heat in | Needs lots of storage space | |
Soft-Sided Kennel | Light and easy to move | Not safe if left alone |
Comfy for short trips | Can be chewed or ripped | |
Fits under seats | Gets hot with poor airflow |
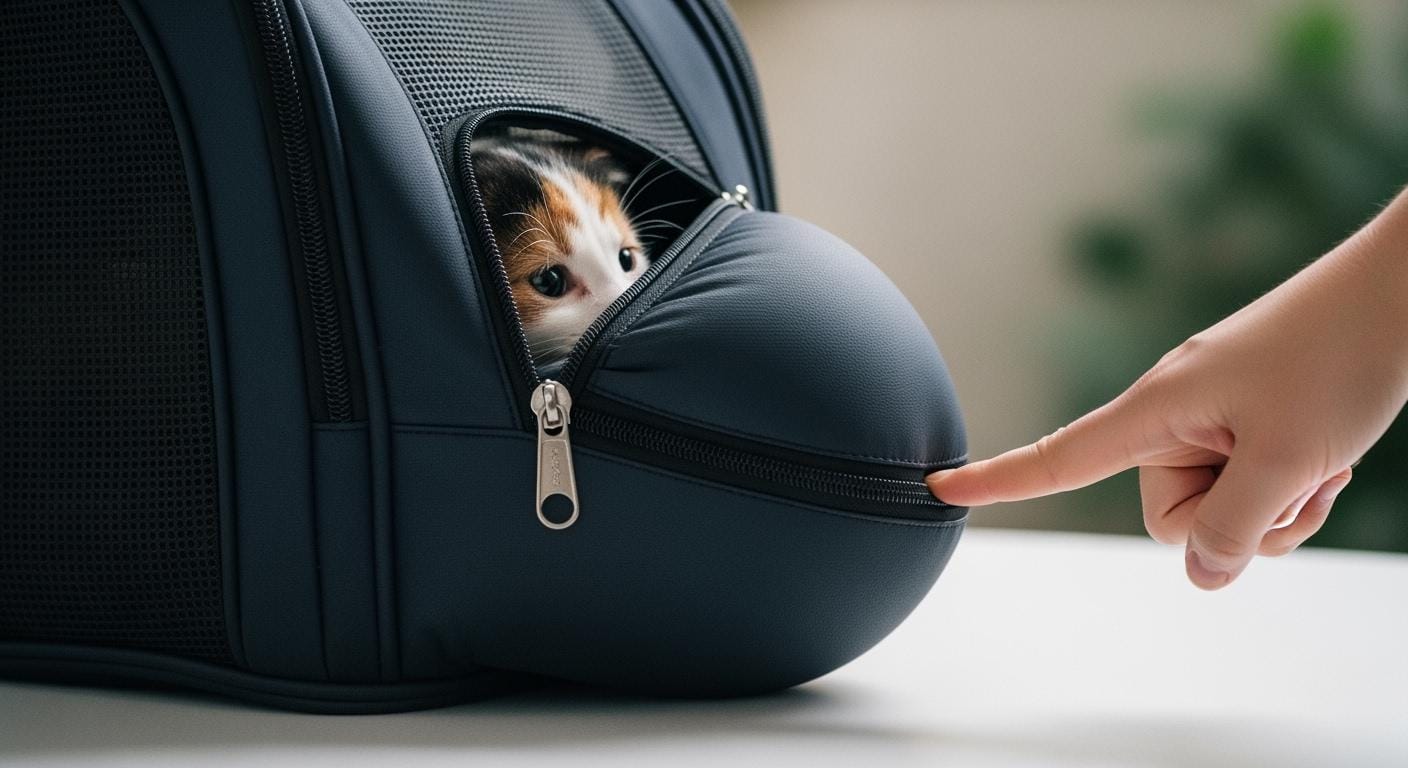
Ventilation, Entry, and Visibility to Reduce Stress
Pick carriers with big openings for easy entry and exit. Good airflow keeps your dog cool and happy. Clear panels or mesh windows help your dog see out and feel less worried. Doing the same entry and exit steps each time helps your dog feel safe. Always check for rough spots that could rub your dog and fix them before you start training.
Comparison Table: Carry Style, Learning Cue, Best For, Watch-Outs
Carry Style | Learning Cue | Best For | Watch-Outs |
|---|---|---|---|
Basket | Calm entry, stable | Small dogs | Sways, open sides |
Backpack | Close contact, secure | Tiny or shy dogs | Gets hot, tight space |
Trailer | Spacious, level ride | Medium-large dogs | Steps to get in, sways |
Note: The right training and gear can help your dog feel better and safer. These tips do not promise perfect behavior. If your dog has a hard time, go back to an easier step.
Fit and Safety Basics to Safely Carry Your Dog

Harness Fit and Collar Risks
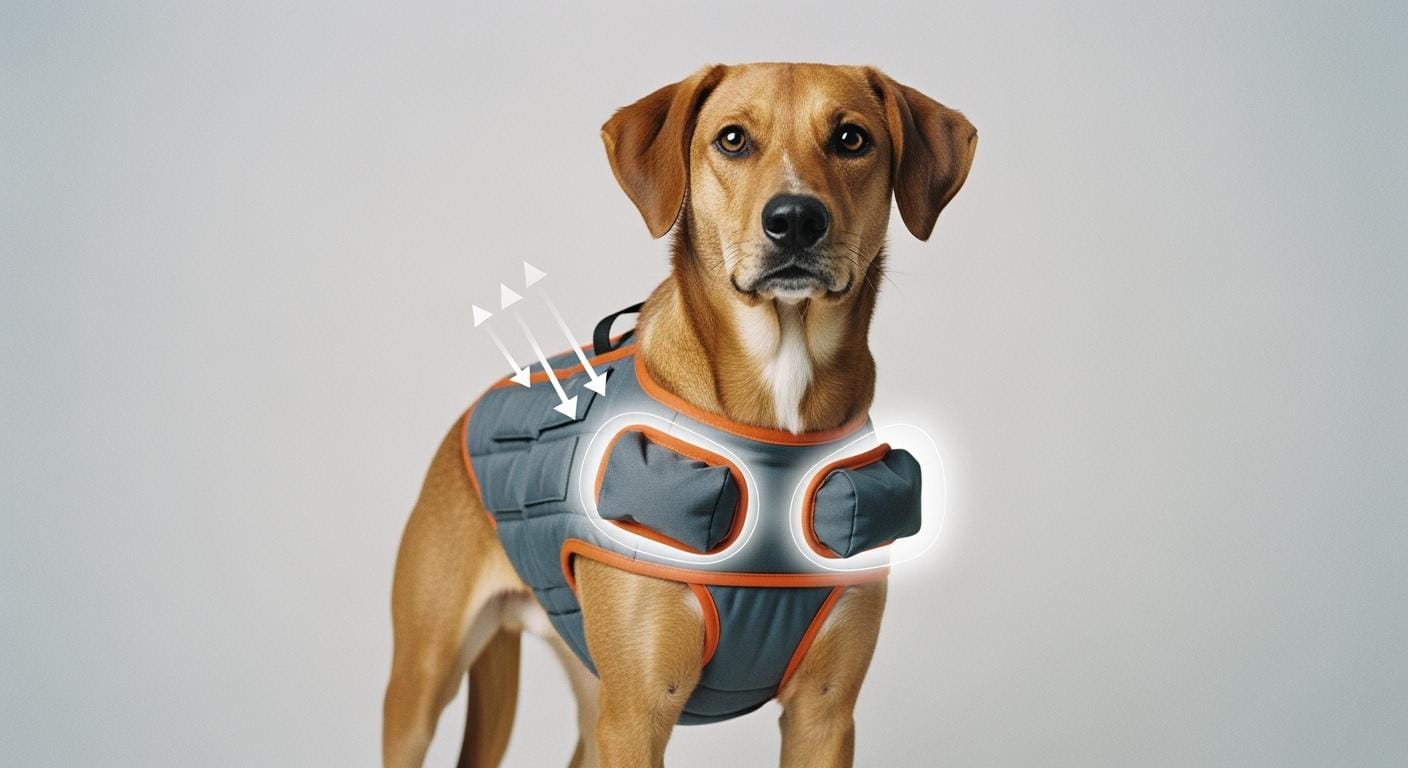
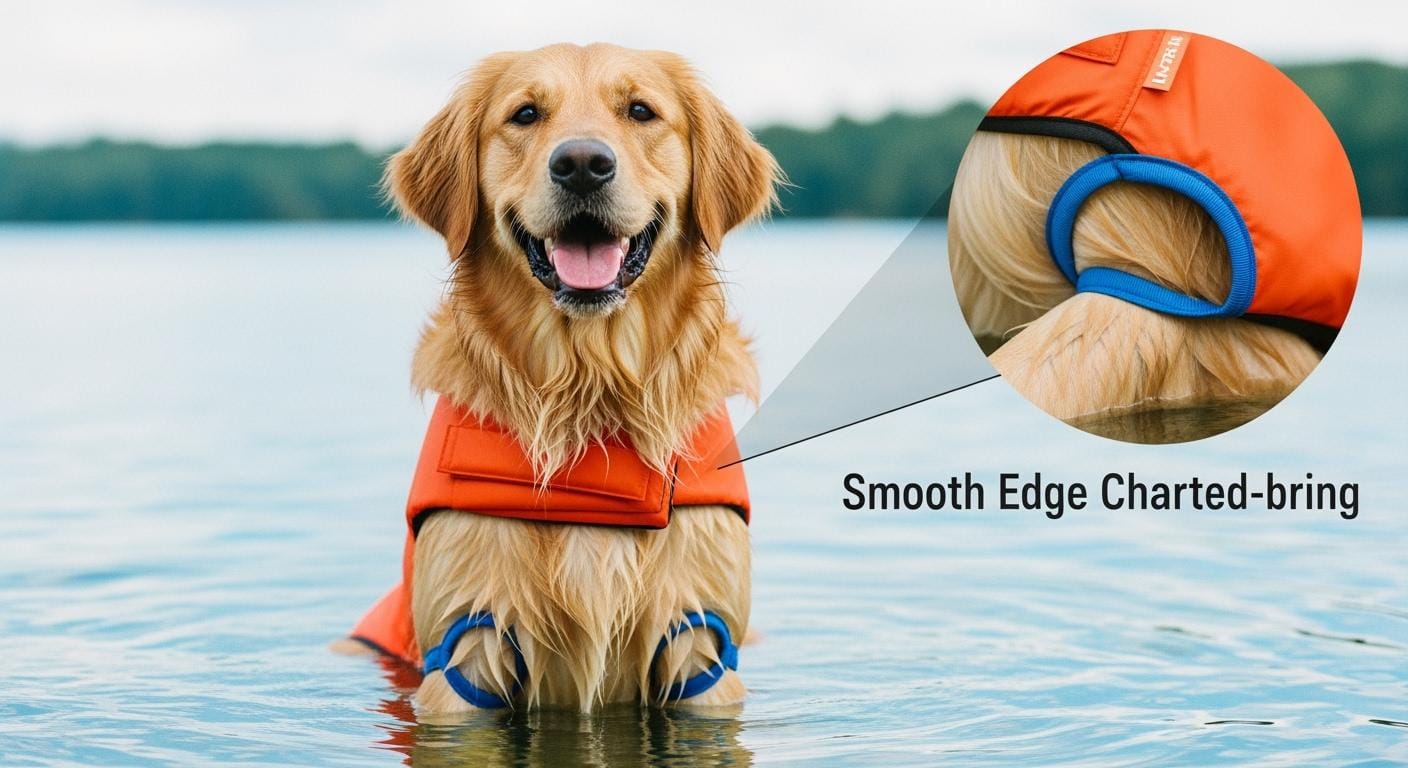
You need to use a safety harness when you train your dog for bike rides. A harness supports your dog’s chest and shoulders. It spreads pressure and lowers the risk of neck injury. Never attach the tether to a collar alone. Collars can choke or hurt your dog if they pull or move suddenly. Check that the harness fits snugly but does not pinch. You should be able to fit two fingers between the harness and your dog’s body. Look for a safety harness with strong buckles and wide straps. Always check for signs of rubbing or discomfort before each session.
Tether Length and Tangling Prevention
A short tether helps you safely carry your dog. The tether should be long enough for your dog to sit or lie down in a natural position. It should be short enough to prevent jumping out. For most dogs, a tether length of 12-18 in (30-45 cm) works well. Make sure the tether does not wrap around your dog’s legs or body. Check the tether before every ride. If you see tangling or stress, stop and fix the setup. A tangled tether can cause panic or injury.
Contact Points and Rubbing Issues
Contact points are where the harness, carrier, and tether touch your dog. You must check these spots for rubbing or pressure. Rubbing can cause skin problems or pain. Use padding or adjust the harness to protect these areas. If you see redness, swelling, or hair loss, stop training and let your dog rest. Fix all rubbing issues before you continue. Your dog’s comfort is key to safety and progress.
Safety tip: If your dog shows pain, fear, heavy panting, vomiting, skin irritation, or refuses to move, stop right away. Go back to a simpler stage or ask a veterinarian for help. Do not force your dog to continue.
Parameter and Value Table: Fit, Safety, Comfort, Stability, Entry/Exit, Cleaning
Parameter | Target Range or Option | Why It Matters |
|---|---|---|
Carry style | basket, backpack, trailer style | Changes learning triggers |
Stability | level carry, minimal sway | Reduces fear response |
Entry method | wide opening, predictable entry | Improves acceptance |
Harness use | harness for tethering | Reduces neck risk |
Tether control | short enough to prevent jumping | Reduces escape attempts |
Contact points | no rubbing zones | Prevents setbacks |
Training cadence | 3-5 minutes, 2-3 per day | Keeps sessions positive |
Progress rule | 3 calm successes then advance | Prevents rushing |
Reset rule | drop back 1 stage if stressed | Protects confidence |
You can safely carry your dog when you use the right safety harness, keep the tether at a safe length, and check contact points often. Good safety habits help your dog feel comfortable and stable. Always watch for signs of stress and adjust your setup as needed.
Step-by-Step Training Plan to Train Your Dog
You want your dog to feel safe in the carrier before riding. This plan uses rewards and short practice times to help your dog feel better. Each step gets your dog ready for the puppy bike carrier and carrying dog on bicycle. Practice for 3-5 minutes, two or three times a day. Move to the next step after your dog is calm three times in a row. If you see stress, go back one step next time.
Stage 1: Carrier as a Safe Place at Home
Start by putting the carrier in a quiet room. Put treats, toys, or a soft blanket inside. Let your dog check out the carrier when they want. Do not close the door or push your dog inside. Give a reward when your dog steps in or sniffs the puppy bike carrier. Watch for a relaxed body and a gentle tail wag. If your dog freezes or will not take treats, stop and make the carrier nicer.
Setup:
Put the carrier on the floor.
Add a favorite blanket or toy.
Keep the door open.
Success Sign:
Dog walks into the carrier calmly.
Dog relaxes inside for 30 seconds or more.
What to Change:
If your dog stays away, add more treats or use a softer blanket.
If your dog looks stressed, move the carrier to a quieter place.
Tips: Always use rewards. Do not rush this part. Making it fun now helps later.
Scenario A:
Your dog sniffs the carrier, goes inside, and lies down. You praise and give a treat. This means your dog feels good and safe.
Scenario B:
Your dog walks around the carrier but does not go in. You toss treats near the door and wait. You do not push your dog inside.
Stage 2: Stationary Bike Exposure
Put the carrier on your bike while it does not move. Let your dog look at and sniff the setup. Give a reward when your dog goes near or enters the puppy bike carrier. Sit by the bike and talk softly. Do not move the bike yet. Watch for signs your dog feels okay. If your dog looks stressed, take the carrier off and try again later.
Setup:
Attach the carrier to the still bike.
Keep the bike in a quiet spot.
Success Sign:
Dog goes into the carrier on the bike and relaxes.
Dog lets you pet them gently while inside.
What to Change:
If your dog is unsure, take the carrier off and practice on the floor.
If your dog looks stressed, make the session shorter.
Stage 3: Tiny Movements and Smooth Rollouts
Start with small movements. Gently rock the bike or roll it a few inches. Give a reward for calm behavior. Watch for comfort and quick recovery after moving. Repeat this step a few times. If your dog looks stressed, stop and go back to just sitting still.
Setup:
Attach the carrier and harness.
Roll the bike forward and back a few inches.
Success Sign:
Dog stays calm when the bike moves.
Dog feels better quickly if surprised.
What to Change:
If your dog gets tense, move less or stop.
If your dog looks stressed, go back to just sitting still.
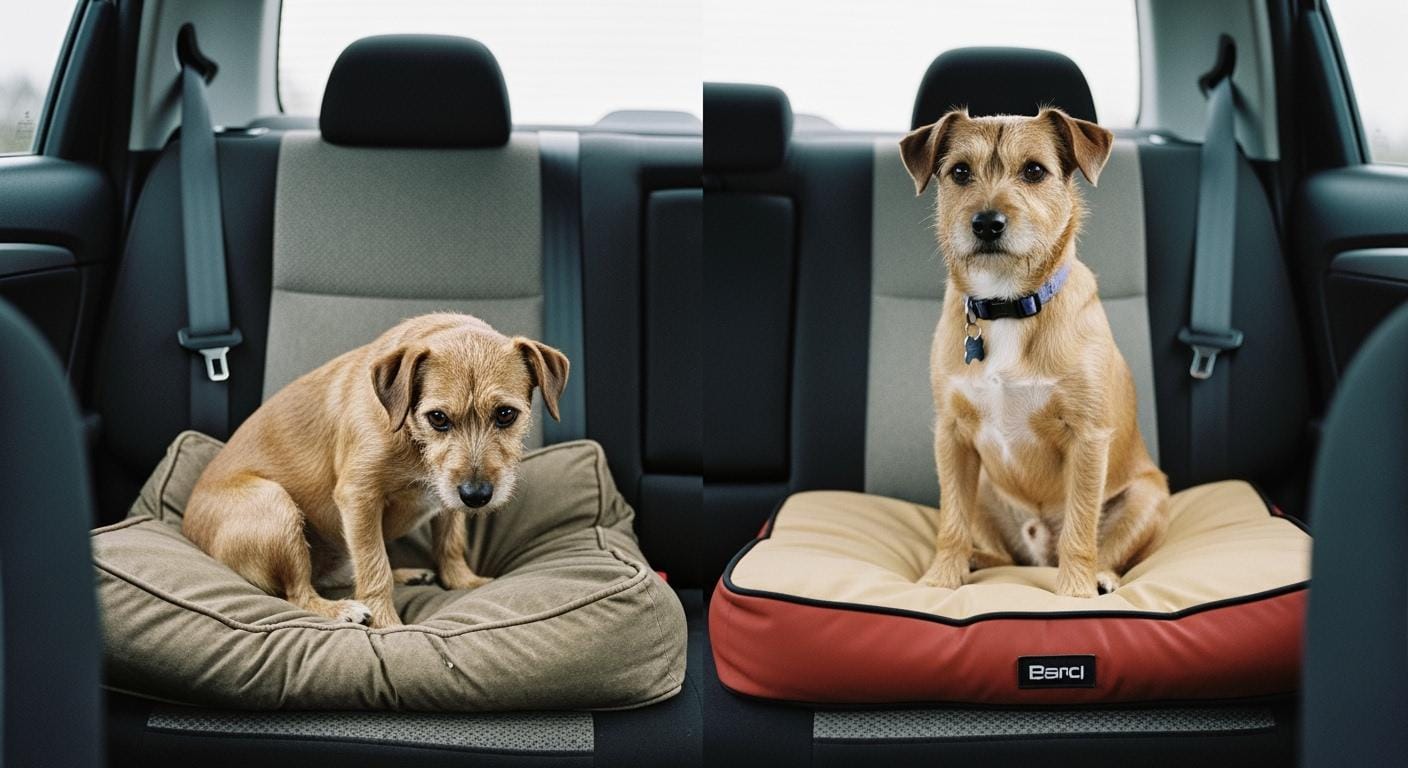
Stage 4: Short Controlled Practice Routes
Try short rides in a safe, quiet place. Keep the puppy bike carrier steady and flat. Give rewards for calm behavior. Watch for comfort and confidence. Only ride for a few minutes. If your dog looks stressed, stop and go back to small movements.
Setup:
Ride slowly for one or two minutes.
Stay in a quiet place with few things going on.
Success Sign:
Dog stays calm and relaxed during the ride.
Dog looks around and seems interested.
What to Change:
If your dog pants or shakes, make the ride shorter.
If your dog looks stressed, go back to tiny rollouts.
Note: Good training and the right gear can help your dog feel better. If your dog has pain, fear, pants hard, throws up, has skin problems, or will not move, stop and ask a vet. If your dog fights hard, do not force or keep going. Go back to an easier step.
Training Plan Table: Stage, Goal, Setup, Success Sign, What to Change
Stage | Goal | Setup | Success Sign | What to Change |
|---|---|---|---|---|
1 | Comfort in carrier | Carrier on floor, open door | Calm entry, relaxed posture | Add treats, move to quiet spot |
2 | Carrier on stationary bike | Carrier attached, bike still | Calm entry, relaxed inside | Practice on floor, shorten session |
3 | Accept tiny movements | Gentle rollouts, secure harness | Calm during movement, quick recovery | Reduce movement, return to stage 2 |
4 | Short test rides | Slow ride, stable carrier | Calm, interested in surroundings | Shorten ride, return to stage 3 |
Building your dog’s confidence for the moving bike takes time. Use rewards and keep practice short. The puppy bike carrier should always feel safe and comfy. Making each step fun helps your dog enjoy carrying dog on bicycle.
Readiness Checklist Before Your First Real Ride
You want your dog to feel safe and confident before you start a real bike ride. Use this pre-ride safety checklist to make sure you and your dog are ready. You need to check your dog’s behavior, your equipment, and your planned route. Each part helps you spot problems early and keep your dog comfortable.
Behavior Readiness Cues
Look for signs that your dog feels calm and relaxed. The acceptance cue means your dog enters the carrier calmly, stays relaxed, and recovers quickly from small movement. Your dog should show interest in the carrier and not freeze or shake. If your dog refuses treats, tries to escape, or pants heavily, stop and go back to an easier step. You want your dog to show a gentle tail wag, soft eyes, and a steady posture.
Your dog enters the carrier without help.
Your dog settles inside and looks around.
Your dog recovers quickly after small movements.
Your dog takes treats and responds to your voice.
Tip: If your dog shows stress signs like freezing, shaking, or escape attempts, do not continue. Go back to a simpler stage and try again later.
Equipment Readiness Cues
Check your carrier, harness, and tether before every ride. The stability cue means the carrier stays level with minimal sway during movement. The harness should fit snugly but not pinch. The tether should be short enough to prevent jumping out but long enough for your dog to sit or lie down. For most dogs, a tether length of 12-18 in (30-45 cm) works well. Make sure there are no rubbing points or sharp edges inside the carrier. Test the carrier by gently rocking it to see if it stays stable.
Carrier is secure and does not wobble.
Harness fits well and does not rub.
Tether is the right length for your dog’s size.
Carrier has good airflow and a wide opening.
Safety Alert: If you see pain, fear, heavy panting, vomiting, skin irritation, or refusal to move, stop and consult a veterinarian. Do not force your dog to continue.
Route Readiness Cues
Pick a quiet, safe route for your first ride. Avoid busy streets, loud noises, or rough terrain. The path should be smooth and free of sudden bumps. Plan a short ride, just a few minutes long. Make sure you can stop quickly if your dog shows stress. Check the weather and avoid extreme heat or cold.
Route is quiet and has little traffic.
Path is smooth and easy to ride.
You can stop and return home quickly.
Weather is safe for your dog.
Note: Good planning helps your dog feel safe. If your dog struggles, shorten the route or try again another day.
Checklist Table: Check, Pass Sign, If Not Pass Then Do This
Use this checklist before every ride. If you do not see the pass sign, follow the advice in the last column.
Check | Pass Sign | If Not Pass Then Do This |
|---|---|---|
Dog enters carrier | Calm entry, relaxed posture | Add treats, practice at home |
Dog recovers quickly | Quick recovery after small movement | Go back to tiny rollouts |
Carrier stability | Carrier stays level, minimal sway | Adjust carrier, check bike setup |
Harness fit | Snug fit, no rubbing | Adjust harness, check for pressure spots |
Tether length | Dog sits or lies down, cannot jump out | Shorten or lengthen tether |
Route safety | Quiet, smooth, easy to stop | Pick a safer, shorter route |
Dog takes treats | Eats treats, responds to voice | Pause, try again later |
Reminder: This checklist helps you spot problems before you ride. Correct training and good equipment can improve comfort and stability, but do not guarantee behavior. If your dog strongly resists, do not force or continue. Go back to a simpler stage and keep your dog safe.
Troubleshooting Common Dog Training Problems
Training your dog for a bike carrier setup can bring up challenges. You may see stress sign cues such as freezing, shaking, frantic pawing, escape attempts, hard staring, or refusal to take treats. These signs mean your dog feels worried or unsafe. You need to spot these problems early and adjust your training plan.
Freezing, Shaking, Refusing Entry
Your dog may freeze or shake when near the carrier. Refusing to enter often means fear or discomfort. You should pause training and make the carrier more inviting. Add treats, toys, or a soft blanket. Practice in a quiet room. If your dog still refuses, go back to the previous stage.
Pawing, Chewing, Escape Attempts
Pawing or chewing at the carrier or harness shows stress. Escape attempts can happen if your dog feels trapped. Check for rubbing spots or tight harness straps. Make sure the carrier is stable and does not sway. Use short sessions and reward calm behavior.
Panting, Drooling, Over-Arousal
Panting or drooling can mean your dog feels anxious. Over-arousal may show as frantic movement or barking. Stop the session if you see these signs. Give your dog a break and try again later. Always watch for pain, fear, or refusal to move.
Safety tip: If your dog shows pain, fear, heavy panting, vomiting, skin irritation, or will not move, stop training. Consult a veterinarian. Do not force your dog to continue.
Troubleshooting Table: Problem, Likely Cause, Quick Fix, Next Step
Problem | Likely Cause | Quick Fix | Next Step |
|---|---|---|---|
Freezing, shaking | Fear, new setup | Add treats, slow down | Go back one stage |
Refusing entry | Carrier feels unsafe | Make carrier inviting | Practice at home |
Pawing, chewing | Stress, discomfort | Check harness, add padding | Shorter sessions |
Escape attempts | Overwhelm, instability | Stabilize carrier | Reduce movement |
Panting, drooling | Anxiety, heat | Stop, give water | Try again later |
Scenario A:
Your dog freezes and refuses treats when you place them in the carrier. You stop the session, add a soft blanket, and practice in a quieter room. Next time, your dog enters calmly.
Scenario B:
Your dog paws at the harness and tries to jump out during a short ride. You check for rubbing spots, adjust the harness, and shorten the session. Your dog relaxes after these changes.
Common Mistakes Table
Mistake | How to Fix |
|---|---|
Rushing steps | Use shorter sessions |
Ignoring stress signs | Pause and reset stage |
Using collar only | Switch to harness |
Skipping safety checks | Check gear each time |
You can help your dog feel safer by watching for stress sign cues and making changes quickly. Correct training and suitable equipment can improve comfort and stability, but do not guarantee behavior. If your dog strongly resists, do not force or proceed. Go back to a simpler stage and keep your dog safe.
Retail and Wholesale Notes for Carry Dog Bike Products
Listing Copy for Training Steps and Setup Checks
When you write about dog bike carriers, show how simple training can be. Give clear steps for getting your dog used to the carrier. Remind people to check the harness fit and practice in short sessions. Use phrases like “Start with short, positive training sessions.” Say, “Check harness and tether fit before each ride.” Tell buyers to watch for stress signs in their dog. Remind them to stop if their dog looks uncomfortable.
Spec Checklist: Stability, Anchor Points, Padding, Entry, Cleaning
Retailers and wholesalers should focus on these important features for dog bike carriers:
Stability: The carrier should stay flat and not move much.
Anchor Points: The carrier must attach tightly to the bike.
Padding: Soft padding keeps your dog safe from rubbing.
Entry: Big openings help your dog get in and out easily.
Cleaning: Removable liners and washable parts keep things clean.
Feature | Description |
|---|---|
Versatility | Changes from a bike trailer to a stroller for different uses. |
Ease of Installation | Sets up fast so you can use it right away. |
Multi-Functional | Good for outdoor trips and as a trim table at dog shows. |
Secure Gear Storage | Holds your things safely while you travel with your dog. |
Support Script: Style, Fit, Training, Readiness
When you help customers, talk about style, fit, training, and readiness. Ask about their dog’s size and how their dog acts. Suggest the best carrier style for their dog. Remind them to use a harness and check the tether length. Tell them to look for rubbing spots. Encourage short training times and reward calm actions. Tell them to look for acceptance cues before going on a real ride.
Safety tip: If your dog shows pain, fear, pants hard, throws up, has skin problems, or will not move, stop and ask a vet. If your dog fights hard, do not force or keep going. Go back to an easier step.
OEM and ODM Explained
OEM stands for Original Equipment Manufacturer. ODM stands for Original Design Manufacturer. These are companies that make or design dog bike carriers for other brands. Stores can work with OEM or ODM partners to get special features or their own brand name.
You can make your dog feel safe with short, fun training. Be patient and give rewards for calm actions. Look for signs your dog feels good and sure. Celebrate every small success with your dog. Always check for safety and stop if you see pain or fear. Good training and gear help your dog feel better, but do not promise perfect behavior. Have safe and happy rides together.
FAQ
How do I know if my dog is ready for a real bike ride?
You should see your dog enter the bike carrier calmly, relax inside, and recover quickly from small movements. If your dog shows stress, such as freezing or shaking, pause training and return to an easier step before you try a ride.
What is the safest way to attach my dog to the bike carrier?
Always use a properly fitted harness for tethering your dog inside the bike carrier. Avoid using a collar alone. The harness should fit snugly, with two fingers between the straps and your dog’s body, and prevent jumping out during the ride.
How long should each training session last when preparing for a carry dog bike setup?
Keep each training session short, about 3-5 minutes. Practice two or three times a day. This helps your dog stay positive and comfortable with the bike, the bike carrier, and the bicycle before you attempt a longer ride.
What should I do if my dog refuses to enter the bike carrier?
If your dog refuses entry, add treats, toys, or a soft blanket to make the bike carrier more inviting. Practice near the bicycle in a quiet area. Never force your dog. If stress signs appear, stop and try again later with a simpler setup.
Can I use any route for my first bicycle ride with my dog?
Choose a quiet, smooth route for your first ride. Avoid busy streets, loud noises, and rough terrain. Plan a short ride and watch your dog’s signals. If your dog shows discomfort, stop immediately and return home using the bike.
Safety tip: If your dog shows pain, fear, heavy panting, vomiting, skin irritation, or refuses to move, stop and consult a veterinarian. Do not force your dog to continue. Correct training and suitable equipment can improve comfort and stability but do not guarantee behavior.