A dog seat belt can look simple, but compatibility problems are one of the main reasons a setup feels wrong the moment you try to use it. The issue is usually not that the strap is broken. It is that the buckle style does not match the car, the tether length is wrong for the seat position, or the restraint is being clipped to the wrong part of the dog’s gear. A better choice starts with clear compatibility notes and a few practical checks before the first drive.
This is easiest when you compare the seat belt as part of your wider car travel setup instead of treating it like a universal add-on that will work the same way in every vehicle.
What dog seat belt compatibility really means
Compatibility is not just whether the metal piece clicks into the buckle. It also includes whether the release button stays usable, whether the tether length keeps your dog in a safer position, and whether the restraint works with a properly fitted harness. A setup can “fit” in the most basic sense and still be a bad match once the dog starts moving.
The main parts that must work together
- The car connection point, whether that is a buckle-in style or a seat-belt-loop style.
- The harness attachment point on the dog.
- The tether length and how much movement it allows.
- The seat position where the dog will actually ride.
Why “fits most cars” is not enough on its own
Cars differ in buckle receiver shape, buckle stalk length, seat layout, and the amount of space around the release button. Even when the product works in many vehicles, the real question is whether it works cleanly in yours without blocking the release, sitting at an odd angle, or letting the tether twist. This is one reason a calmer travel routine matters so much: a stable install and the same seat position every trip make problems easier to spot early.
Quick rule: if you cannot confirm a clean click, easy release, and controlled movement range before driving, the setup is not truly compatible yet.
How to check buckle style, harness use, and release-button clearance
The best pre-check starts with identifying what kind of dog seat belt you have. Most are either buckle-in styles or seat-belt-loop styles. Each needs a slightly different compatibility check.
Buckle-in style
This style uses a metal tongue that inserts into the vehicle’s buckle receiver. The most important checks are whether it clicks in securely, whether it releases normally, and whether the hardware crowds or blocks the release button.
Seat-belt-loop style
This style wraps around the vehicle’s seat-belt webbing instead of inserting into the buckle. The key question here is whether the loop sits cleanly on the webbing and stays positioned without slipping or twisting under load.
| Check point | What good looks like | What needs fixing |
|---|---|---|
| Click engagement | Buckle-in style locks fully with a clear click | Loose fit, partial insertion, or uncertain engagement |
| Release button access | Button stays easy to press without obstruction | Hardware blocks the button or sits too close to it |
| Loop hold | Seat-belt-loop style stays in place on the webbing | Loop slides, twists, or changes position easily |
| Harness connection | Tether clips to a stable harness point | Clipped to a collar or weak attachment area |
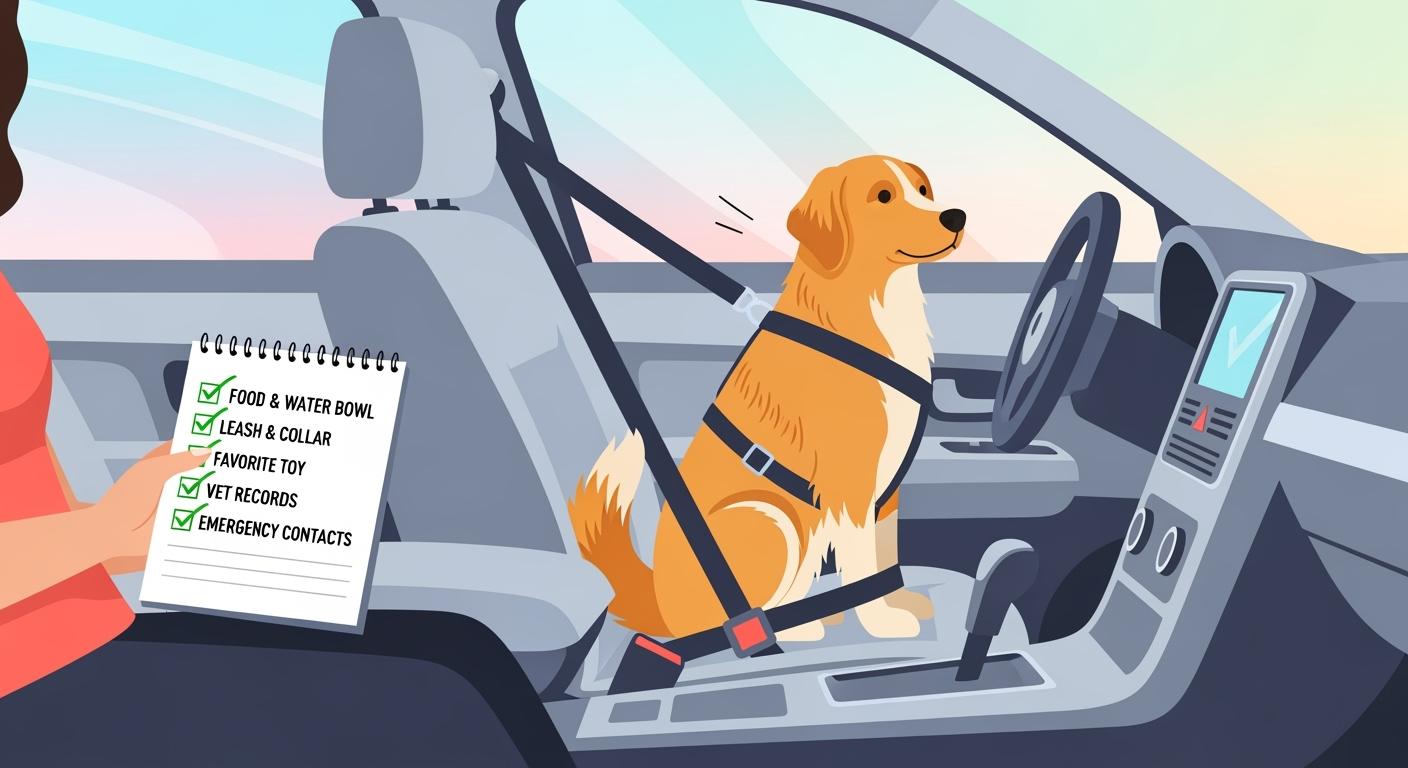
Always use it with a harness, not a collar
A dog seat belt should connect to a properly fitted harness, not to a collar. If the harness fit is uncertain, it is worth checking a broader guide to harness sizing and use cases before relying on the restraint during a real drive.
A better pre-drive test and the most common compatibility mistakes
The easiest way to avoid a frustrating install is to test everything in the parked car before your dog is fully settled for a trip. This only takes a minute or two, but it catches most problems before they turn into a stressful ride.
Use this quick pre-drive routine
- Attach the seat belt to the car using the correct buckle-in or loop method.
- Check that the buckle clicks fully or the loop sits securely on the seat-belt webbing.
- Press the release button once to confirm it is still easy to access.
- Clip the tether to the dog’s harness.
- Adjust the length so your dog can sit or lie down, but cannot reach the front seat or cross too far across the rear bench.
- Watch for twisting, tangling, or awkward pull angles before the car starts moving.
Common mistakes that cause returns or unsafe use
- Assuming buckle-in style means every car buckle will fit the same way.
- Ignoring release-button interference.
- Using too much tether length because it “looks more comfortable.”
- Clipping to a collar instead of a harness.
- Changing seats or installation method every trip and never noticing what is actually working.
When compatibility is still not good enough
If the tether still twists badly, the buckle does not sit cleanly, the dog keeps reaching unsafe areas, or the harness shifts out of place, the setup is not ready just because one part technically connected. In those cases, it is better to pause and fix the weak point than to keep hoping the next ride will feel better.
FAQ
How do I know if a dog seat belt is compatible with my car?
Check whether the buckle-in tongue clicks in fully or whether the loop sits securely on the seat-belt webbing, then confirm the release button stays usable and the tether length keeps your dog in a safer rear-seat position.
What is the difference between buckle-in and seat-belt-loop styles?
Buckle-in styles insert into the car’s buckle receiver. Seat-belt-loop styles wrap around the seat-belt webbing instead. They solve the same problem differently, so the compatibility checks are not exactly the same.
Can I attach a dog seat belt to a collar?
No. A dog seat belt should attach to a properly fitted harness, not a collar, so sudden force is not concentrated on the neck.
Why does the setup feel wrong even though the buckle clicks in?
A clean click only confirms one part of compatibility. The setup can still be wrong if the release button is blocked, the tether is too long, the angle twists badly, or the harness fit is poor.
What is the most common compatibility mistake?
One of the most common mistakes is assuming a broad “fits most cars” claim means it will automatically work cleanly with your exact buckle shape, seat layout, and harness setup.