A large dog harness can look strong but still fail when the dog pulls forward. The most common problems are twisting, side shift, and rubbing near the armpits when the chest panel is too narrow or the straps sit in the wrong place. A better large dog harness needs stable chest coverage, controlled strap position, and hardware that keeps the harness centered during real walks.
If you are still comparing styles, start with a dog harness collection that shows different body shapes, adjustment layouts, and attachment points. That makes it easier to compare what will sit flatter on a deep chest, what offers better control on stronger dogs, and what may add unnecessary bulk.
How to choose a large dog harness that stays stable
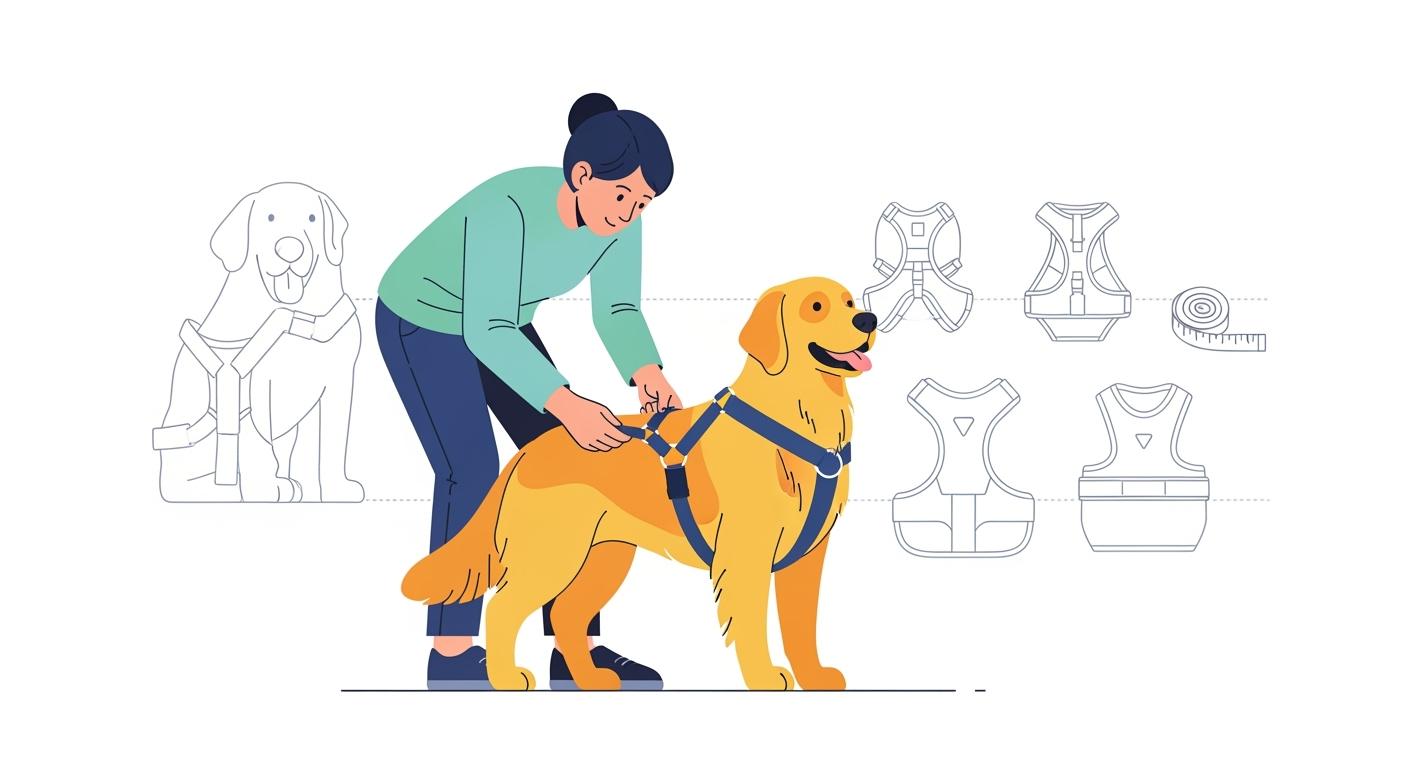
The first question is not whether the harness is labeled large or extra large. The real question is whether the chest panel, strap path, and adjustment range match your dog’s body shape. Broad shoulders, a deep rib cage, or a narrow waist can all change how a harness settles once the dog starts moving.
A good large-dog fit usually sits low enough on the chest to avoid the throat, high enough behind the front legs to reduce rubbing, and evenly enough across both sides that the harness does not twist under leash pressure. If one side needs much more adjustment than the other, the harness may not match your dog’s shape even if the size technically fits.
Look closely at where the leash attachment sits. A back clip can feel simpler for calm walkers, while a front connection may help reduce pulling leverage for some dogs when it is fitted well. Padding can improve comfort, but only if it does not create stiff, bulky edges that trap heat or bunch into the armpits. For a broader comparison of shapes, clip positions, and materials, see this best dog harness guide.
Measure before you buy, then fit on the dog instead of on the label
Large dogs are the fastest way to discover why guessing from a size label does not work. Measure the lower neck where a collar normally sits, then measure the widest part of the chest just behind the front legs. Those numbers matter more than breed guesses or general size names.
Once the harness is on, check that you can slide two fingers under the straps without having extra looseness that lets the harness roll. The chest area should sit flat rather than floating away from the body, and the straps should stay symmetrical instead of pulling off-center. Ask your dog to stand, sit, and walk a few steps. A harness that looks fine in one pose may shift badly in another.
Pay special attention to these common large-dog fit problems:
- The front panel rises toward the throat when the dog leans forward.
- The side straps cut too close behind the front legs and rub after only a short walk.
- The back section rotates so the top handle or leash ring does not stay centered.
- The harness fits on the widest setting only, leaving no room for seasonal coat change or fine adjustment.
Strength and construction checks matter more on stronger dogs
On a large dog, weak points show up quickly. That does not mean you need the stiffest or heaviest harness possible. It means every load-bearing part should feel consistent and well matched to the dog’s size. Check the stitching where straps meet the chest panel, the adjusters that hold strap length, and the leash attachment point that takes repeated pulling force.
Webbing should lie flat without fuzzy abrasion on a new product. Buckles should close cleanly without feeling loose or uneven. Metal hardware should not have sharp seams or rough edges that can catch fur or skin. If the top handle is part of the design, it should be easy to grab in brief control moments without standing so high that it snags or bounces during normal walking.
Construction also affects comfort. Some large-dog harnesses look strong but become tiring because the chest piece is too stiff, the edge binding is abrasive, or the padding holds heat. A harness only helps if the dog can move naturally while wearing it. Stiffness that limits shoulder extension can turn a stable-looking fit into a frustrating one.
Do a short walk check before you trust it on a longer outing
Before using the harness for a full walk, try a short indoor or driveway test. Watch from the side and from above if possible. You are looking for drift, rubbing, and changes in posture, not just whether the harness stays on.
Stop after a few minutes and inspect the coat under the straps. Early redness, flattened fur in a harsh line, or repeated scratching can signal a pressure problem long before the harness looks obviously wrong. If the harness slides backward, tighten in small steps and recheck symmetry on both sides rather than over-tightening one strap.
A leash setup matters here too. The way the leash clips, the overall length, and the amount of slack all affect how stable the harness feels once the dog moves. This dog harness and leash set guide helps you match harness fit with a leash setup that feels steadier and easier to manage on daily walks.
Retire or replace the harness if you notice cracked buckles, slipping adjusters that will not hold position, frayed webbing at the high-stress points, or repeated rubbing that does not improve after careful refitting. Large dogs put more demand on every part of the system, so small wear signs should not be ignored for long.
FAQ
How tight should a large dog harness be?
It should feel snug enough to stay stable without twisting, but not so tight that it digs into the coat or leaves pressure marks. The two-finger check is a useful starting point, but movement matters more than the number alone.
Is a heavier harness always better for a large dog?
No. Extra bulk can add heat, stiffness, and rubbing. A better choice is a harness with balanced construction, secure hardware, and enough structure for control without limiting natural movement.
Why does the harness look centered indoors but shift on walks?
Movement exposes fit problems that static checks miss. Uneven strap adjustment, a chest shape mismatch, or too much slack around the rib cage can all let the harness rotate once leash tension appears.
Should a large dog use a collar or a harness for walks?
That depends on the dog and the route, but many owners prefer a harness when they need broader pressure distribution and more body control. A well-fitted harness can feel more stable and comfortable than relying on neck pressure alone.
What is the first wear point to watch on a large dog harness?
Common early wear points include the leash attachment area, stitched junctions where multiple layers meet, and strap adjusters that start to slip. Check those spots regularly, especially if your dog pulls or moves with force.