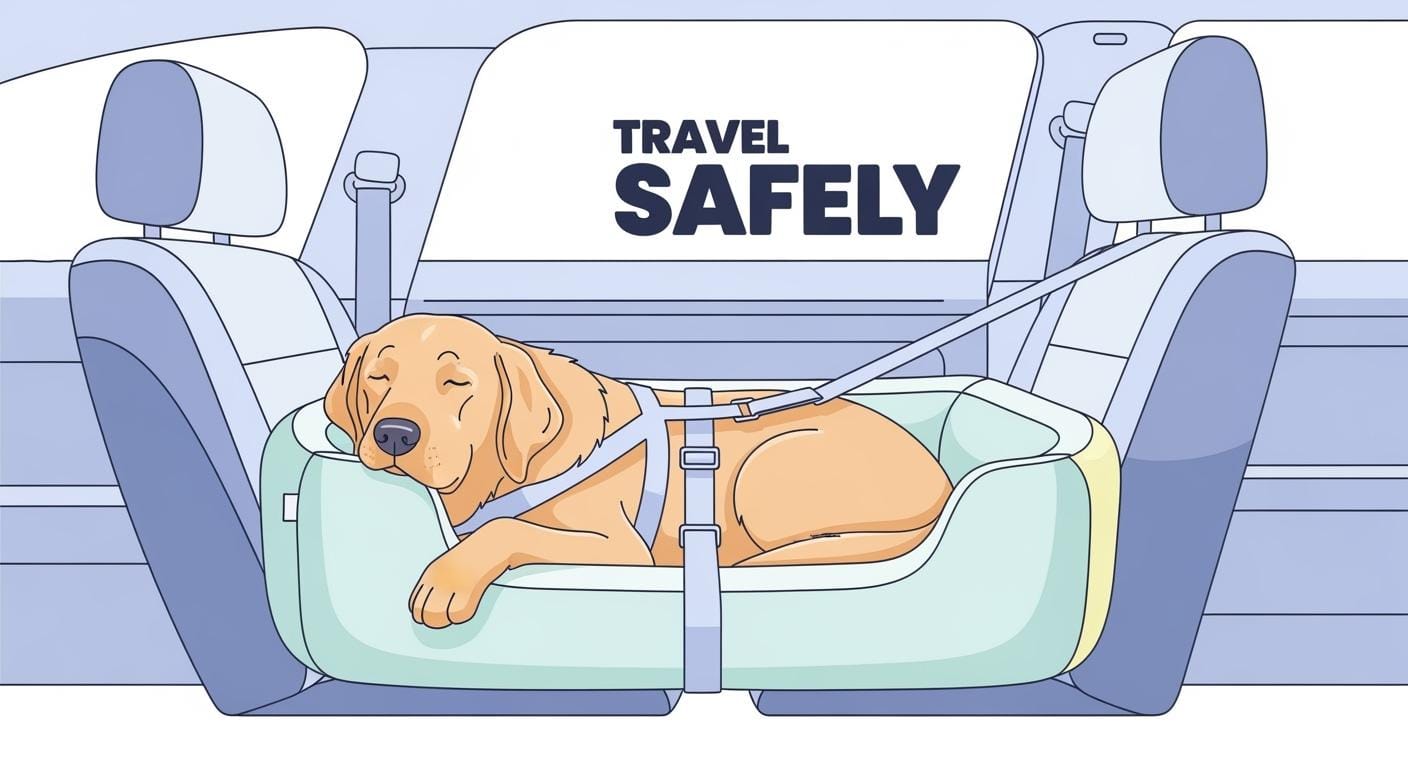
A dog car seat belt harness should stay centered on the chest, hold its position in the back seat, and limit extra slack without pinching your dog. The quickest way to judge the setup is not by the label, but by what happens after your dog sits, turns, and settles. If the chest panel shifts, the tether twists, or the harness rides up toward the neck, the setup still needs work.
A steadier setup keeps the chest panel flat, the tether path cleaner, and your dog in a more predictable position during everyday driving.
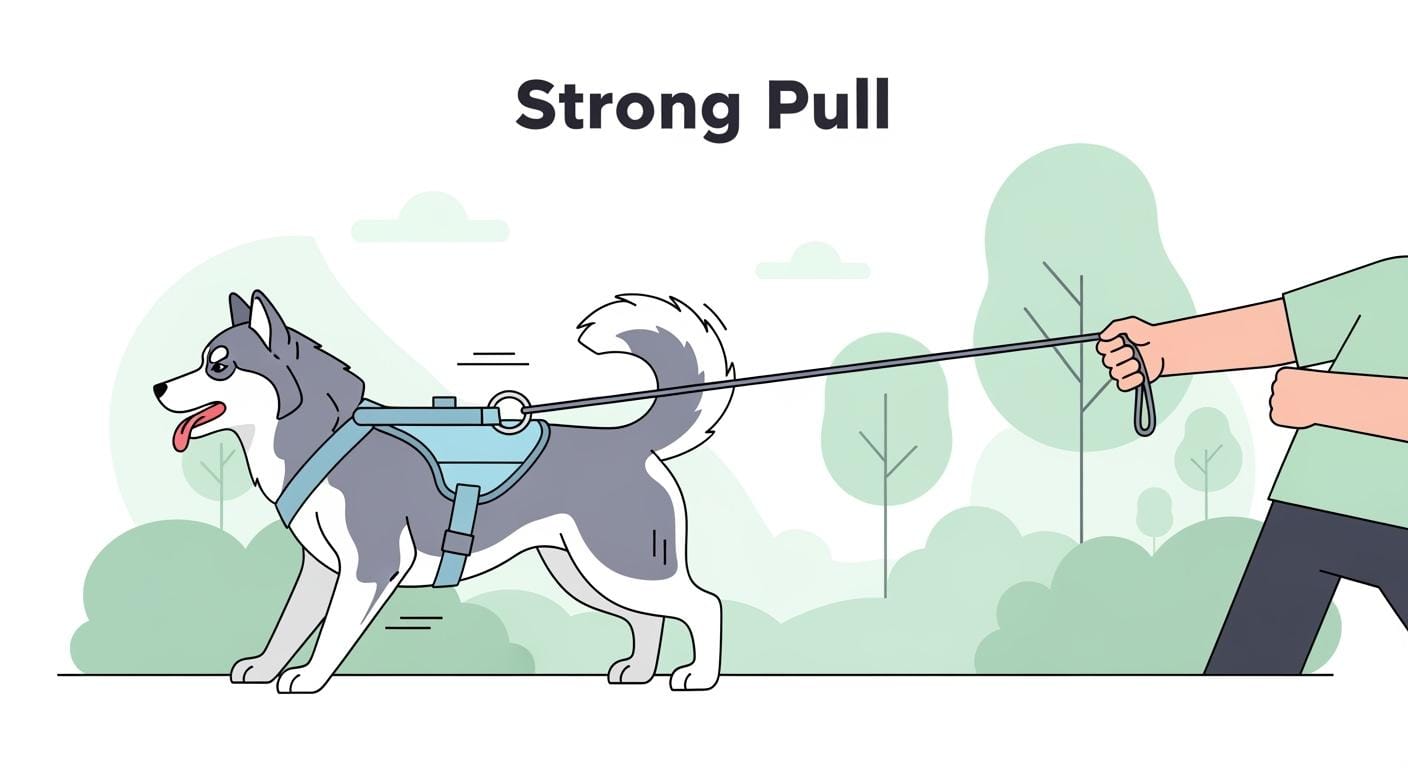
A walking harness may feel fine on a normal walk but still behave badly in the car. For travel use, focus on chest fit, shoulder clearance, tether slack, buckle access, and how the harness behaves after a short drive.
Das Wichtigste in Kürze
- Check chest fit, shoulder room, and tether slack before every trip. A setup that looks fine at rest can shift once your dog turns or lies down.
- Keep enough slack for sitting and lying down, but not so much that your dog can drift across the seat, twist the tether, or reach the front area.
- Recheck after a short drive. Hot spots, twisted straps, buried buckles, or a chest panel that no longer sits centered all point to a setup problem.
Dog Car Seat Belt Harness Fit and Setup Checks
Chest Fit and Shoulder Clearance
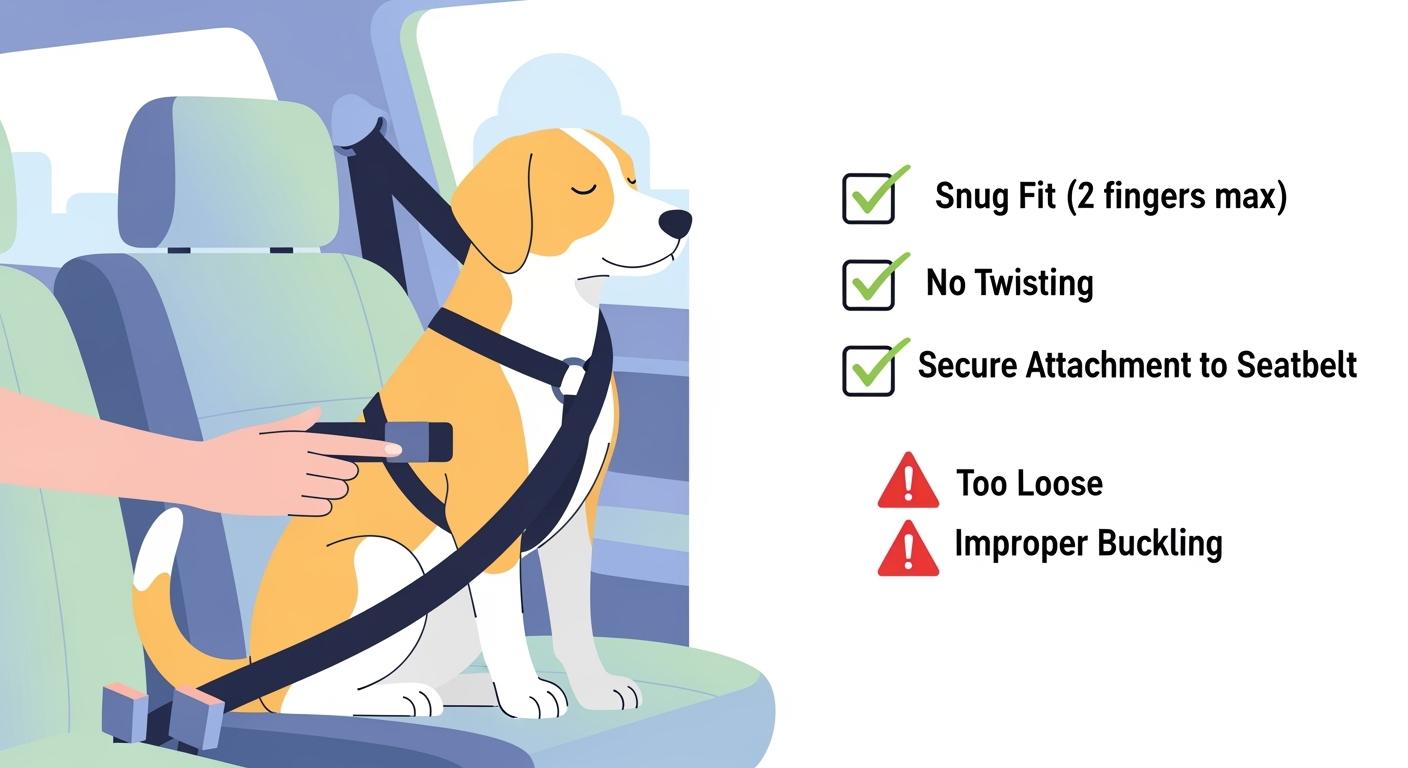
Start with the base of the neck and the widest part of the chest, but do not stop at the measurement stage. Once the harness is on, the front section should sit flat over the chest rather than creeping up toward the lower neck. The shoulder area should stay clear enough for normal stepping, turning, and settling. Use the two-finger check as a starting point, then watch what happens once your dog actually moves in the car setup.
A car setup should stay centered after your dog stands, turns, and lies back down. If the chest panel rotates, one side tightens more than the other, or the harness rides high when the dog leans forward, the fit is not ready yet. The goal is not a rigid squeeze. It is a close, even fit that stays put without crowding the neck or rubbing behind the front legs.
Harness Placement and Tether Slack
Place the harness so the back connection point sits squarely on your dog’s back and the chest section stays centered. Route the seat belt or tether so your dog can sit and lie down naturally, but not wander across the seat, climb into the footwell, or keep wrapping the strap after every turn. Too little slack creates a stiff, uncomfortable setup. Too much slack removes the point of using the restraint in the first place.
After buckling in, do a short movement check. Let your dog shift from standing to sitting and then to a resting position. The harness should remain even, the tether should stay readable instead of knotting itself, and the chest panel should not drag off-center. If the belt path changes every time your dog moves, rework the setup before a longer drive.
Signs of Poor Fit or Twisting
The common warning signs are easy to miss because they often show up only after the dog settles. Watch for a tether that twists after one turn, a buckle opening that gets buried under fabric, a chest panel that slides to one side, or a dog that keeps bracing instead of relaxing. These are setup problems, not just behavior problems.
Run your fingers under the main contact points after a short trip. Check for heat, grit, flattened fur, repeated rubbing, or one strap taking more pressure than the others. If the harness leaves the same pressure spot every time, or if your dog keeps getting tangled when changing position, the fit or tether length still needs adjustment.
Pass/Fail Fit Checklist Table
Use this checklist before longer trips. It is meant to catch the problems that show up after buckling in, not just while your dog is standing still.
| Check item | Pass signal | Fail signal | What to do |
|---|---|---|---|
| Chest panel position | Front section stays centered after sitting and lying down | Panel drifts toward one shoulder or rides up toward the neck | Re-center harness and rebalance strap tension |
| Shoulder clearance | Dog steps and turns without crowding at the front legs | One side pinches, rubs, or shortens the stride | Loosen and reset the front fit |
| Tether slack | Dog can sit and lie down without reaching too far | Too tight for settling or so loose that the dog crosses the seat | Shorten or lengthen tether to a cleaner range |
| Buckle access | Seat belt path stays visible and easy to check | Buckle opening gets buried or twisted under the harness | Re-route and flatten the setup |
| Post-drive contact check | No repeating hot spot, redness, or flattened fur patch | Same pressure point shows up after each trip | Adjust contact points or switch shape |
Tip: Do the first real check after a short drive around the block. Many fit problems only show up once your dog has shifted position a few times.
A dog car seat belt harness is not just about getting the straps closed. It has to stay centered, limit excess movement, and remain comfortable after the dog settles. That is why the real fit test happens in the car, not only at the front door.
Dog Car Safety Features and Common Mistakes

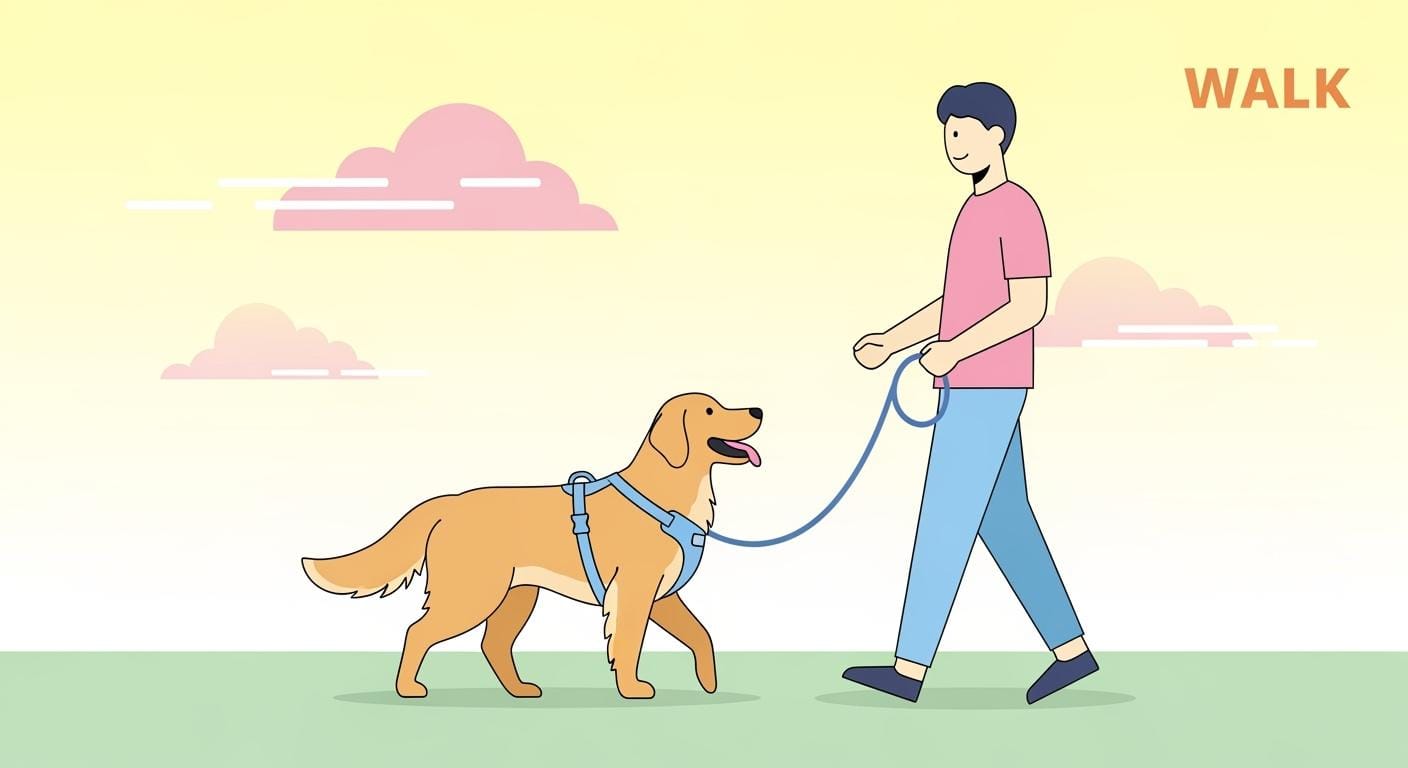
Travel Setup vs. Walking Setup
A regular walking setup is mainly judged by leash handling and day-to-day comfort. A car setup needs a different kind of check: chest coverage that stays centered, a belt path that does not rotate, hardware that holds its alignment, and tether slack that does not leave the dog loose in the back seat. Some products may feel padded and comfortable, but padding alone does not tell you whether the in-car setup is stable.
For car use, judge the whole setup by placement, belt path, and controlled movement, not by softness alone.
Vehicle Attachment and Slack Control
Attach the harness in the back seat and check the restraint path before the car moves. The connection should be straightforward enough that you can see whether it is flat, twisted, or routed at an odd angle. After buckling in, remove unnecessary slack but leave enough room for your dog to sit and lie down without constant tension. If your dog can step too far into the footwell, reach across the seat, or keep rolling the tether after every turn, there is still too much play in the setup.
Common Errors and Distraction Risks
The most common mistakes are not dramatic. They are small setup errors that add up fast: clipping in with the harness off-center, leaving too much slack because the dog looks restless, clipping to the wrong point, or assuming a walking-style fit is automatically fine in the car. These mistakes can also create distraction problems. A dog that keeps shifting, climbing, or tangling the restraint is harder for the driver to ignore than a dog that settles quickly in a stable position.
Comparison Table: Car Setup vs. Walking Setup
| Feature | Car-oriented harness setup | Regular walking setup |
|---|---|---|
| Main goal | Controlled position in the back seat | Comfort and leash handling on walks |
| Fit priority | Centered chest panel, stable belt path, managed slack | Freedom of movement and balanced leash response |
| Common failure sign | Twisting tether, drift across seat, buried buckle opening | Rubbing, slipping, or leash handling problems |
| Best place to test | Short drive with sit-turn-lie-down check | Normal walk with turns and stops |
| Why rechecking matters | Movement changes after the dog settles in the car | Fit can change as the dog walks and pulls |
Tip: If a setup works on a walk but becomes awkward once your dog settles in the car, treat it as a car-fit problem, not proof that the dog is being difficult.
Dog Car Safety Tips: Comfort, Materials, and Troubleshooting
Padding, Webbing, and Pressure Points
A comfortable car harness should spread contact across the chest without creating one hard pressure zone. Look for broad contact areas, smooth edge finishing, webbing that does not feel abrasive, and enough padding to soften contact without turning the harness bulky and hot. The wrong setup often shows up as one repeating rub point, a chest panel that folds, or hardware that ends up sitting where the dog leans.
- Wide contact areas usually feel steadier than narrow straps that concentrate pressure.
- Breathable lining helps on longer rides and in warmer weather.
- Hardware should feel secure without becoming oversized for your dog’s frame.
- Check the chest panel after a short drive instead of assuming the first fit is final.
Cleaning and Care for Harness Materials
Regular cleaning matters because dried grit and trapped fur can turn a decent fit into an irritating one. Brush off debris, hand wash with mild soap when needed, rinse well, and let the harness dry fully before the next trip. During cleaning, check for worn stitching, bent hardware, strap creep, and roughened edges. These issues often show up before an obvious failure does.
- Brush off dust, hair, and dried grit.
- Wash gently according to the care label.
- Rinse thoroughly and air dry fully.
- Check strap alignment and hardware again before reuse.
A clean harness is easier to read. You can spot strap drift, rough edges, and pressure zones much faster when dirt is not hiding them.
When to Try a Different Restraint
Some dogs do not settle well in this type of setup. If your dog keeps spinning, chewing the tether, fighting the buckle routine, or showing the same fit problem even after careful adjustment, another restraint style may be the better answer. The goal is not to force one setup to work for every dog. It is to choose the setup your dog can actually ride in without repeated rubbing, twisting, or constant repositioning.
- Try a different restraint style if your dog never settles into a repeatable position.
- Reconsider the setup if the same hot spot or twisting problem returns after each adjustment.
Troubleshooting Table: Fit and Comfort Issues
| Problem | Ursache | Quick fix |
|---|---|---|
| Chest panel shifts to one side | Uneven strap tension or poor panel shape | Reset strap balance and recheck after a short drive |
| Dog reaches too far forward | Tether length is too generous | Shorten to a cleaner sit-and-lie range |
| Buckle opening disappears under fabric | Seat belt path or harness position is off | Flatten the route and re-center the harness |
| Repeated rub mark behind one leg | Contact point sits too close or too low | Move the fit and recheck after motion |
| Dog cannot settle without twisting | Setup changes each time the dog turns | Rework slack and connection path or try another style |
Use these checks to judge the actual in-car setup, not just the label or the first impression.
- Check chest fit, shoulder clearance, and tether slack before every trip.
- Recheck after your dog sits, turns, and settles, because that is when many setup faults appear.
- Keep the harness clean enough to spot strap drift, rough edges, and repeating pressure points.
- Use the back seat and keep the restraint path easy to inspect each time you buckle in.
Häufig gestellte Fragen
How do you secure a dog car seat belt harness without over-tightening it?
Start with a centered chest fit, then remove only the slack your dog does not need. Your dog should be able to sit and lie down naturally, but not drift too far across the seat or keep twisting the tether.
Why is a car setup check different from a normal walking harness check?
A walking check focuses on leash comfort and everyday movement. A car check adds tether slack, belt path, buckle access, and whether the harness stays centered after the dog settles in the back seat.
What should you do if the harness looks fine but keeps twisting during trips?
Treat that as a fit or setup problem. Recheck chest position, strap balance, and tether length after a short drive. If the same twisting returns, try a different shape or restraint style.